What you need to do when creating your first mobile application;
1. Registration
In order to start making applications with MobiRoller, you must first be a member of the system.
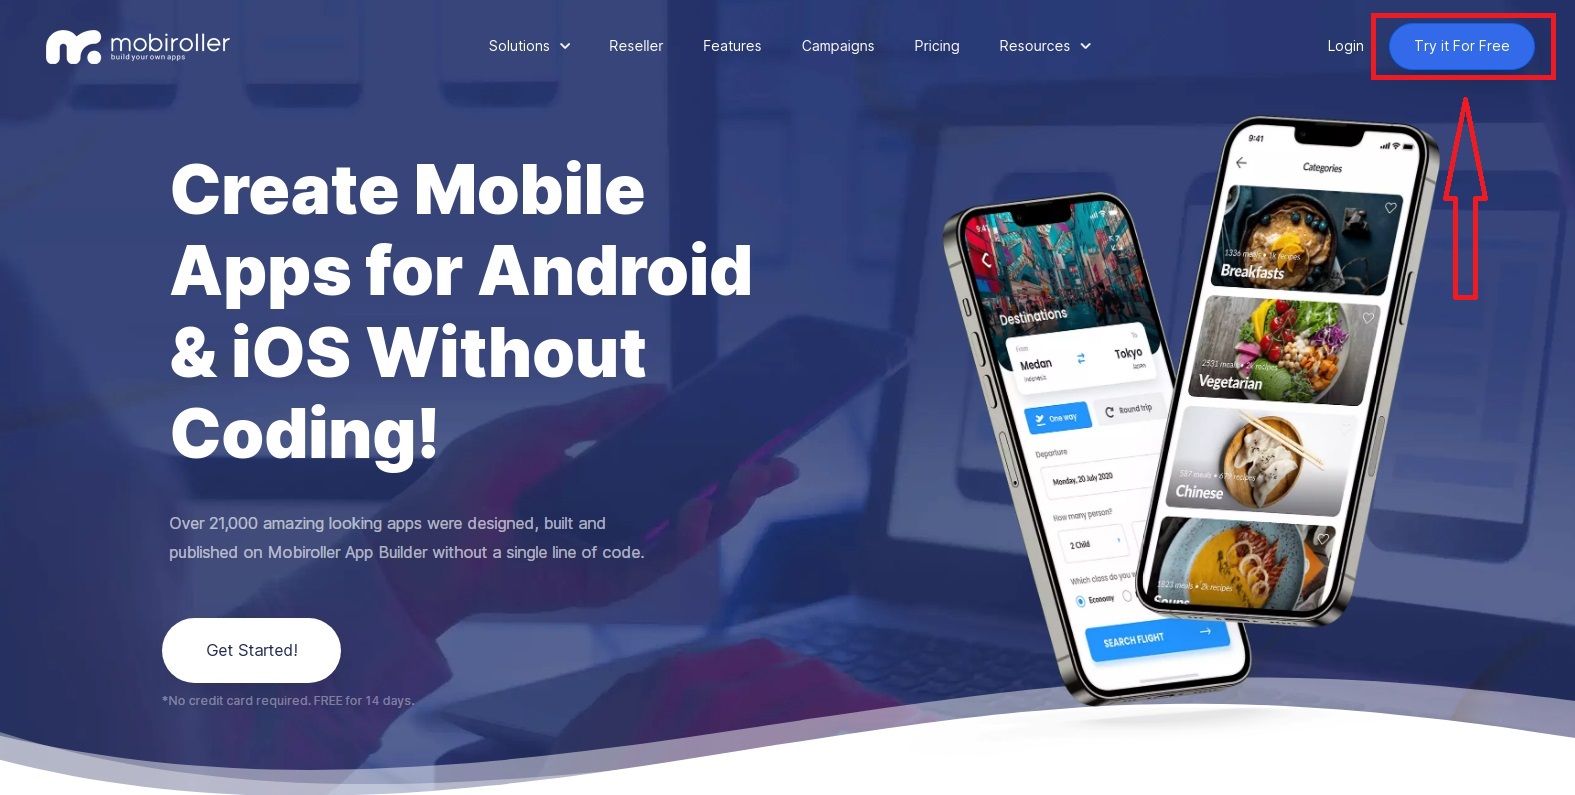
To become a member, create a new account by clicking the “Try it for Free” button on mobiroller.com.
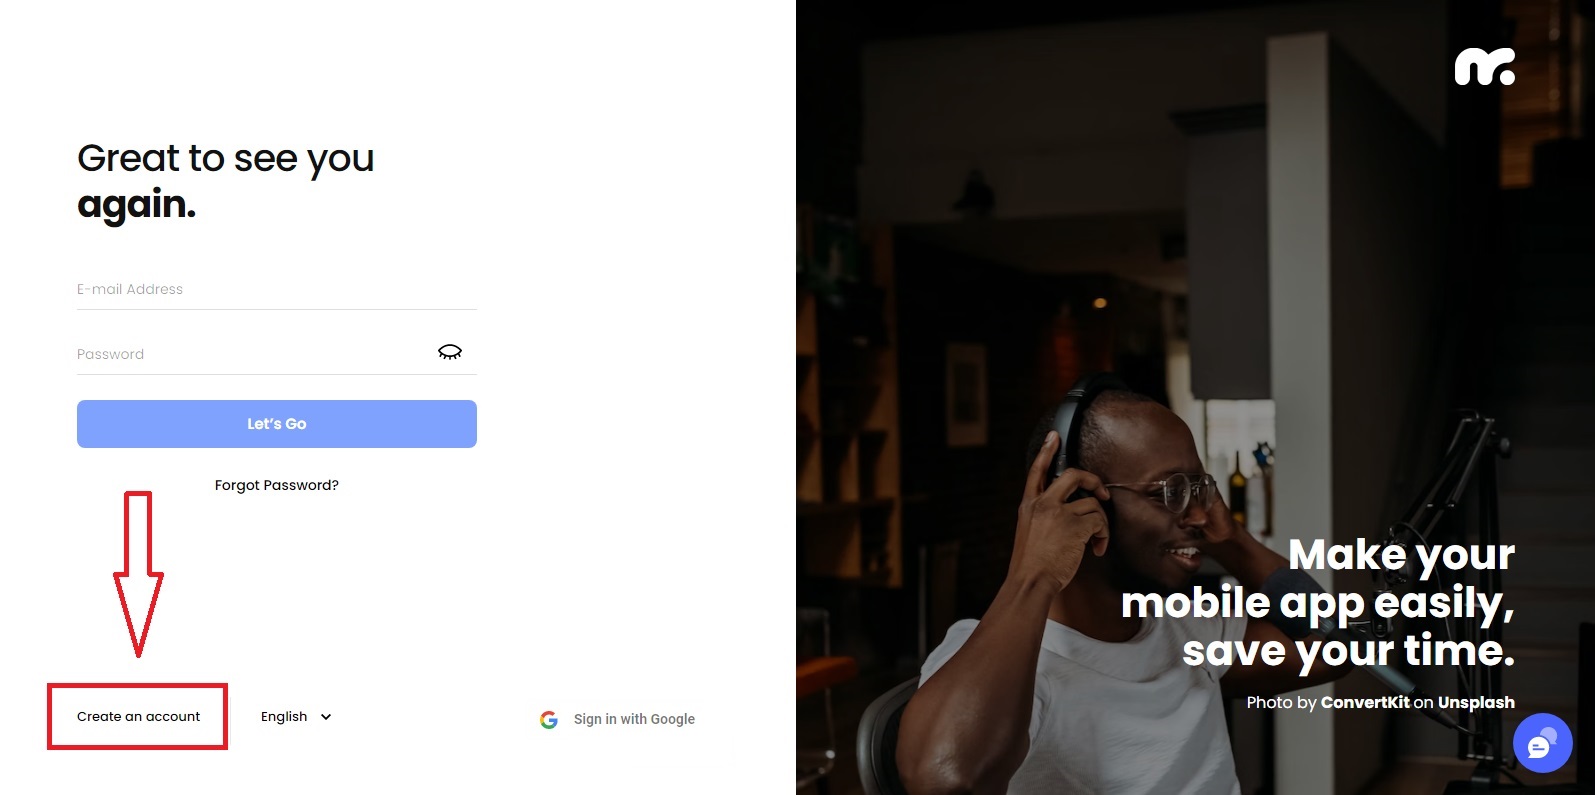
Click the Create an Account button on the screen that appears.
Fill in the information you see during the registration step and click the Create New Account button. After creating your account, the Login screen will appear, enter your information there and log in.
Note: If you click the Register with Google button, you will connect without a password, but when you need a password, you can click the forgot password button and generate a password for your account thanks to the password reset e-mail you receive.
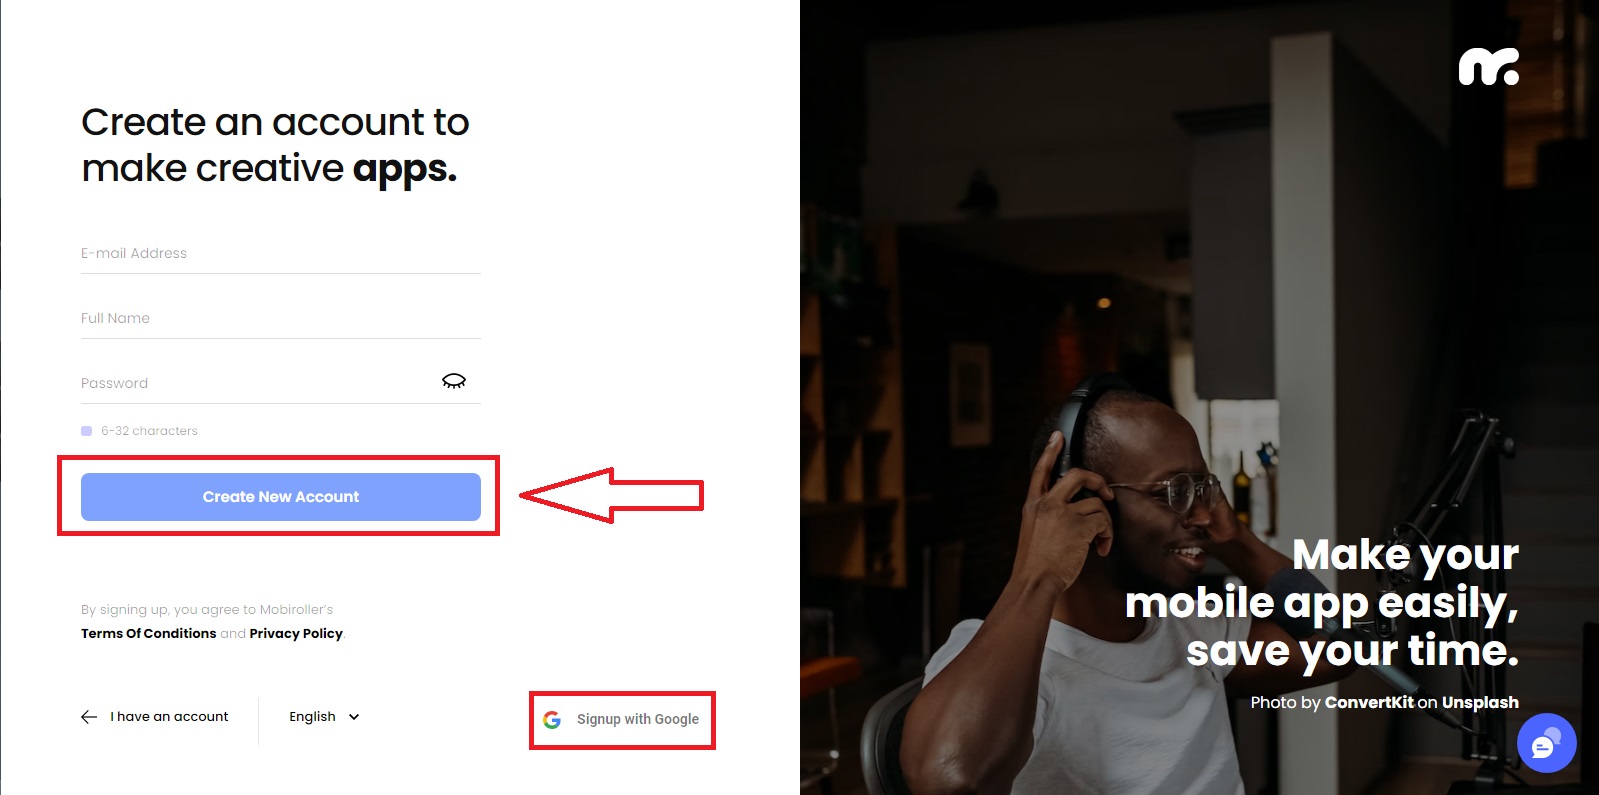
We recommend that you fill in the e-mail address you wrote in the e-mail section, knowing that it is the e-mail address that you will use when logging into the system and that we will contact you. When you use a fake e-mail address, you cannot transfer your application to another account.
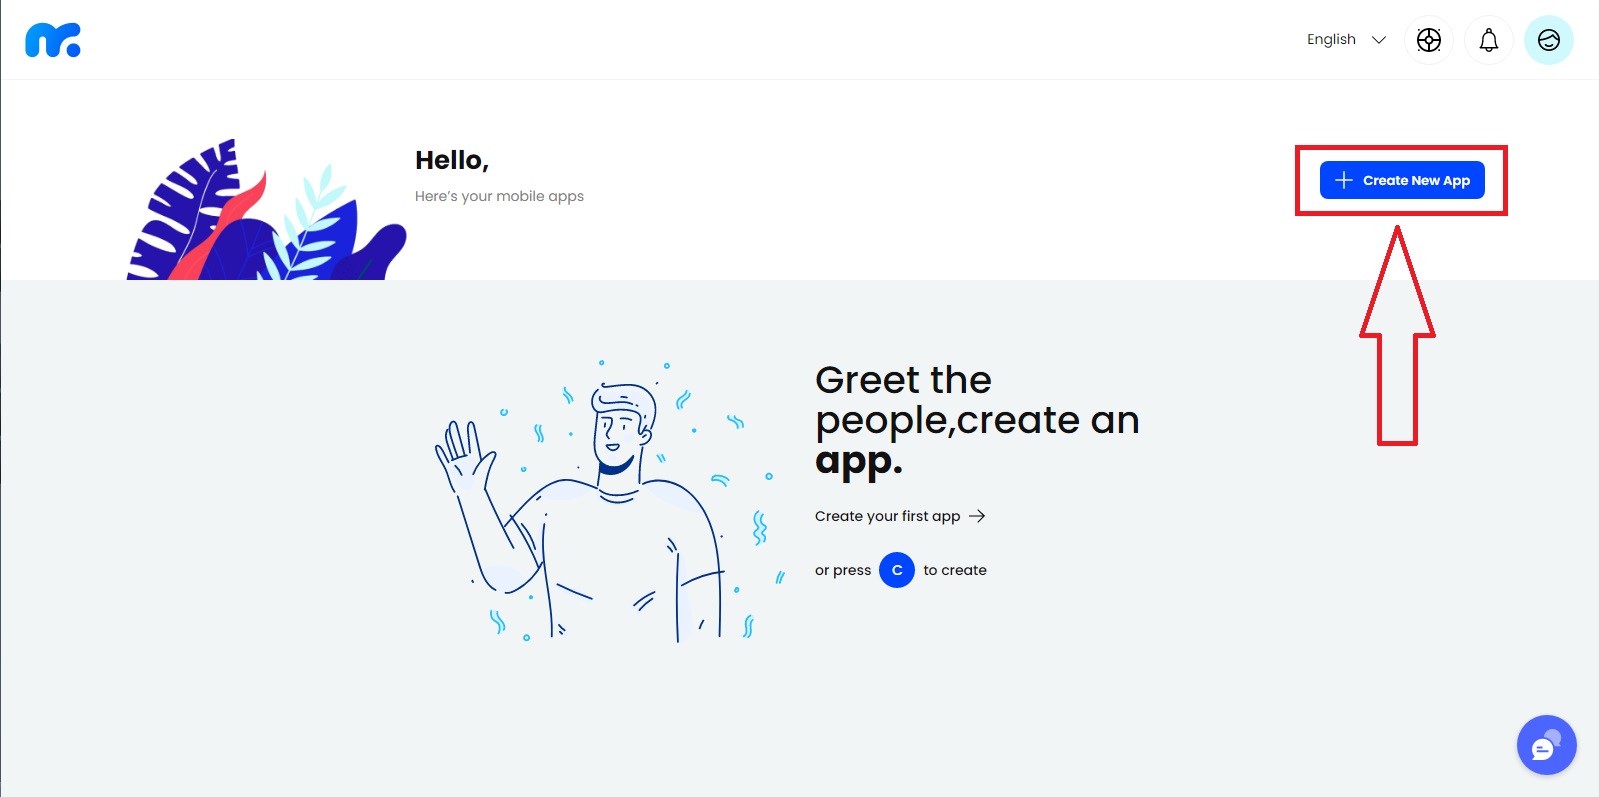
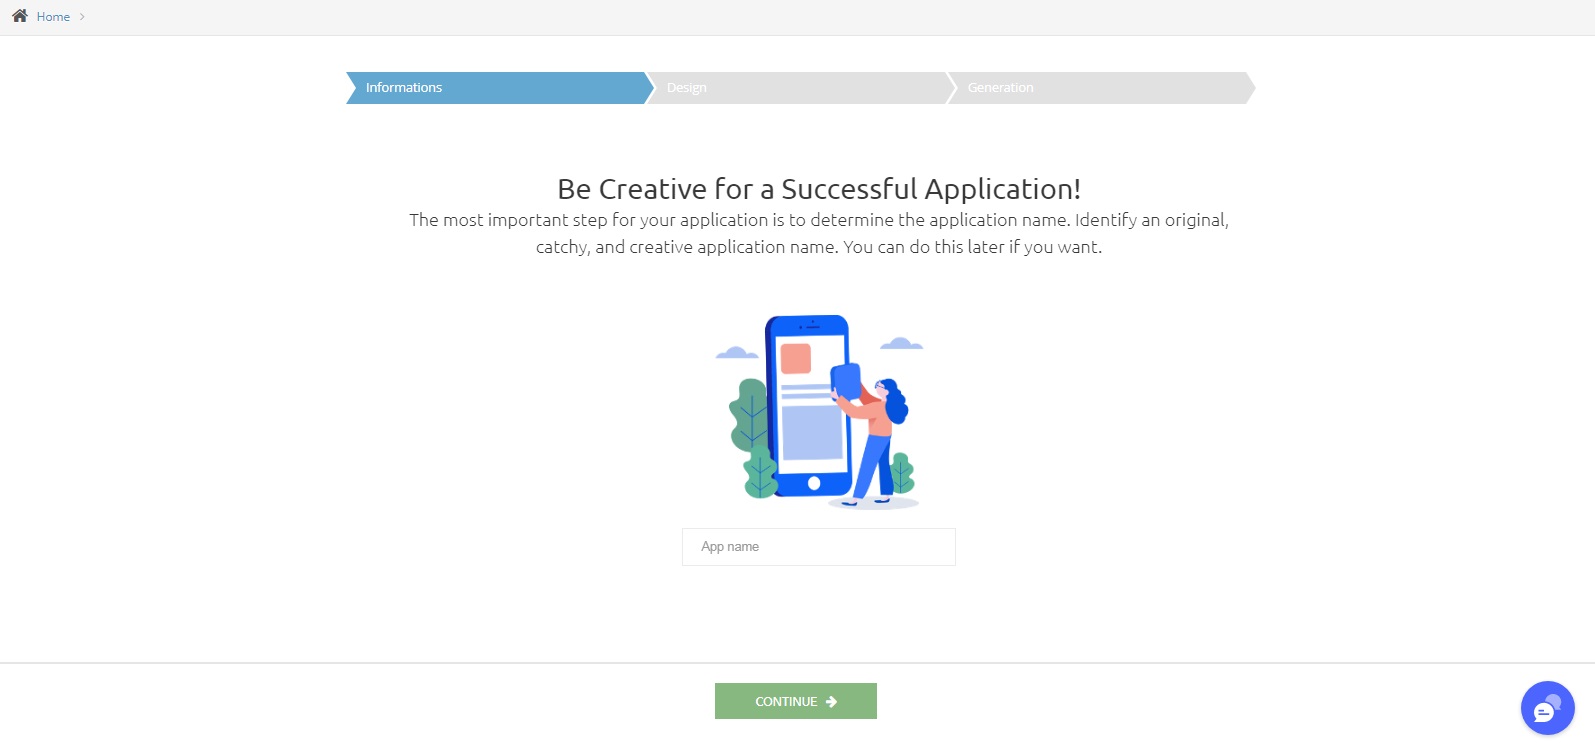
To create your first application, click the Create New App button on the screen that appears.
Type the application name on the screen that appears. The name written here is the name of the application that will appear on the phone screen. You can change your application name later from the panel.
After typing the application name, click the Continue button.
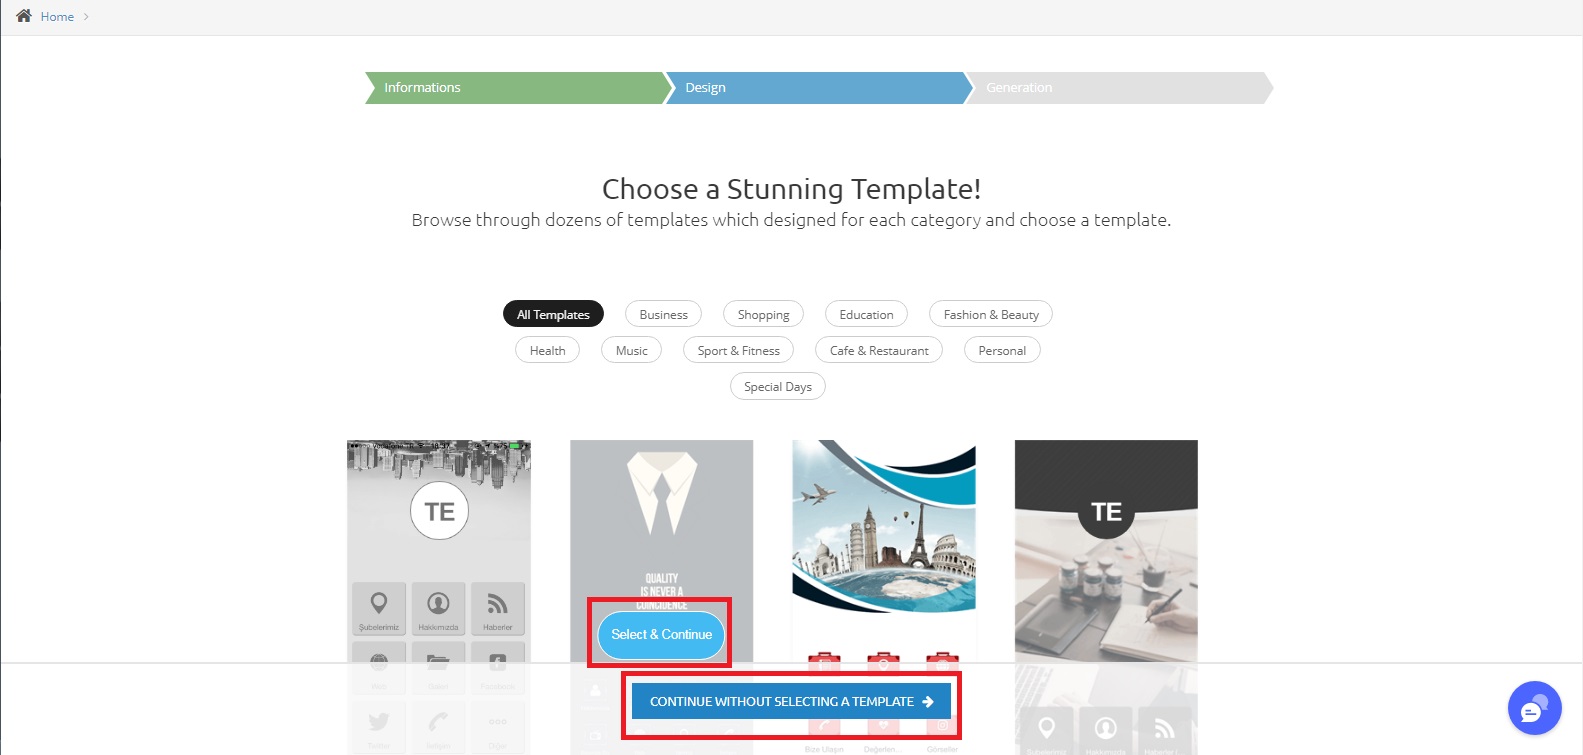
For application design, you can choose one of the ready-made templates and click the Select and Continue button, or you can proceed to the last step of creating the application by clicking the Continue Without Selecting a Template button. In this case, you can also make the template selection later.
The designs you see here do not impose any limitations on you. You can change all the images, icons and texts in the designs. You can see how it is done in detail in the following articles.
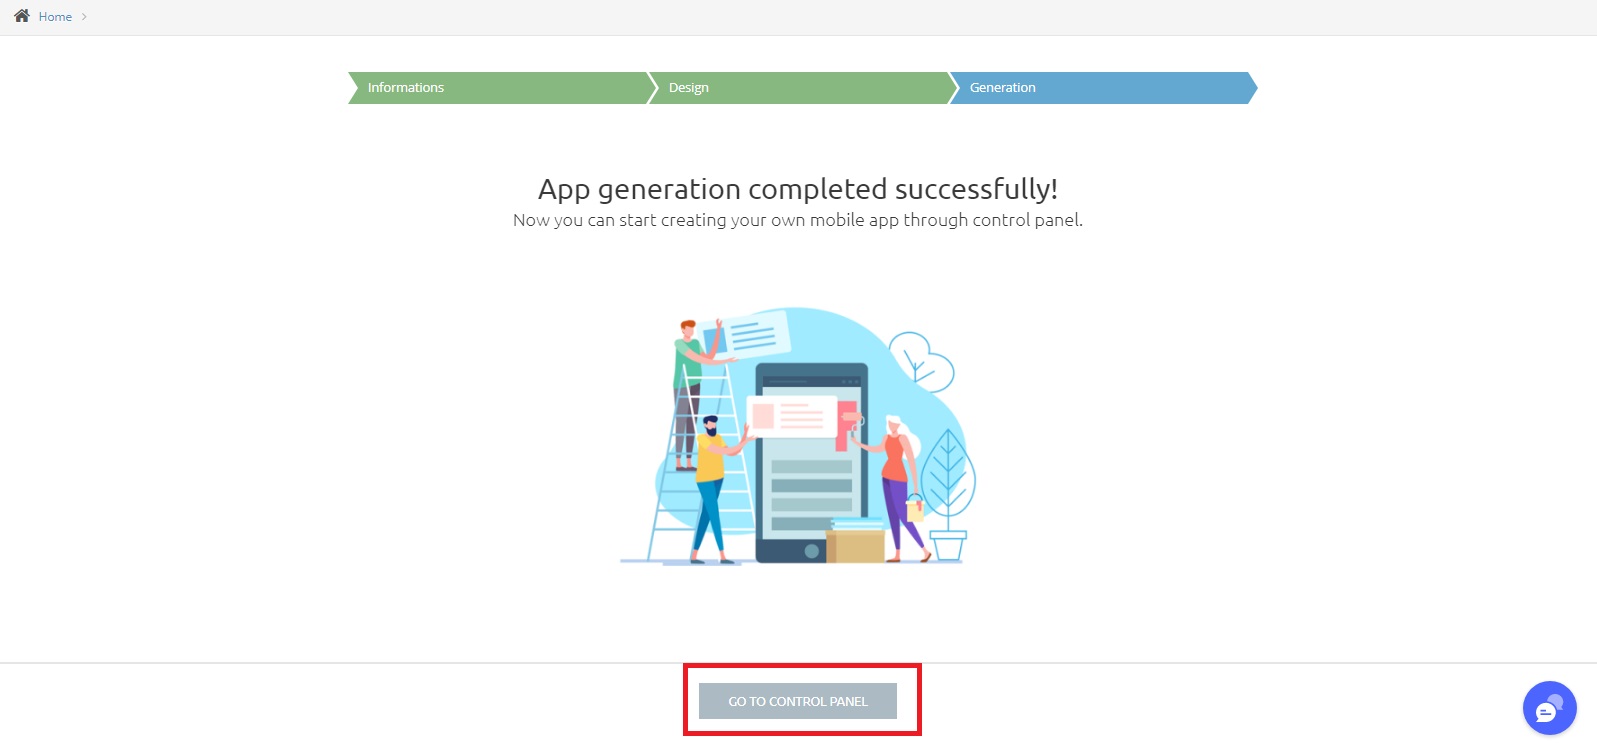
You can go to application panel by clicking the Go to Control Panel button.
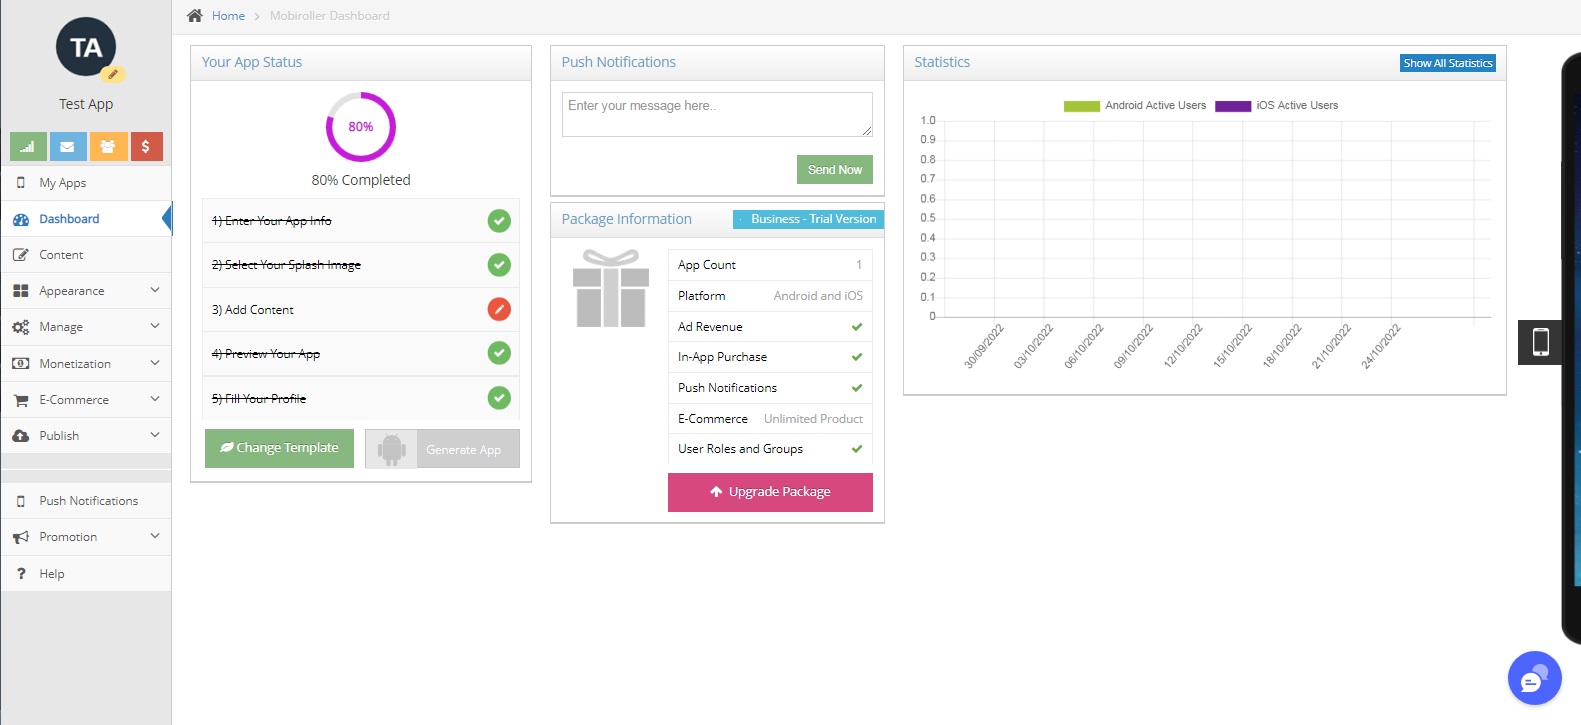
Now you are in the application panel where you will prepare your application. While creating your application, you will perform all the steps through this panel.
In addition, with the My Apps button on the left menu, you can see all the applications you have made and switch to the panel of the application you want.
You can refer to our article “Step 2: Create Your App Content” which explains how to add content for your application.