With the Sign in with Google feature, users can easily register and log in to the app with a single tap using their Google account.
How to Enable the Sign in with Google Feature?
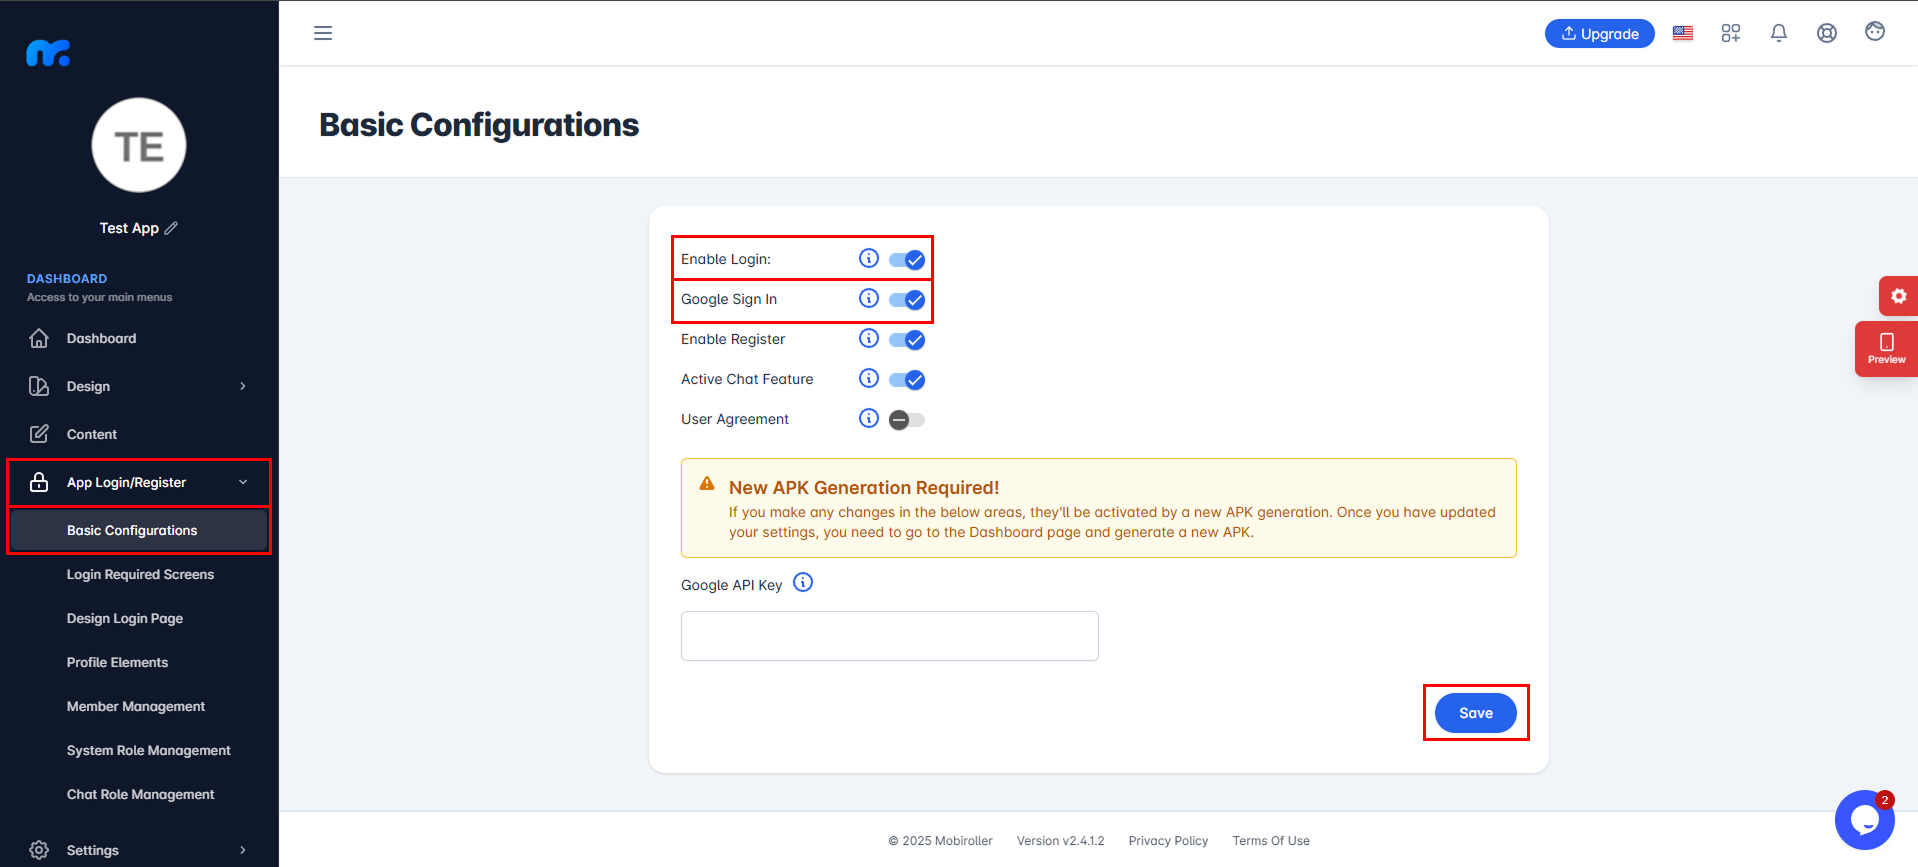
To enable the Sign in with Google feature, go to the left menu in the control panel and click on App Login/Register > Basic Configurations. Then, activate the Enable Login and Google Sign In options. After that, click here to request the necessary permission from Google Cloud Platform.
When you access Google Cloud Platform, if a consent window appears, make your selections and click the Agree and Continue button.

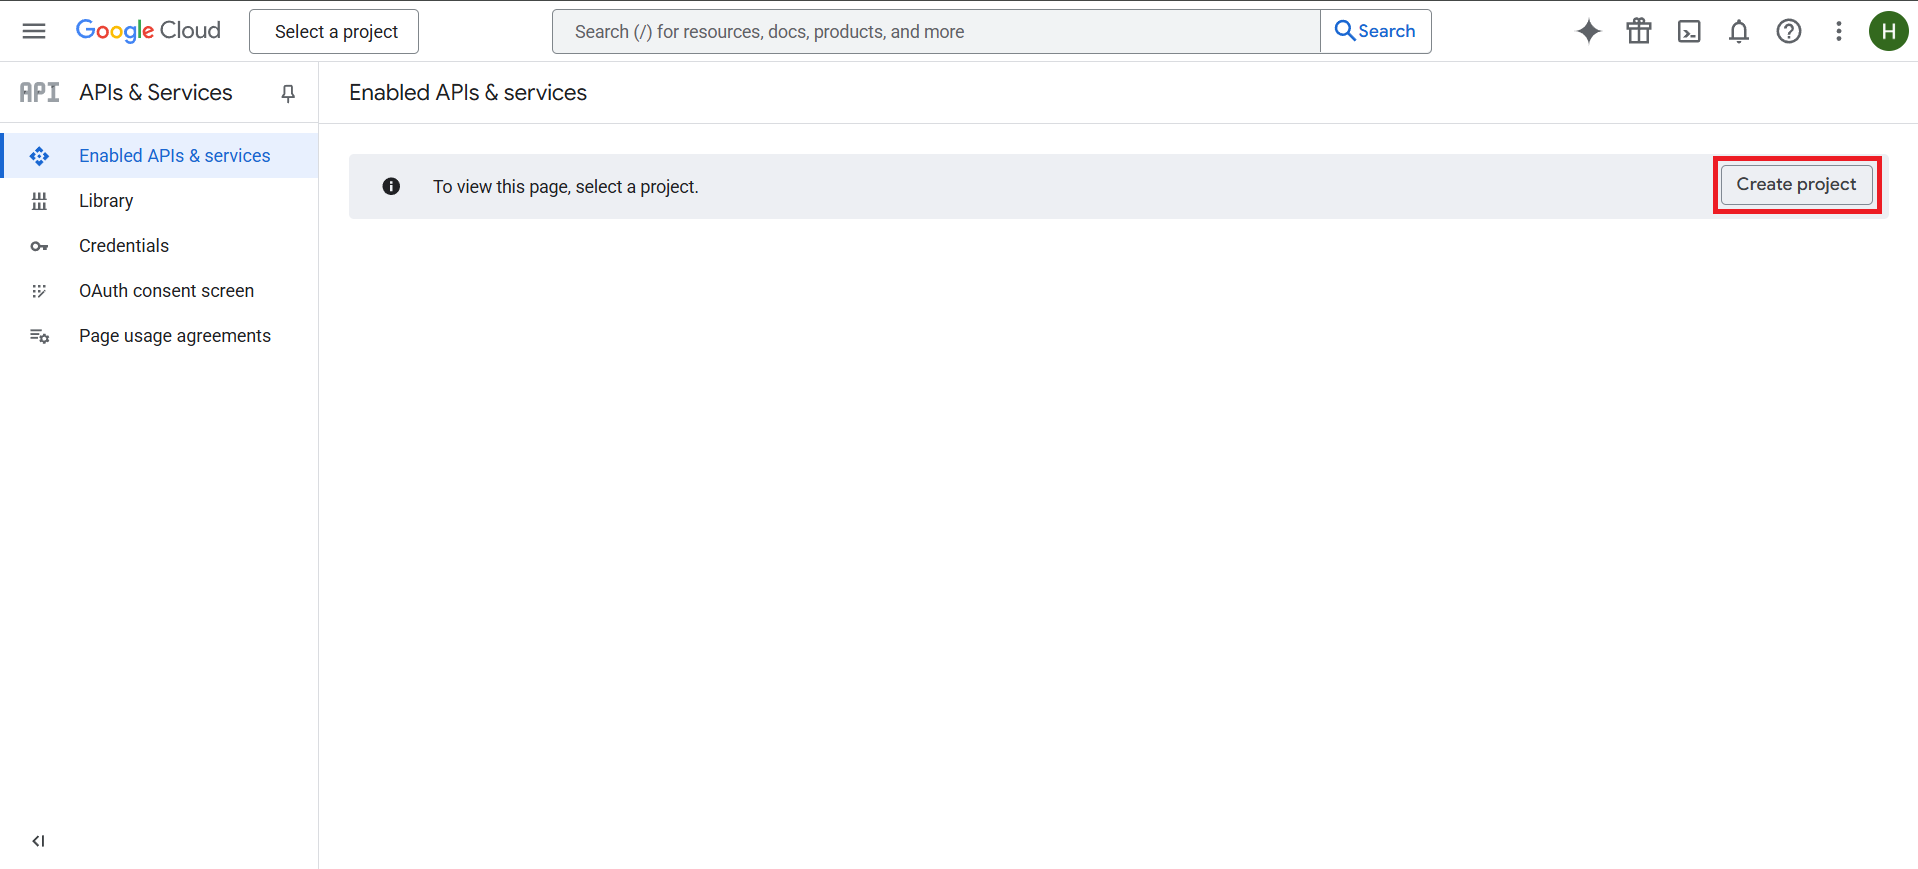
If you haven’t previously accessed Google Cloud Platform and created a project, click the Create Project button on the right side of the screen that appears.
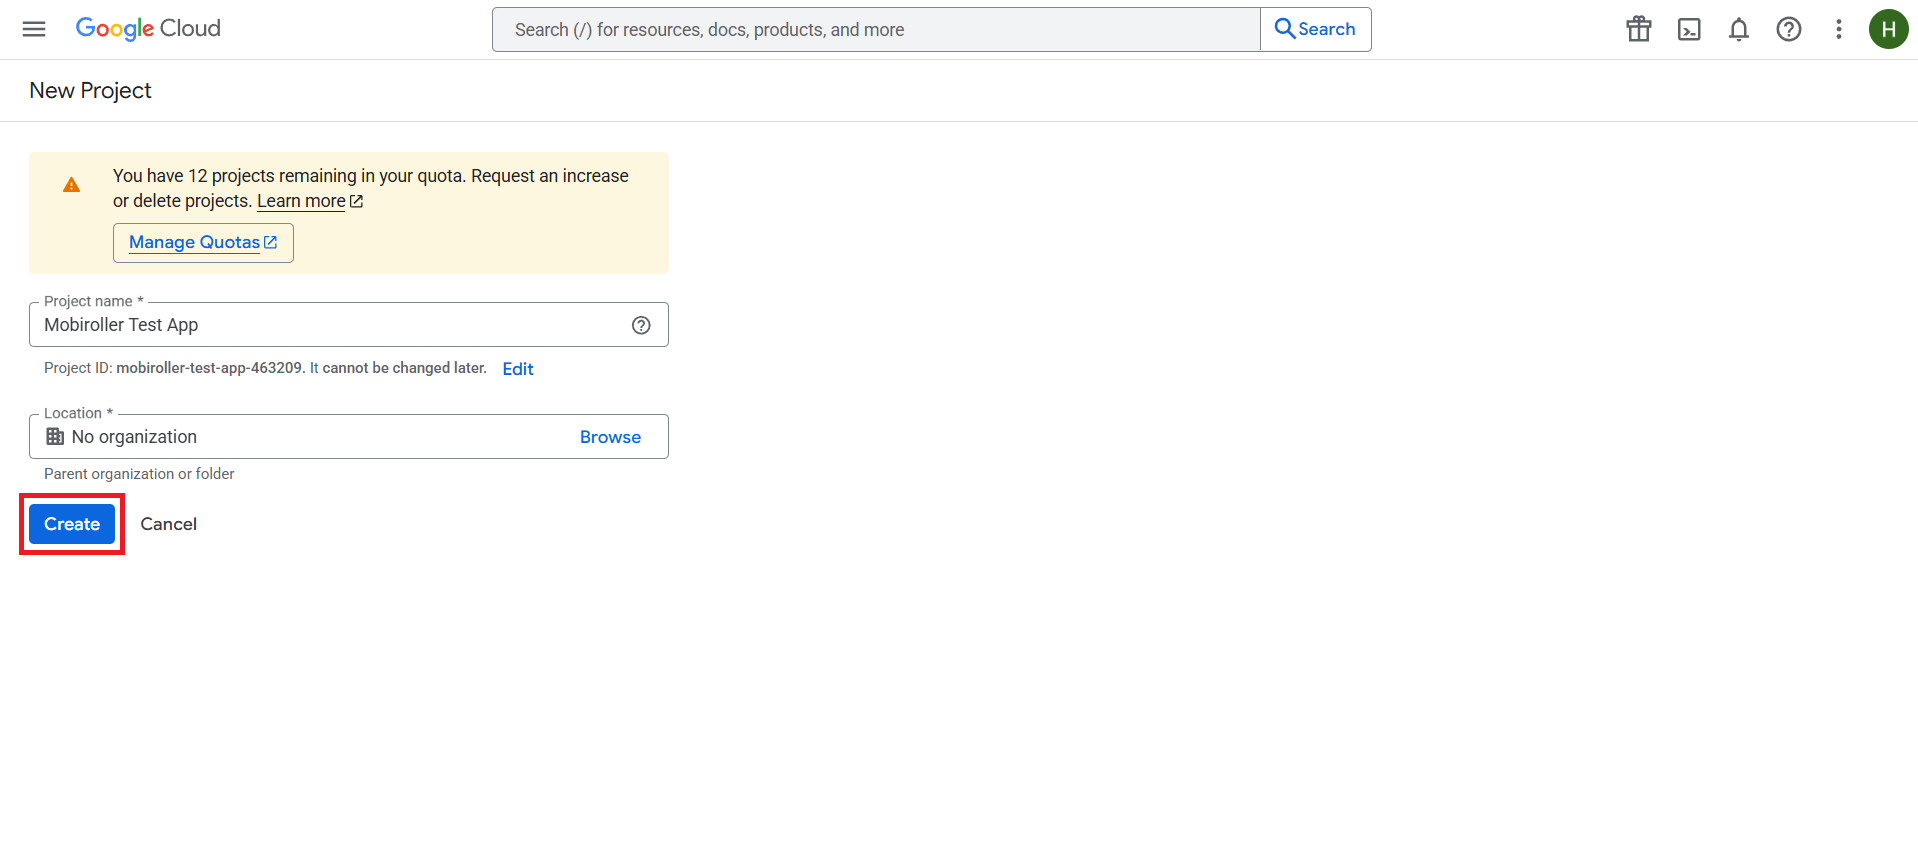
Project Name: You can enter your app’s name here, but please note that it cannot be changed later, so make sure to choose carefully.
You can also edit and customize the Project ID just below the project name. It’s recommended to use your app’s name here as well. This ID also cannot be changed later.
Location: If you have other projects created in Google Cloud Platform, you can choose to place this new project under one of them. If not, you can proceed without making any changes.
After entering your details, click the Create button to continue.
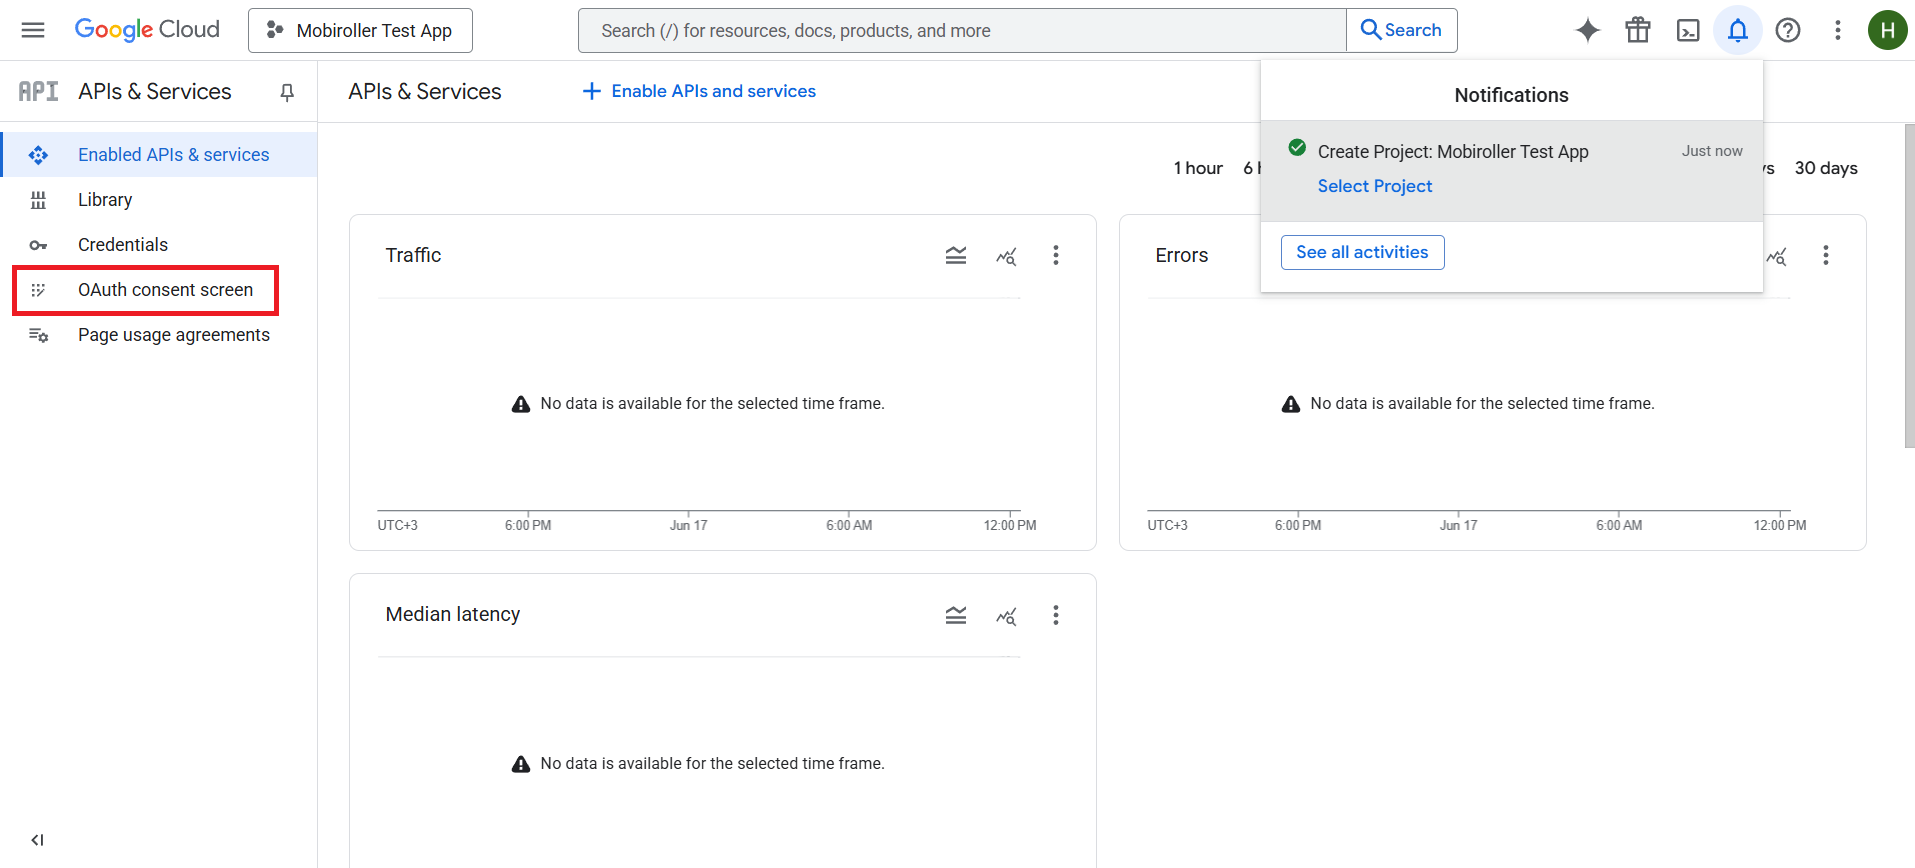
Once your project is created, you will be redirected to this page. From the panel on the left side, click on the OAuth consent screen section.
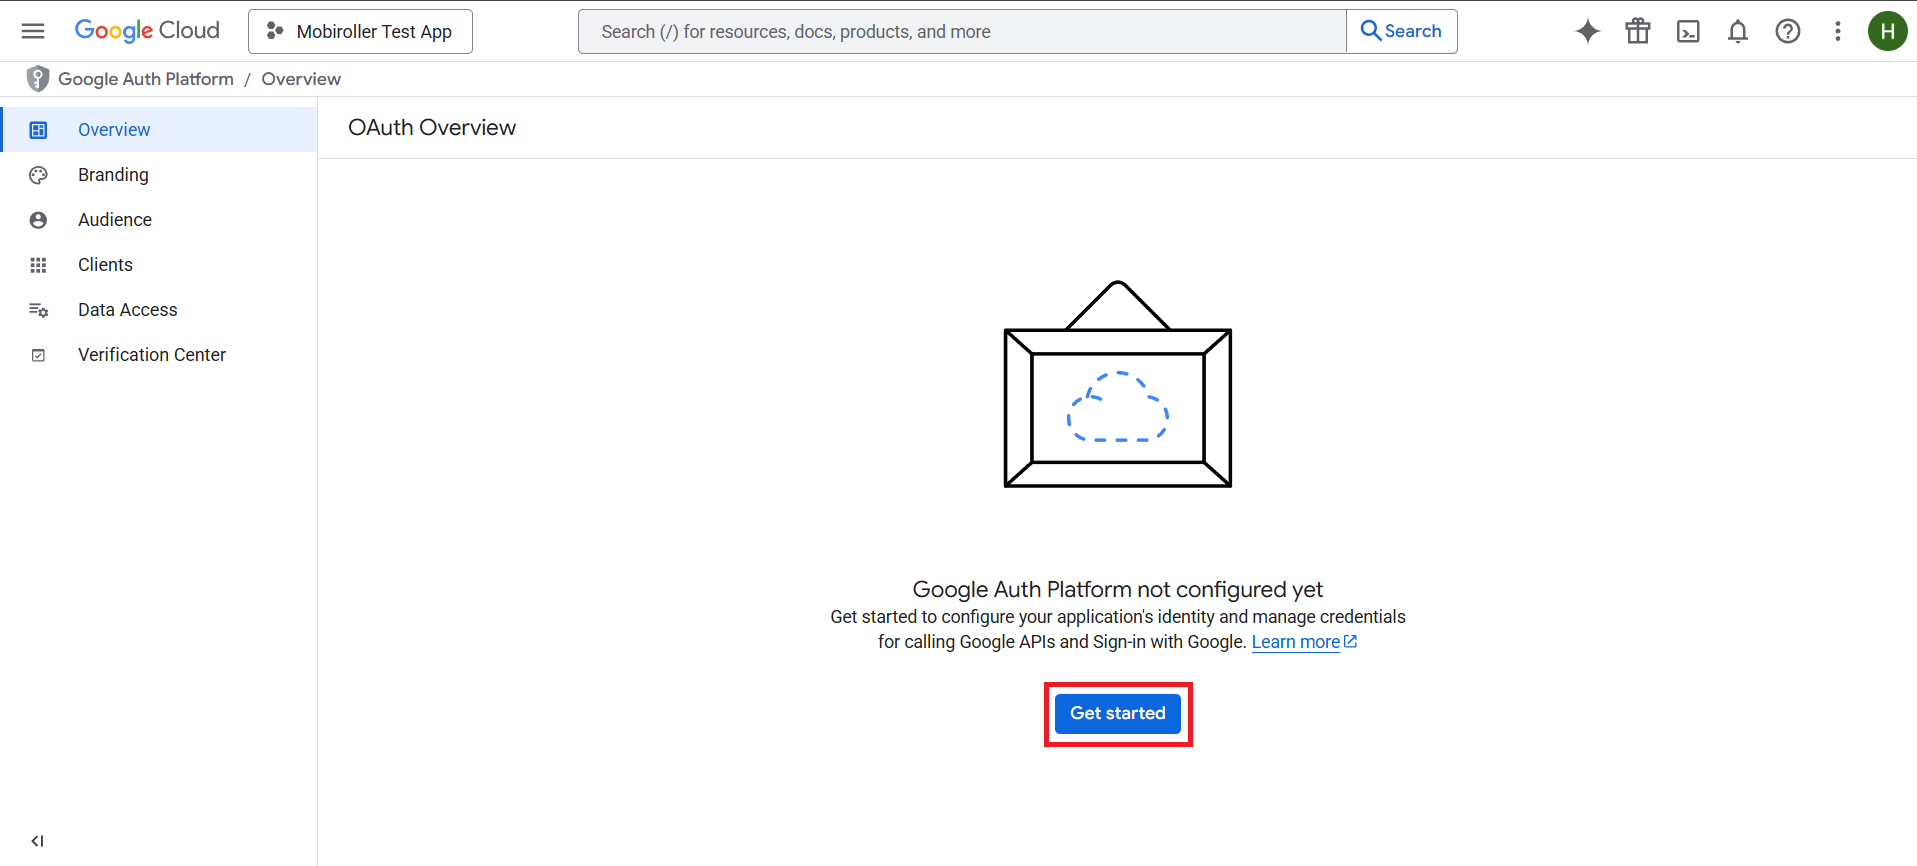
On the screen that appears, click the Get Started button.
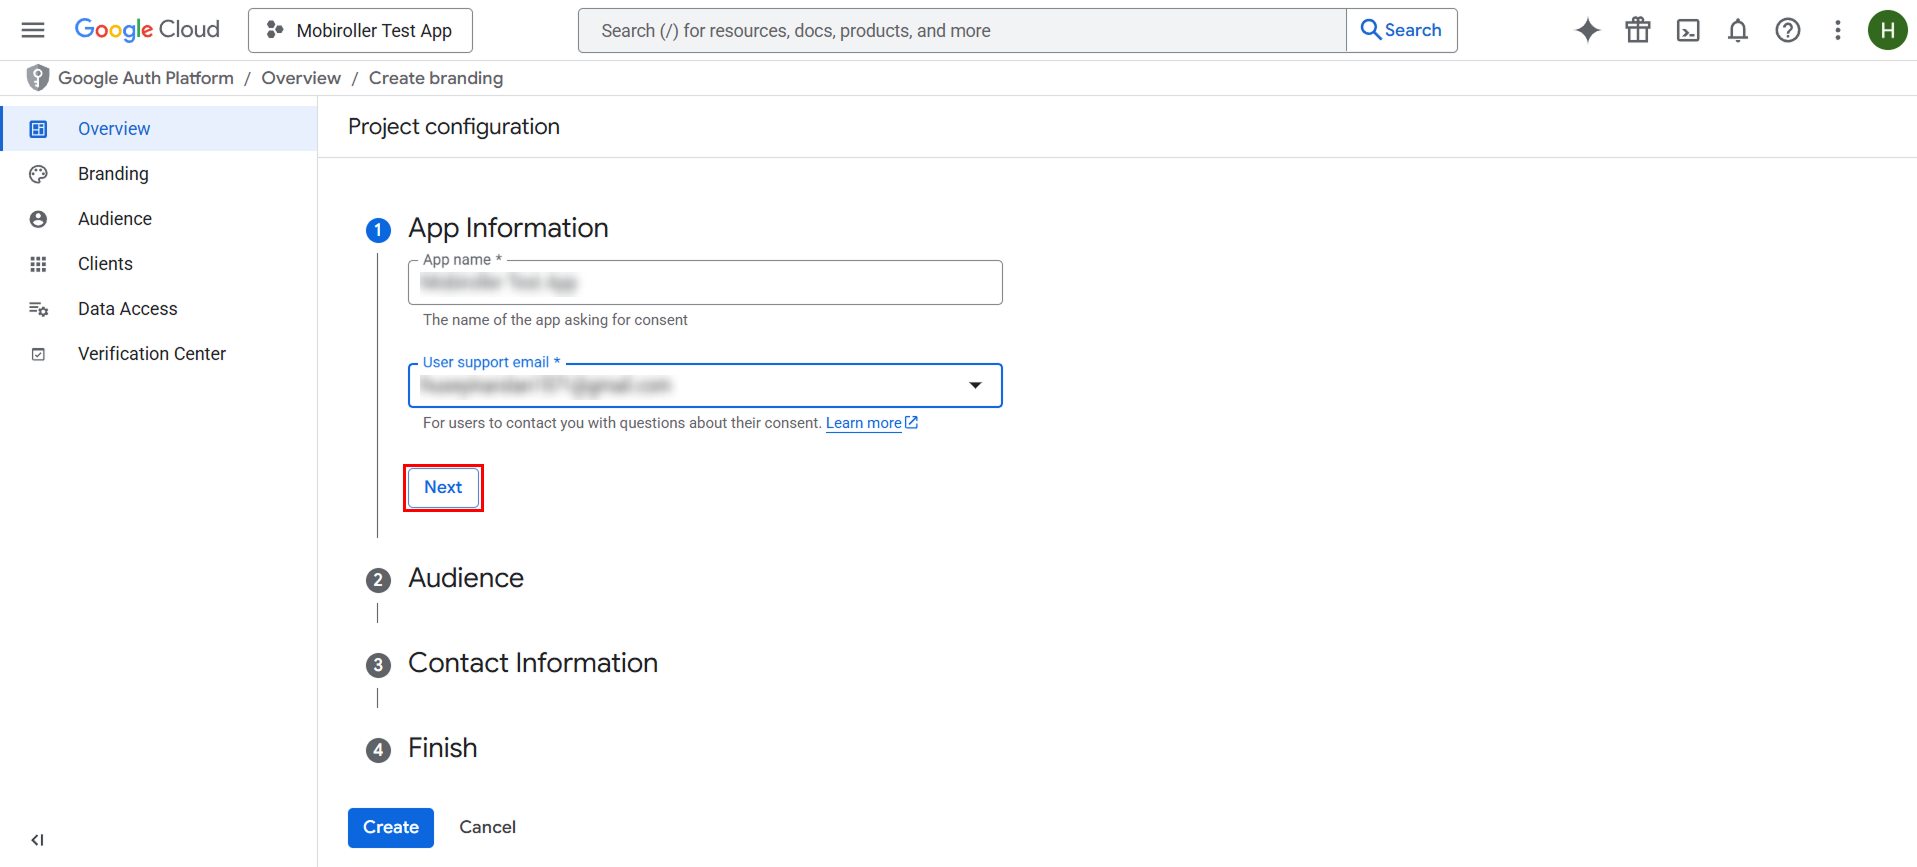
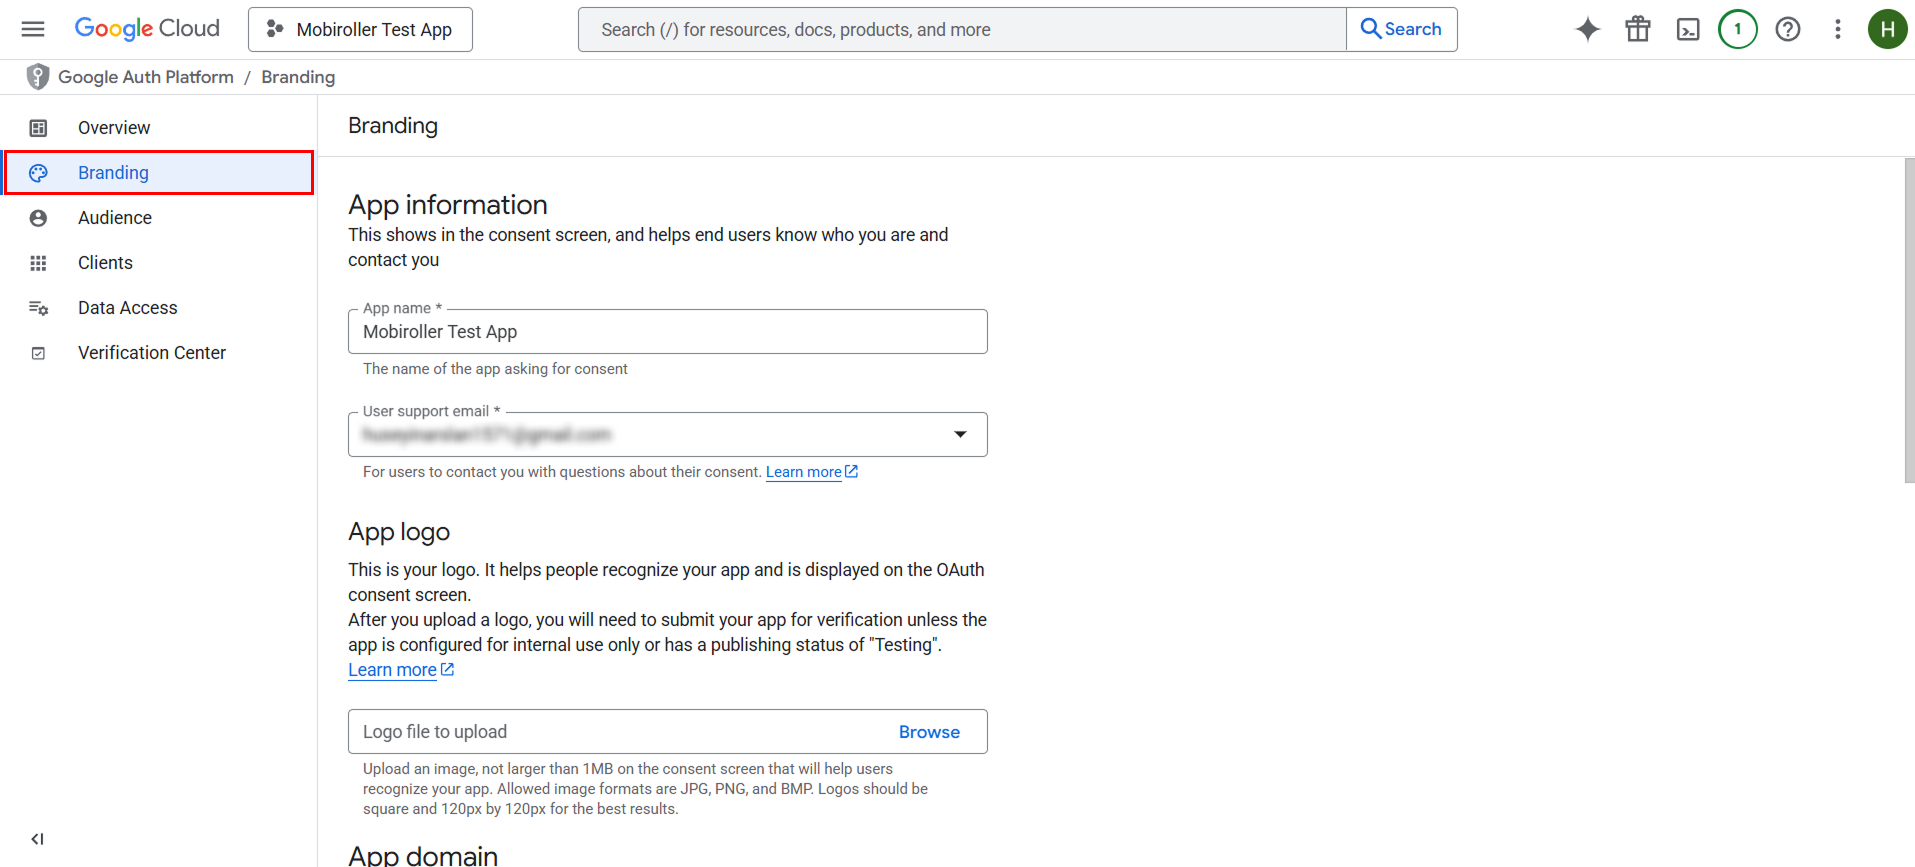
On the screen that opens, fill in the App name and User support email fields under the App Information section, then click the Next button.
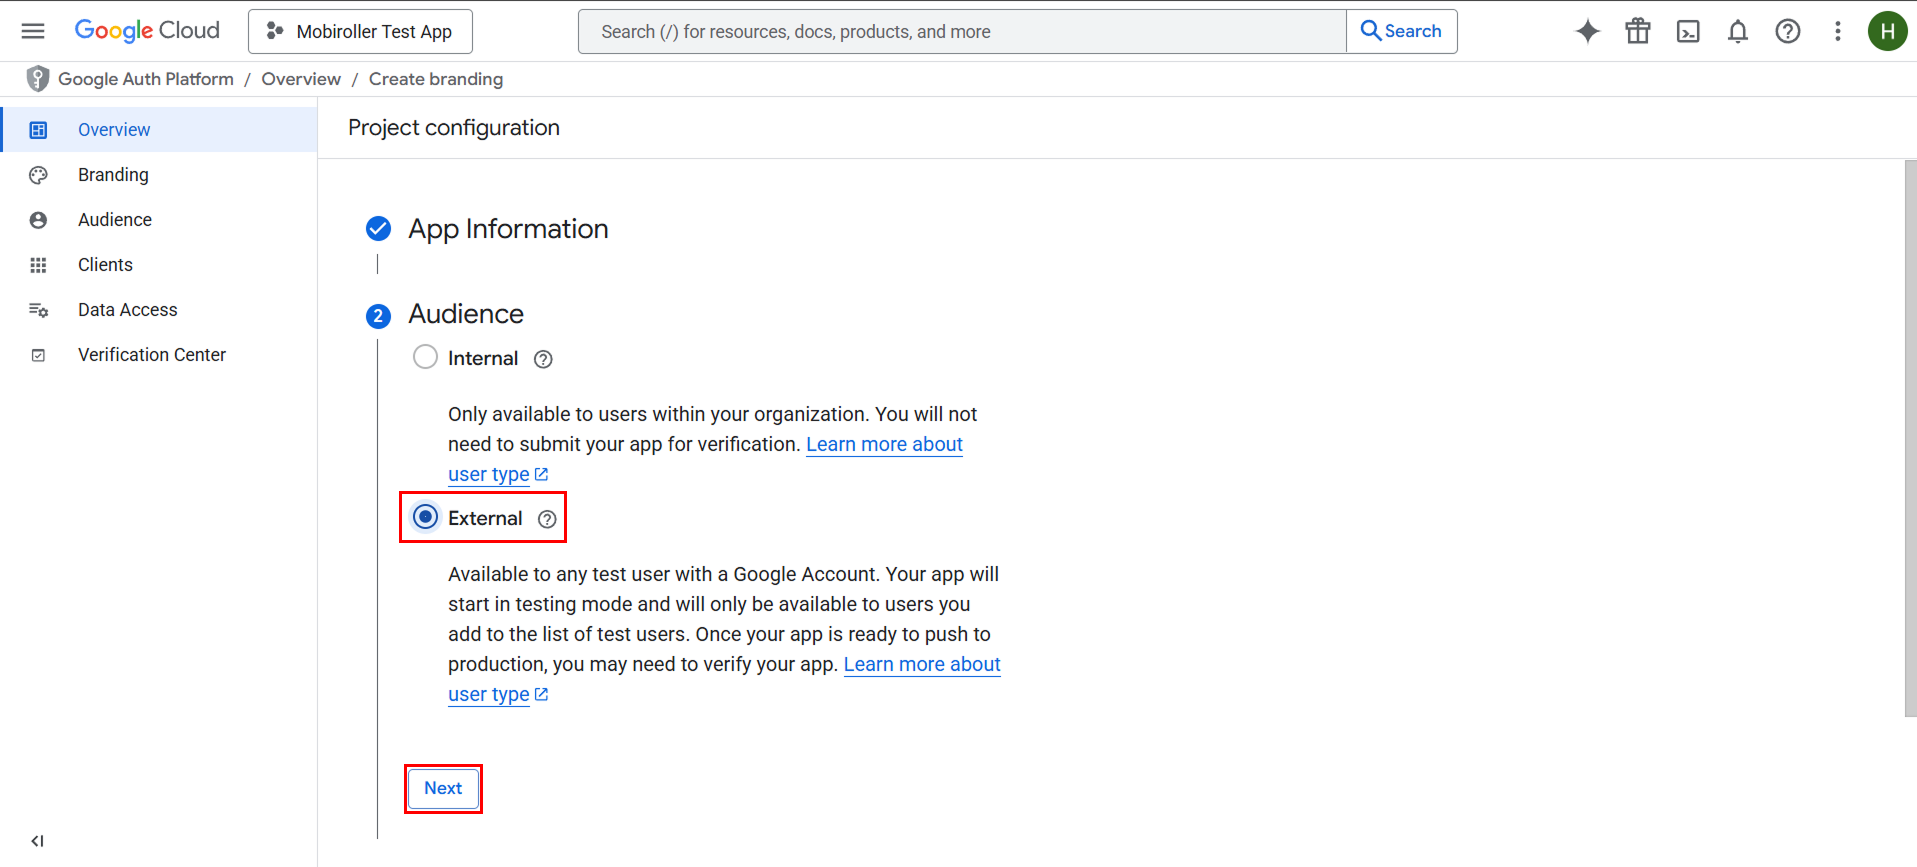
In the Audience section, select the External option and click the Next button to proceed.
Enter the email address Google will use to contact you in the Contact Information field, then click the Next button.
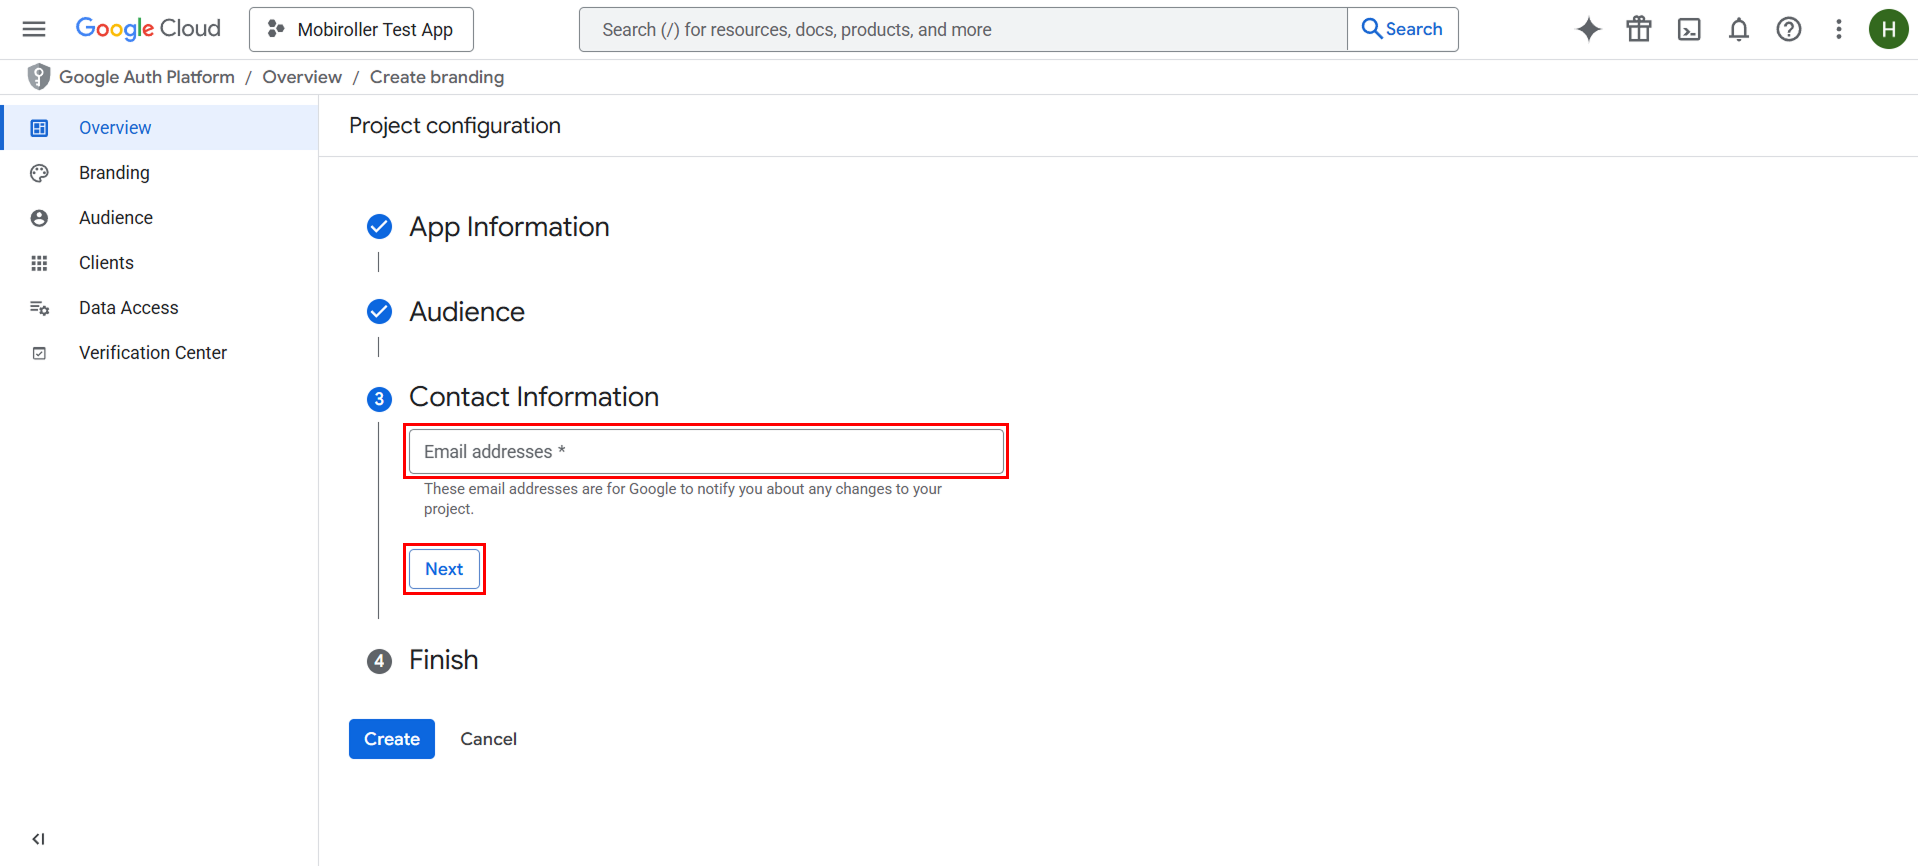
Check the box in the Finish section, click the Continue button, and then click the Create button.

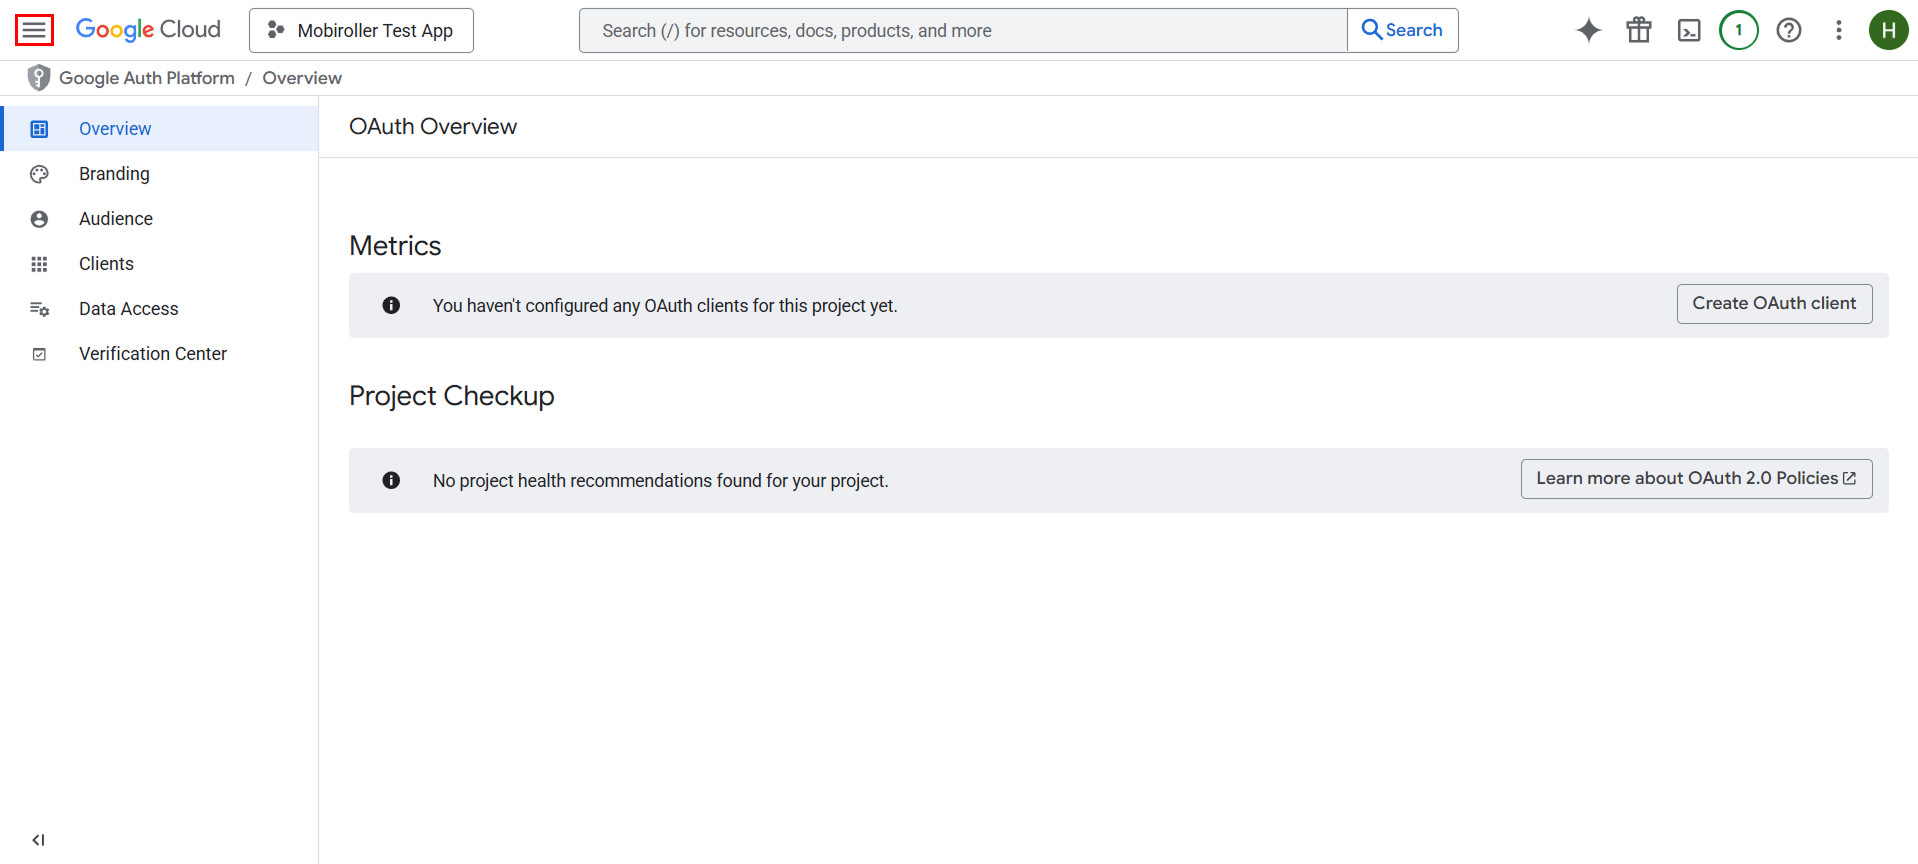
After completing this step, click the hamburger menu icon located at the top left.
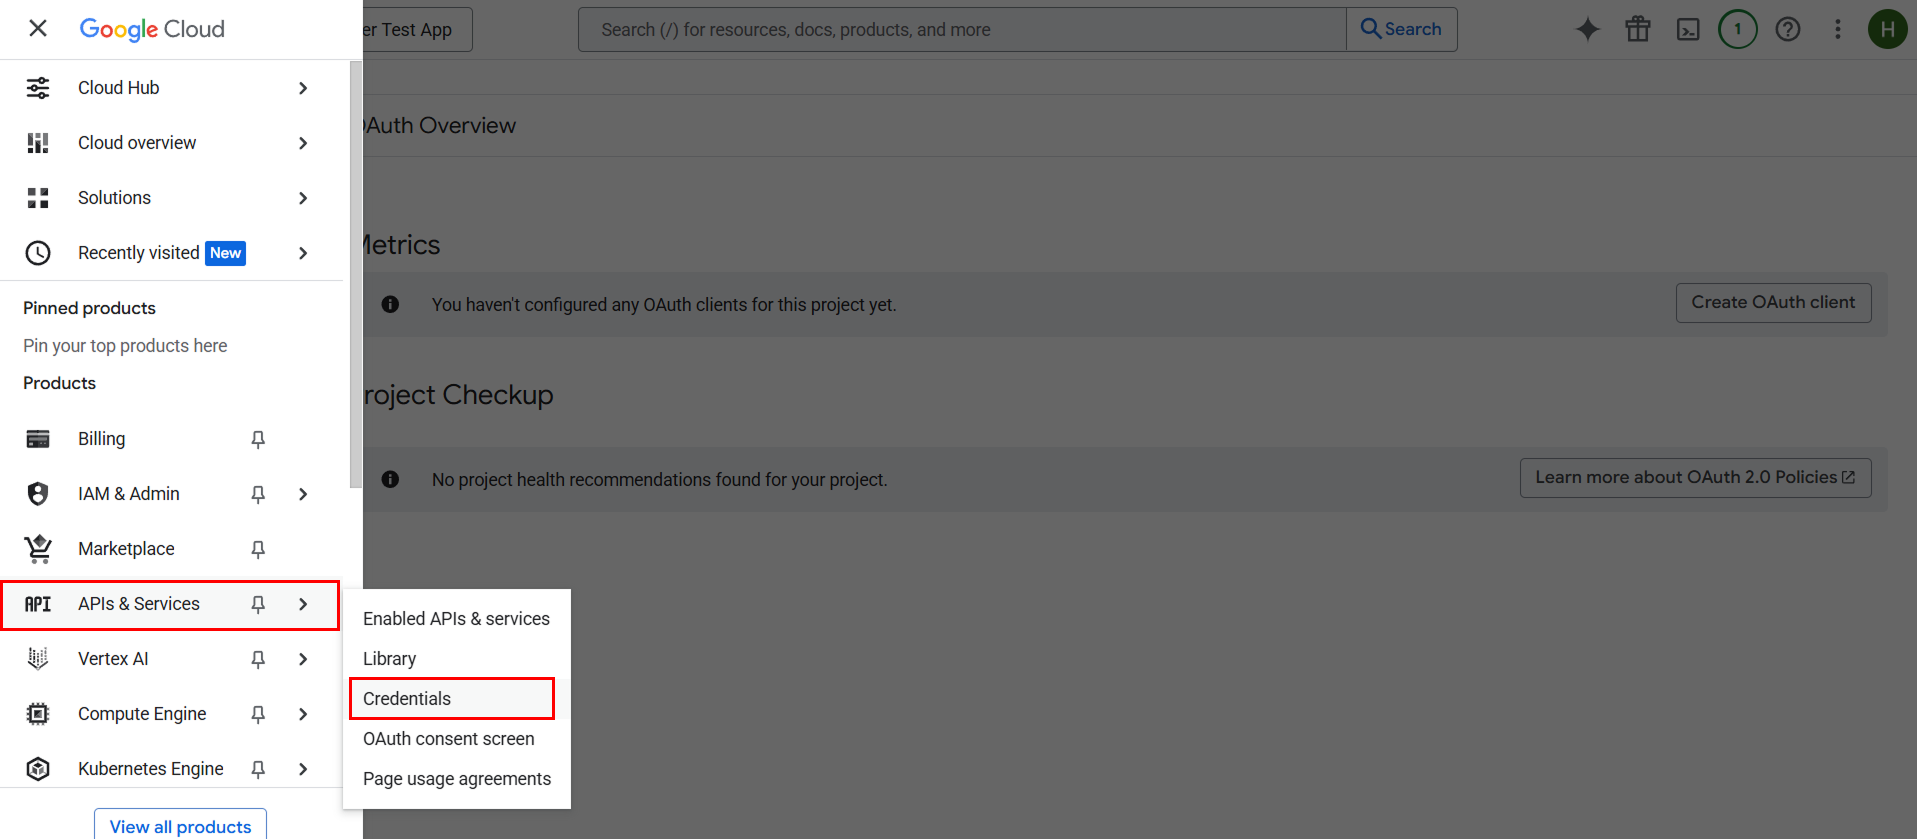
On the screen that opens, click on the Credentials section under APIs & Services.
Click the Create credentials button located at the top.
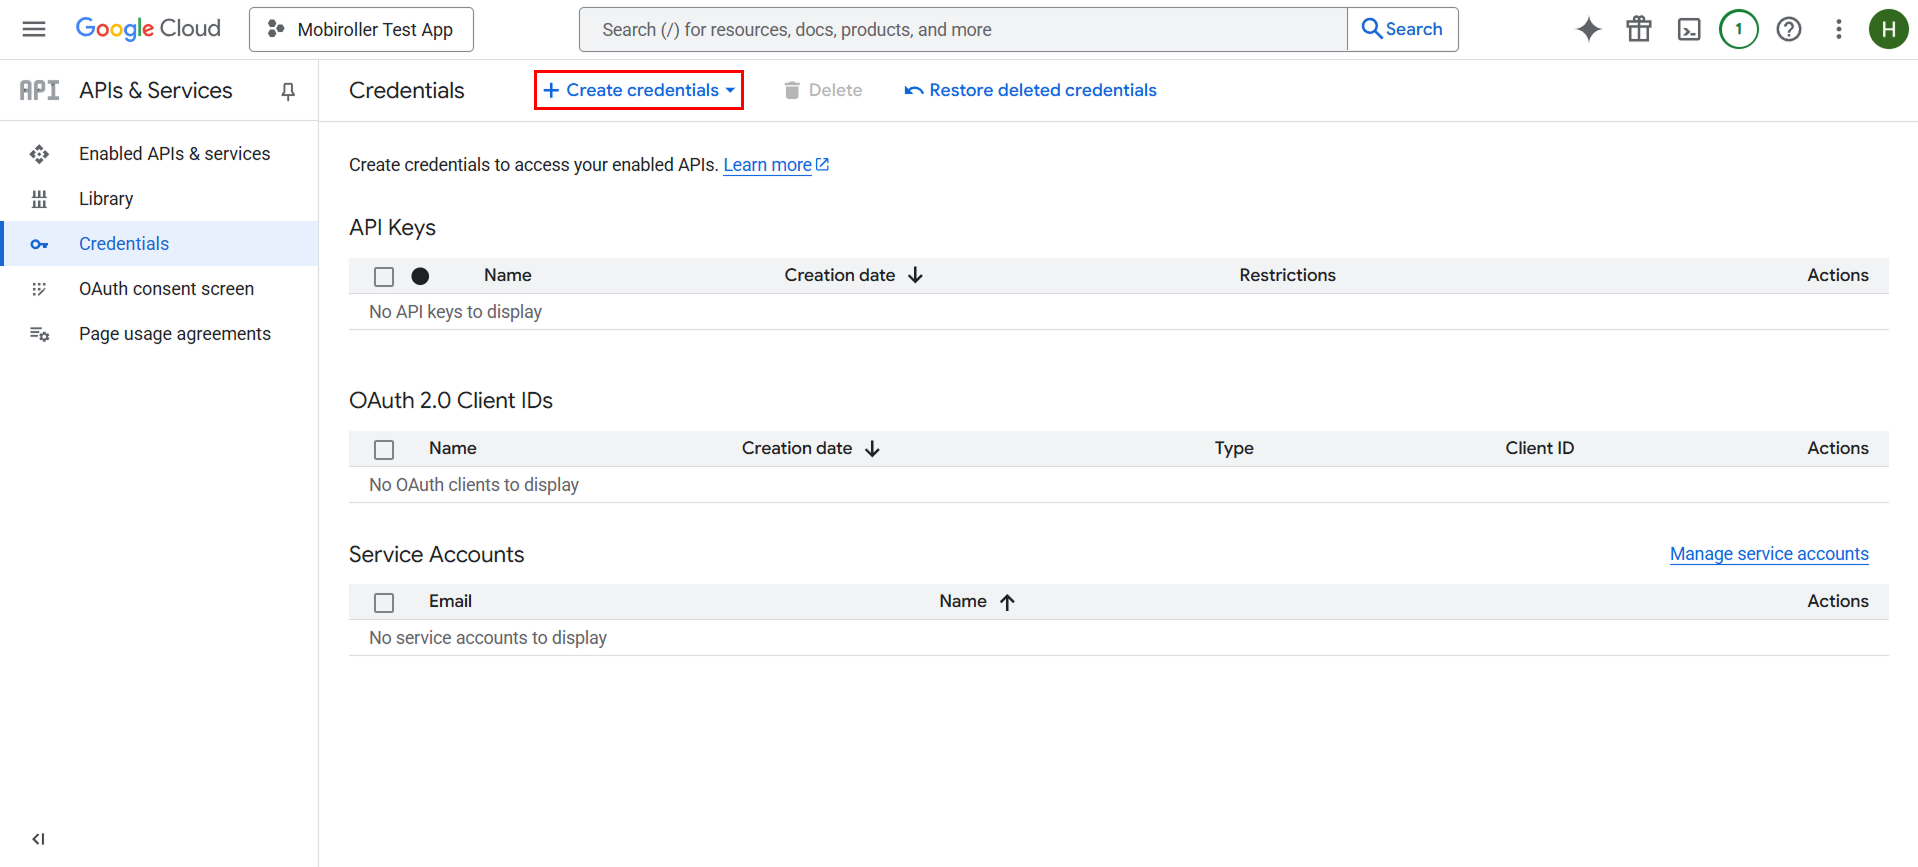
OAuth client ID butonuna tıklayarak devam edin.

Application type kısmından Android seçeneğini seçin.
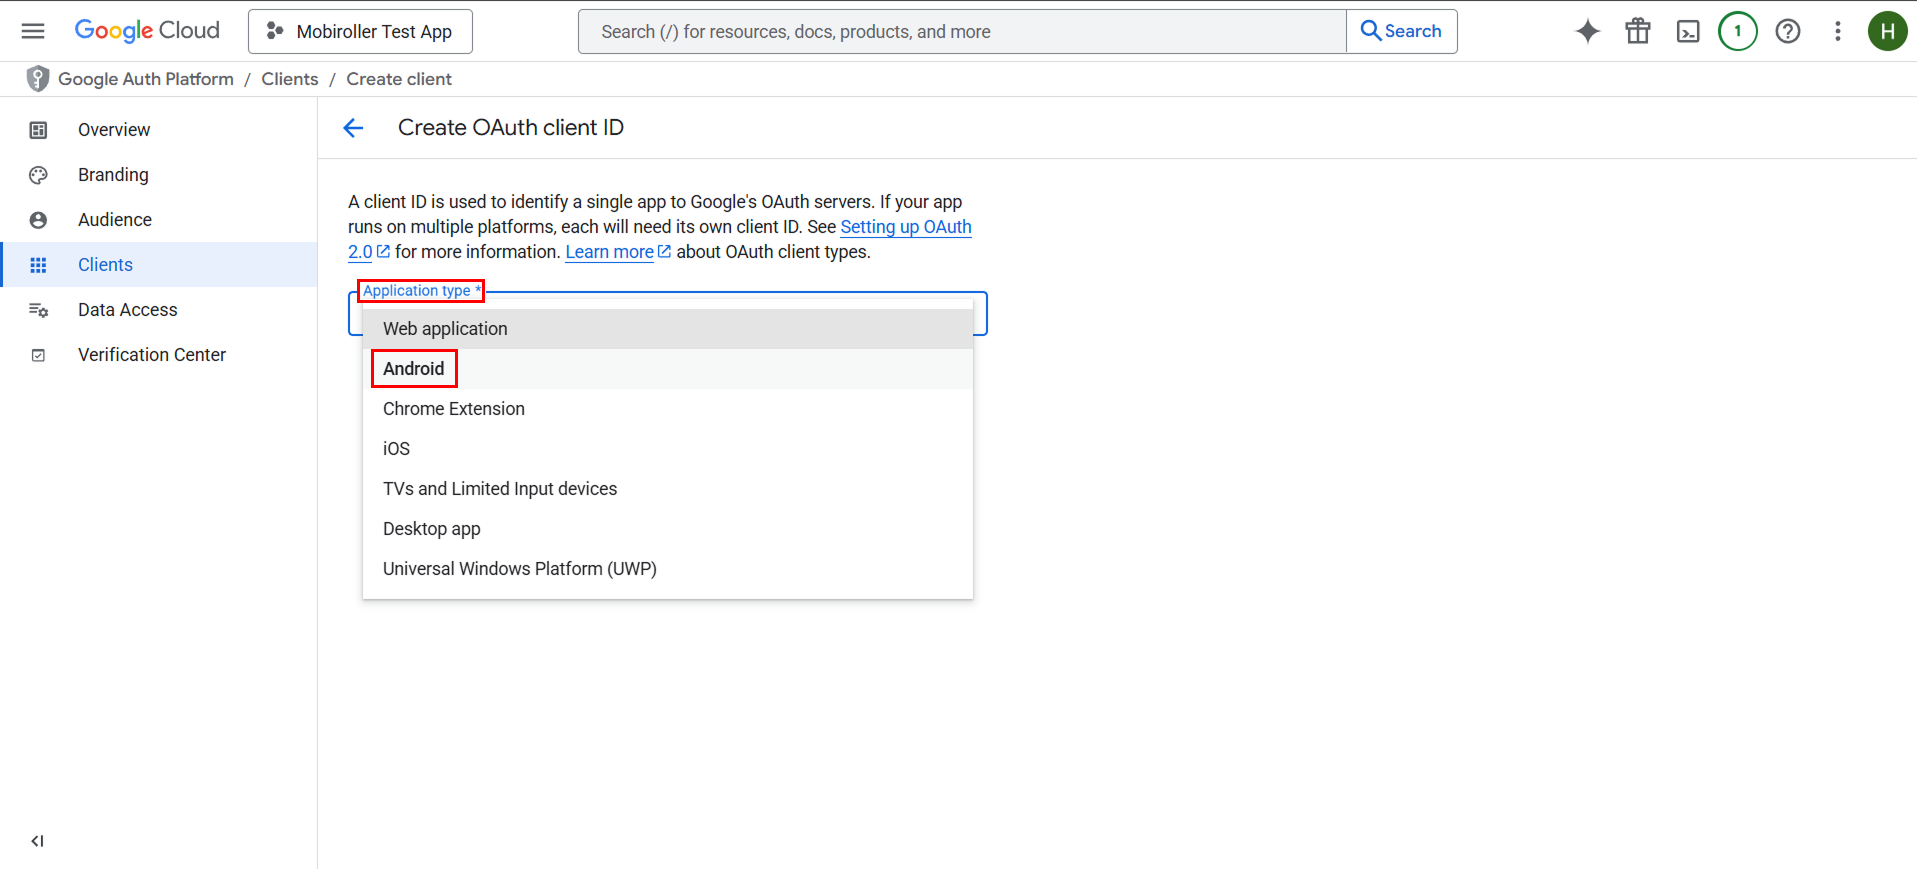
When selected, the rest of the form will appear.
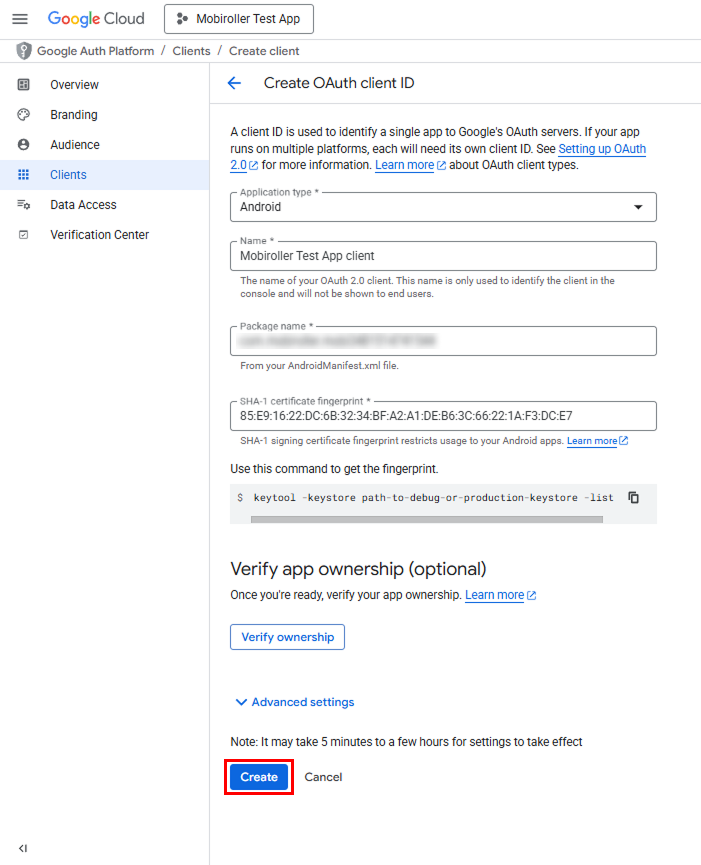
Name: You can enter a name here; this name will not be visible to your users.
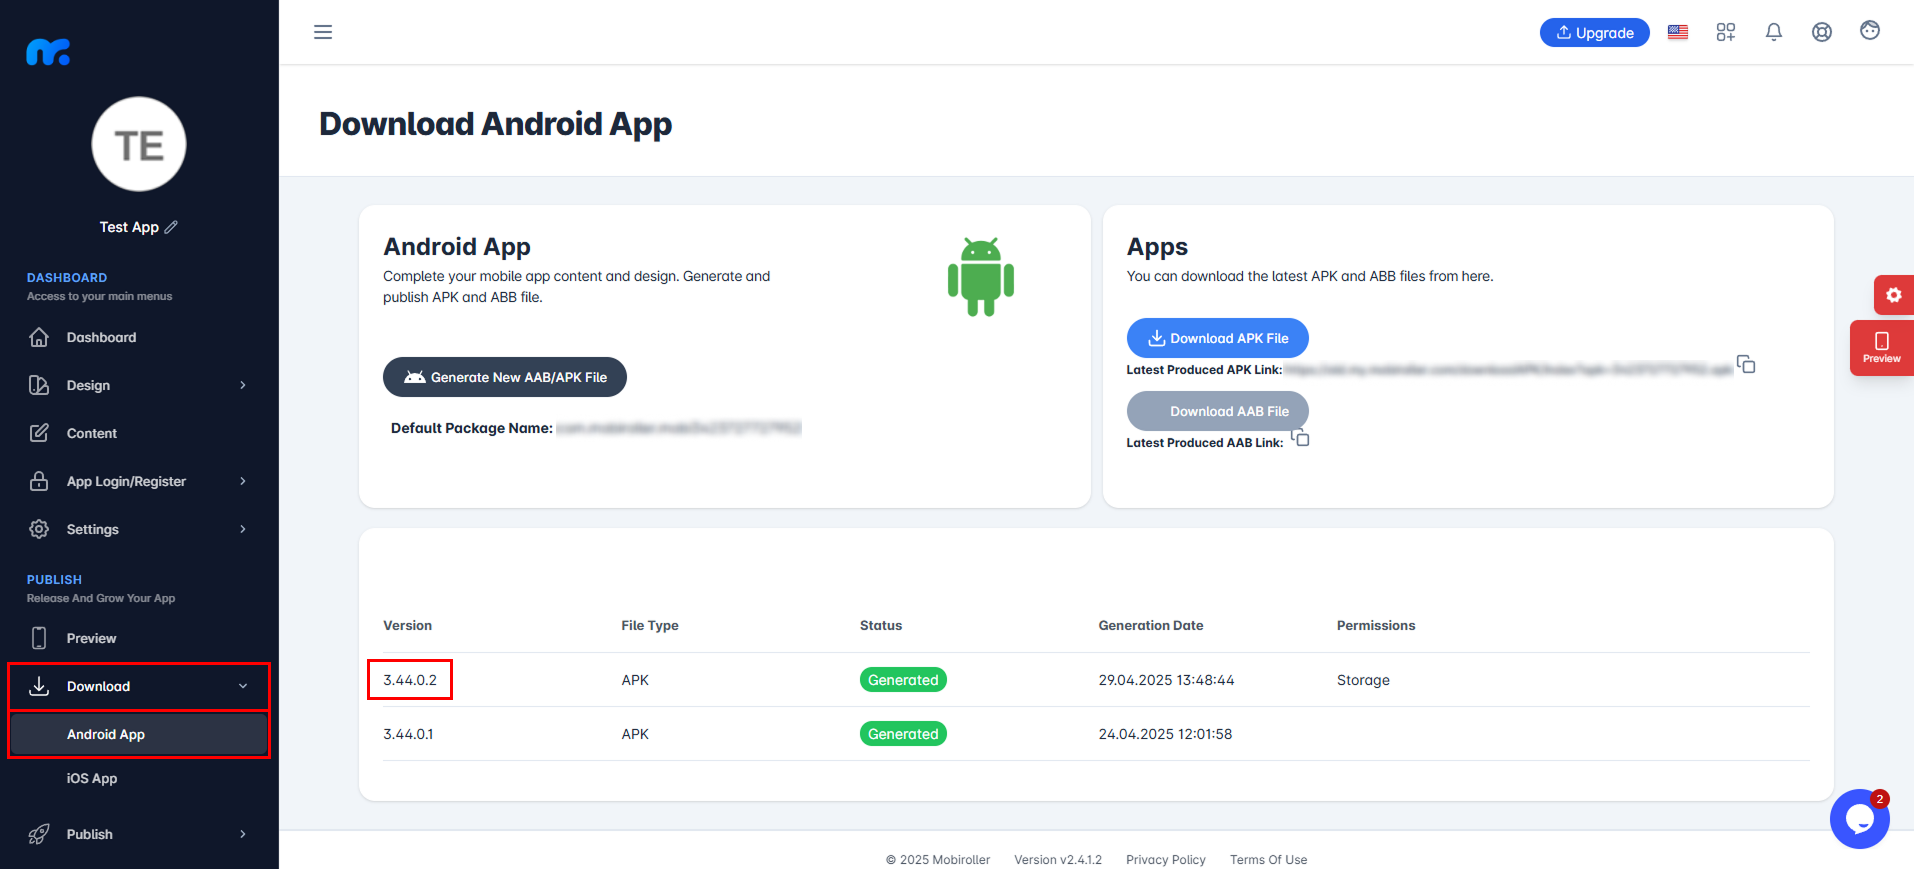
Package name: You should enter the name of the APK you generated in the Mobiroller panel. Make sure you have the most up-to-date APK. (To find your package name, go to the Mobiroller panel and click on Download > Android Application.)
SHA-1 certificate fingerprint: Enter the code below without any spaces or missing characters, then click the Create button.
85:E9:16:22:DC:6B:32:34:BF:A2:A1:DE:B6:3C:66:22:1A:F3:DC:E7
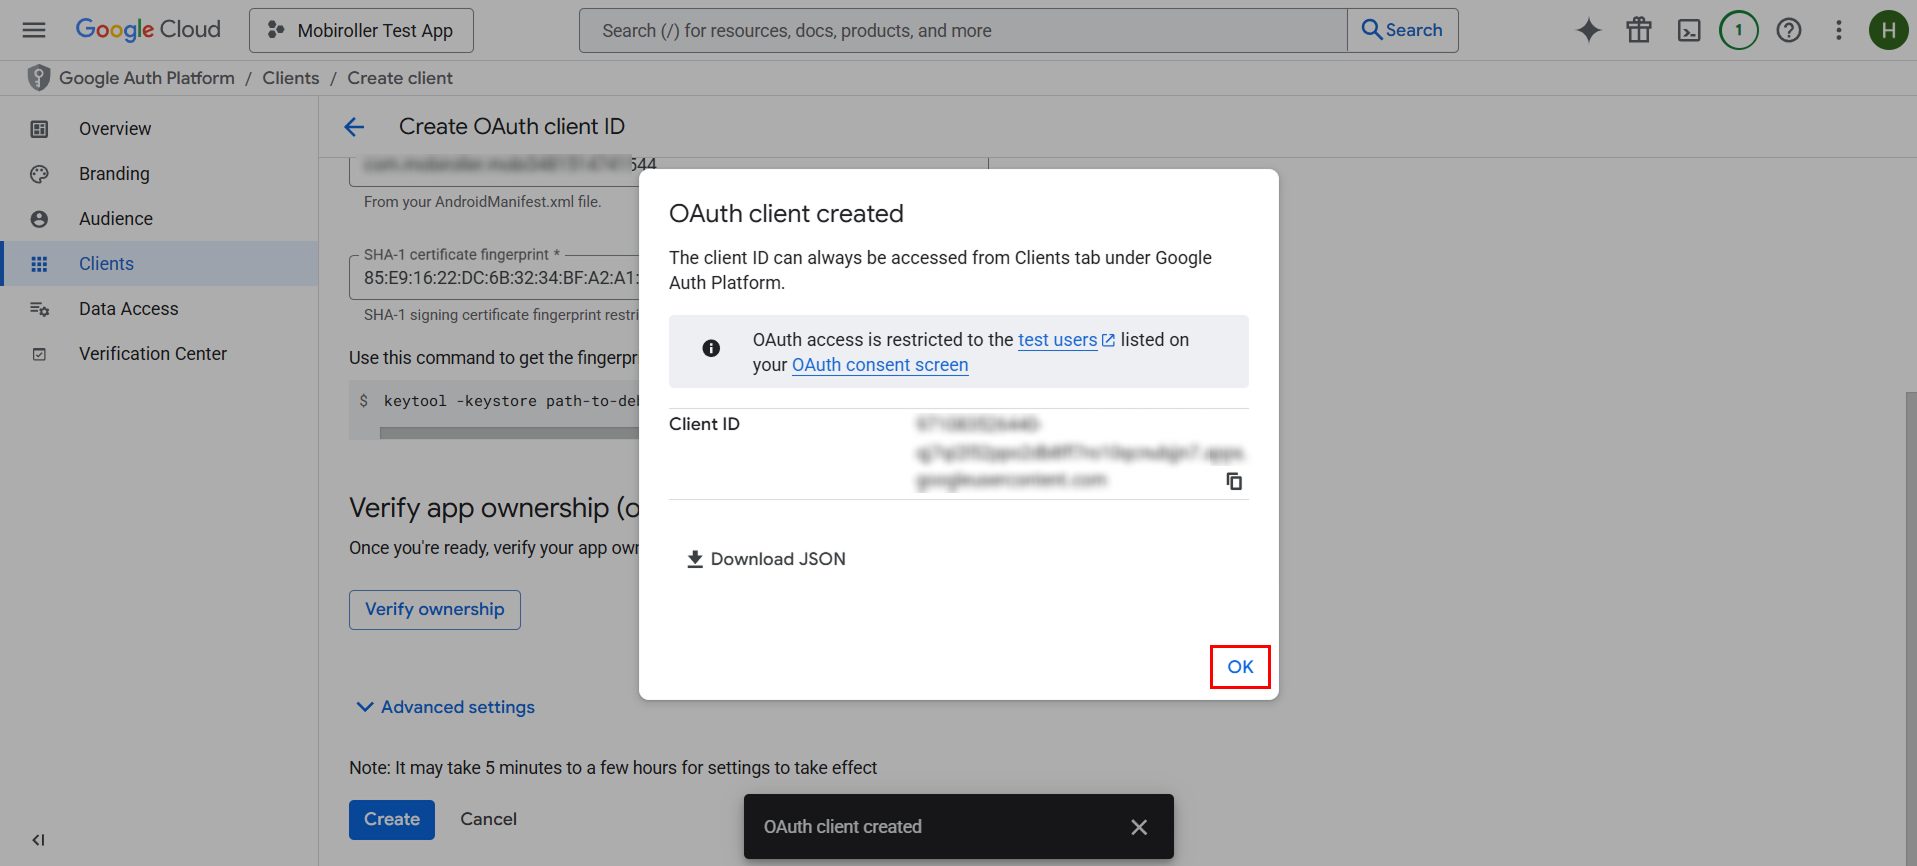
Close the screen that appears by clicking the OK button.
On the screen you’re redirected to, click Create Credentials again, then select the API key option from the dropdown menu.
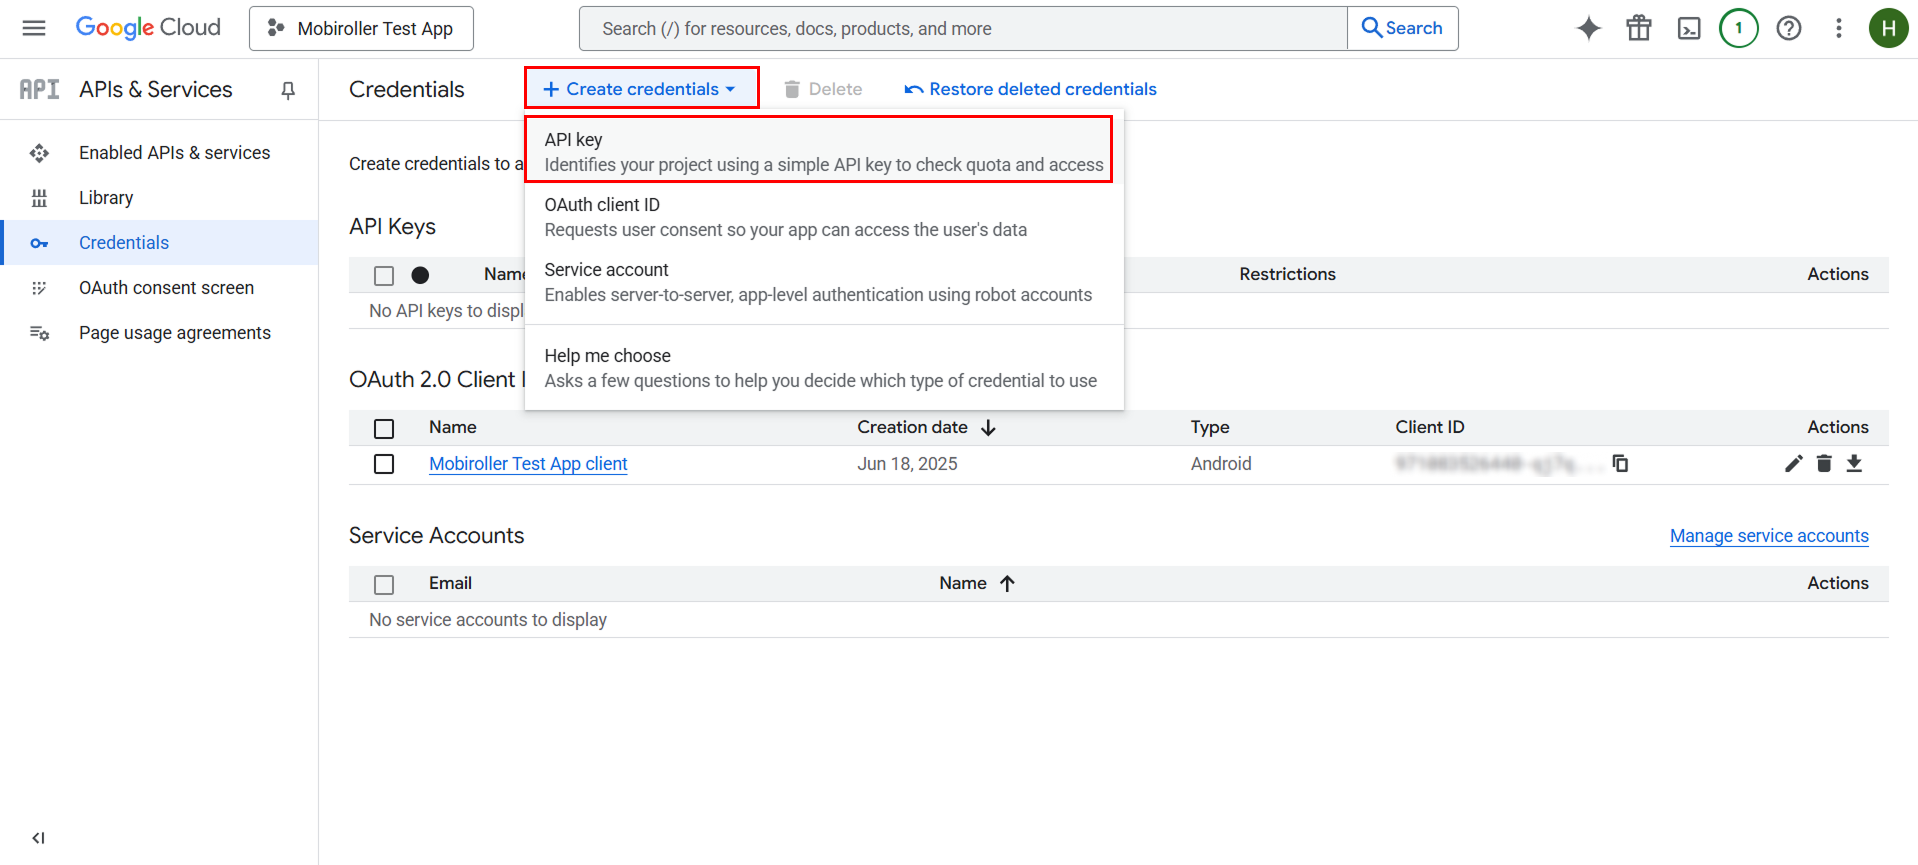
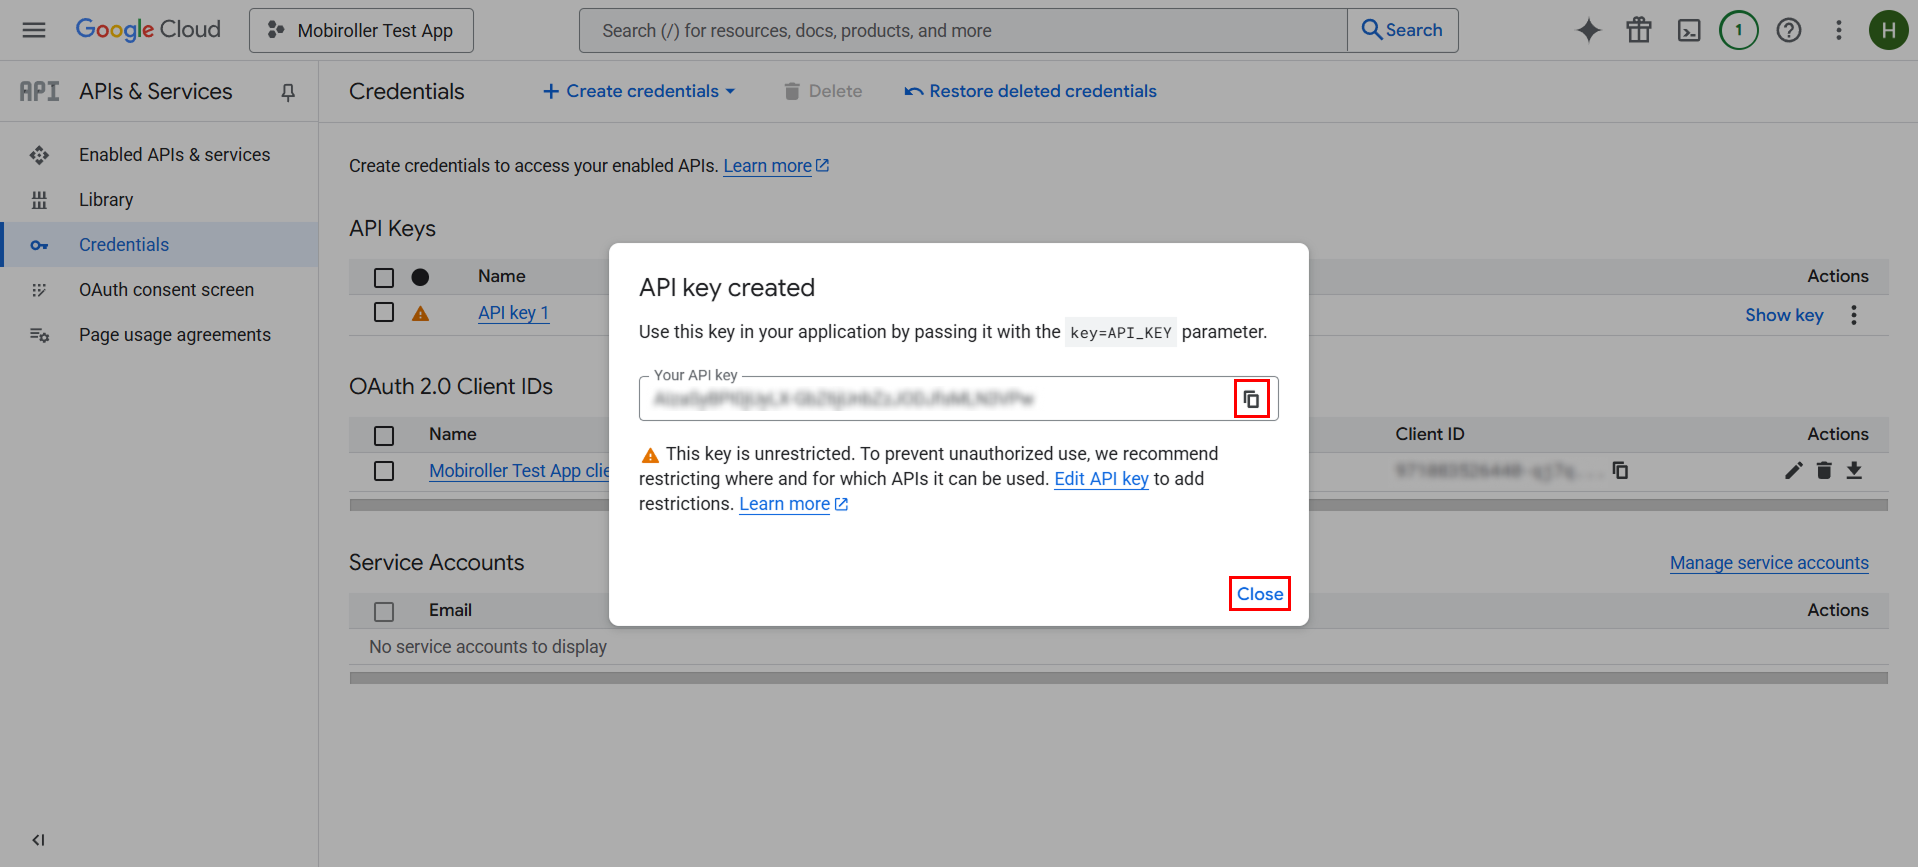
Your API key will be generated shortly. Copy the generated key, then click the Close button.
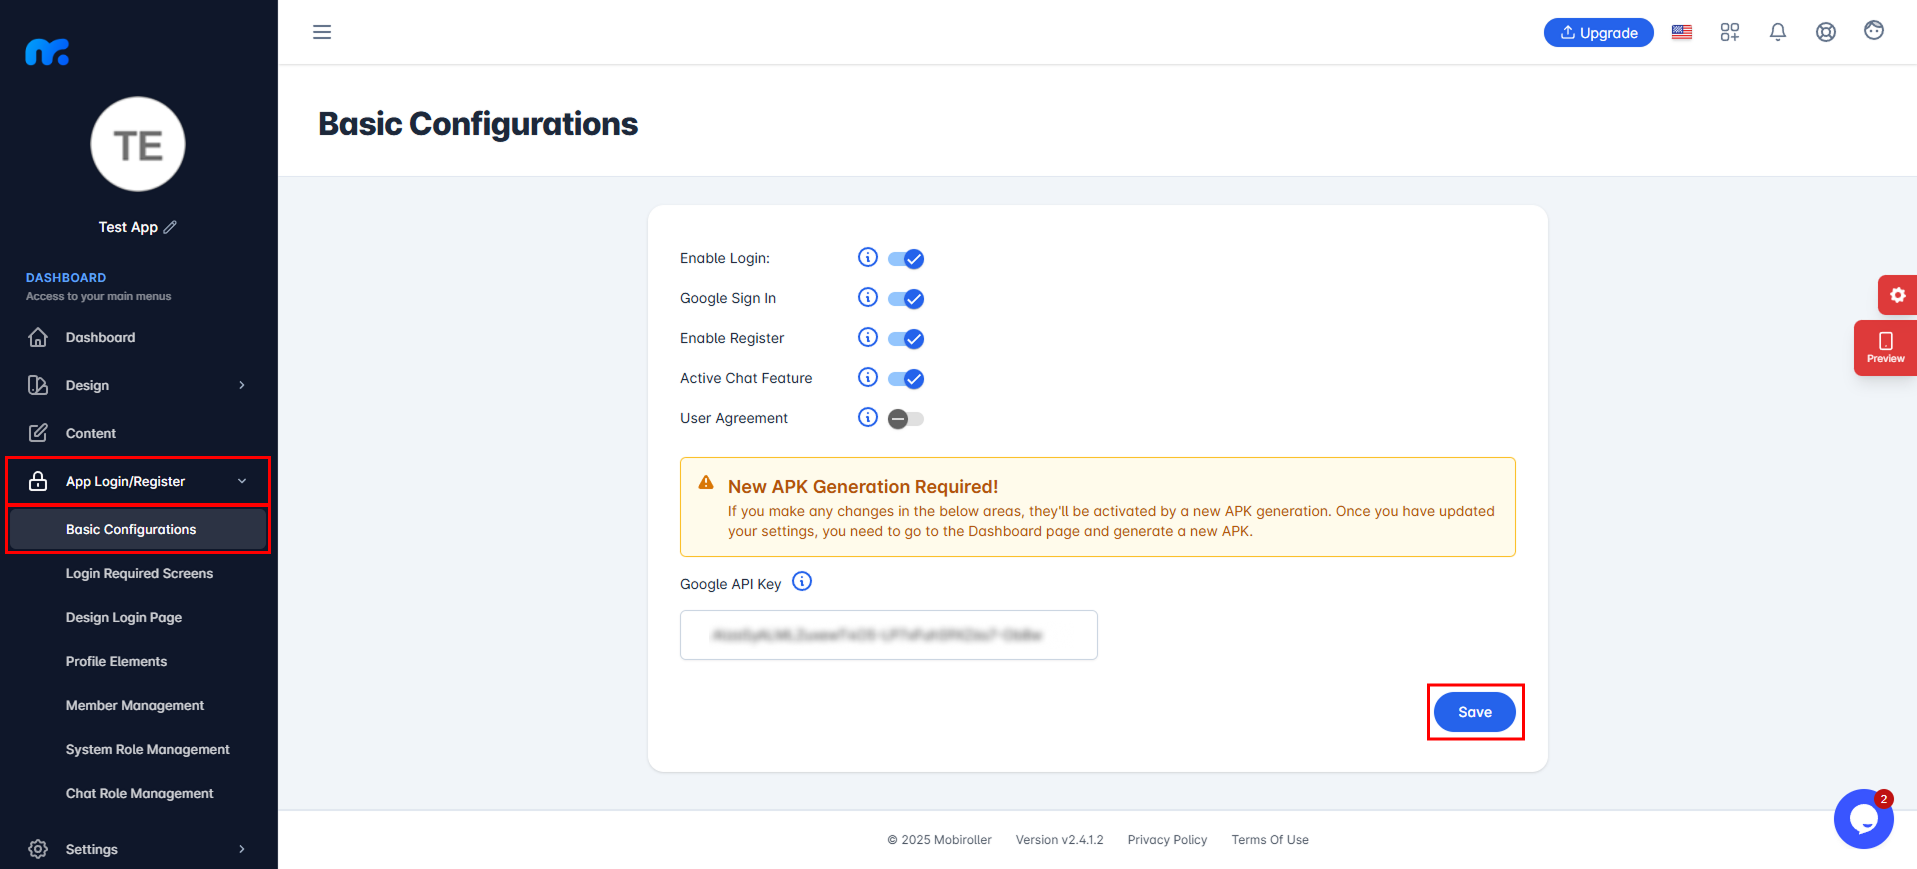
You need to paste the copied key into the Google API Key field in the Mobiroller panel. To do this, go to App Login/Register > Basic Configuration in the Mobiroller panel, enable the Google Sign In option, paste the key into the field below, and then click the Save button.
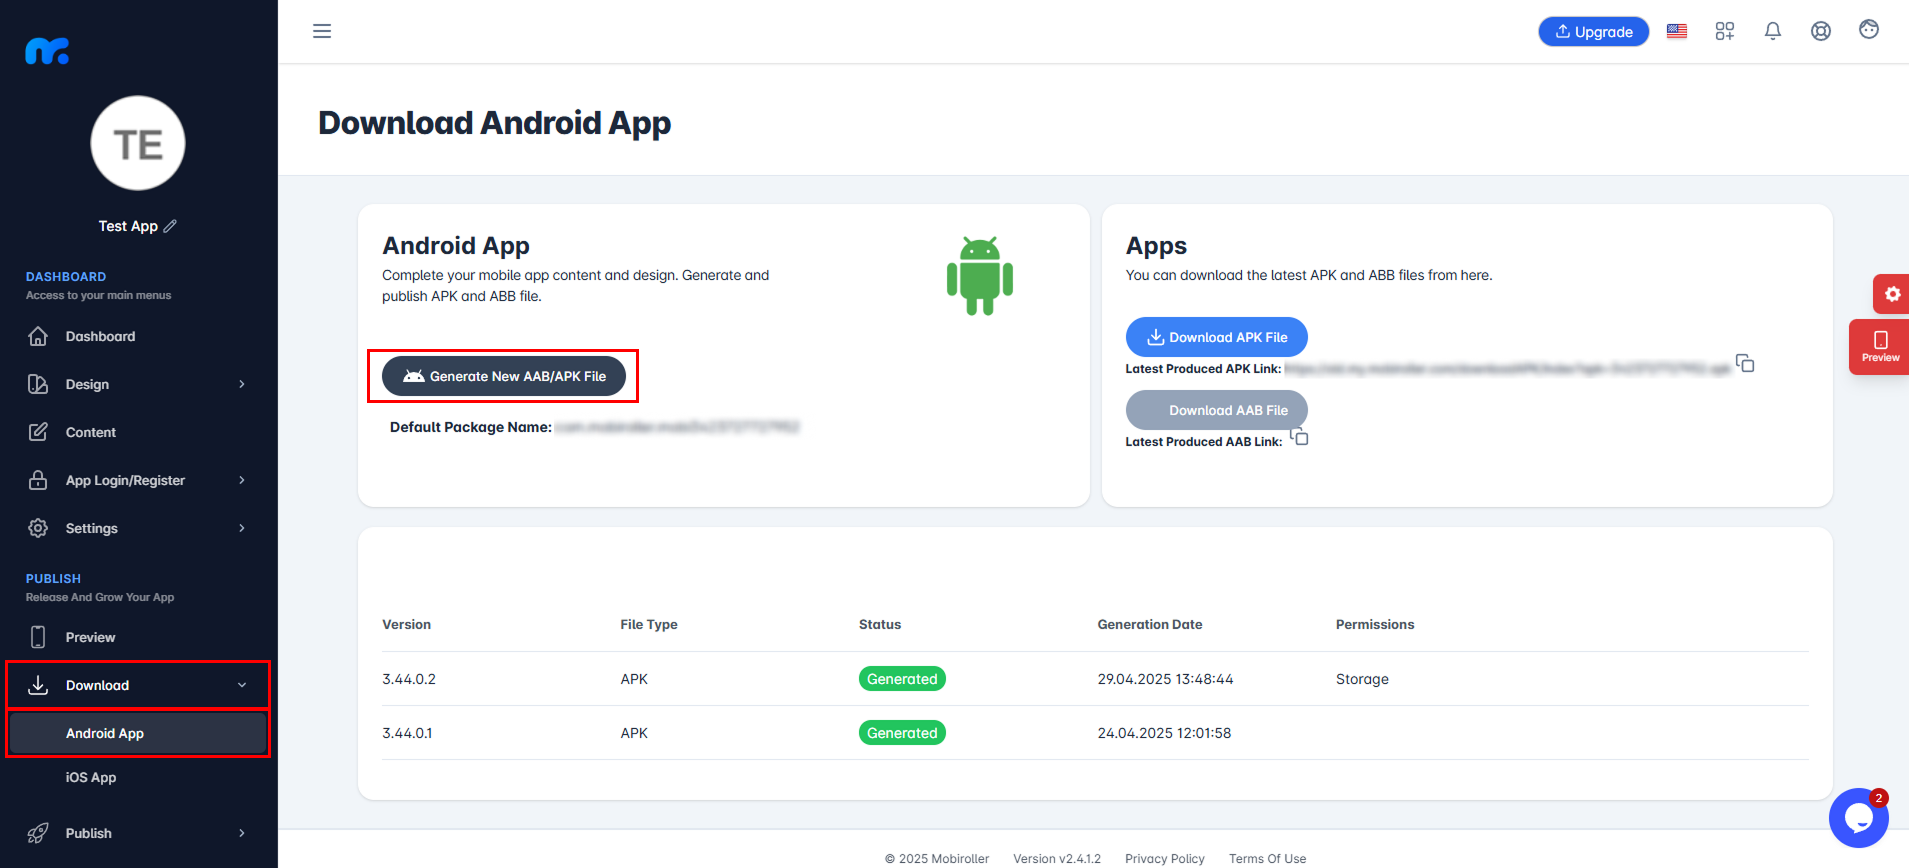
Next, go to the Android App section under the Download tab and click the Generate New AAB/APK File button to update your APK.
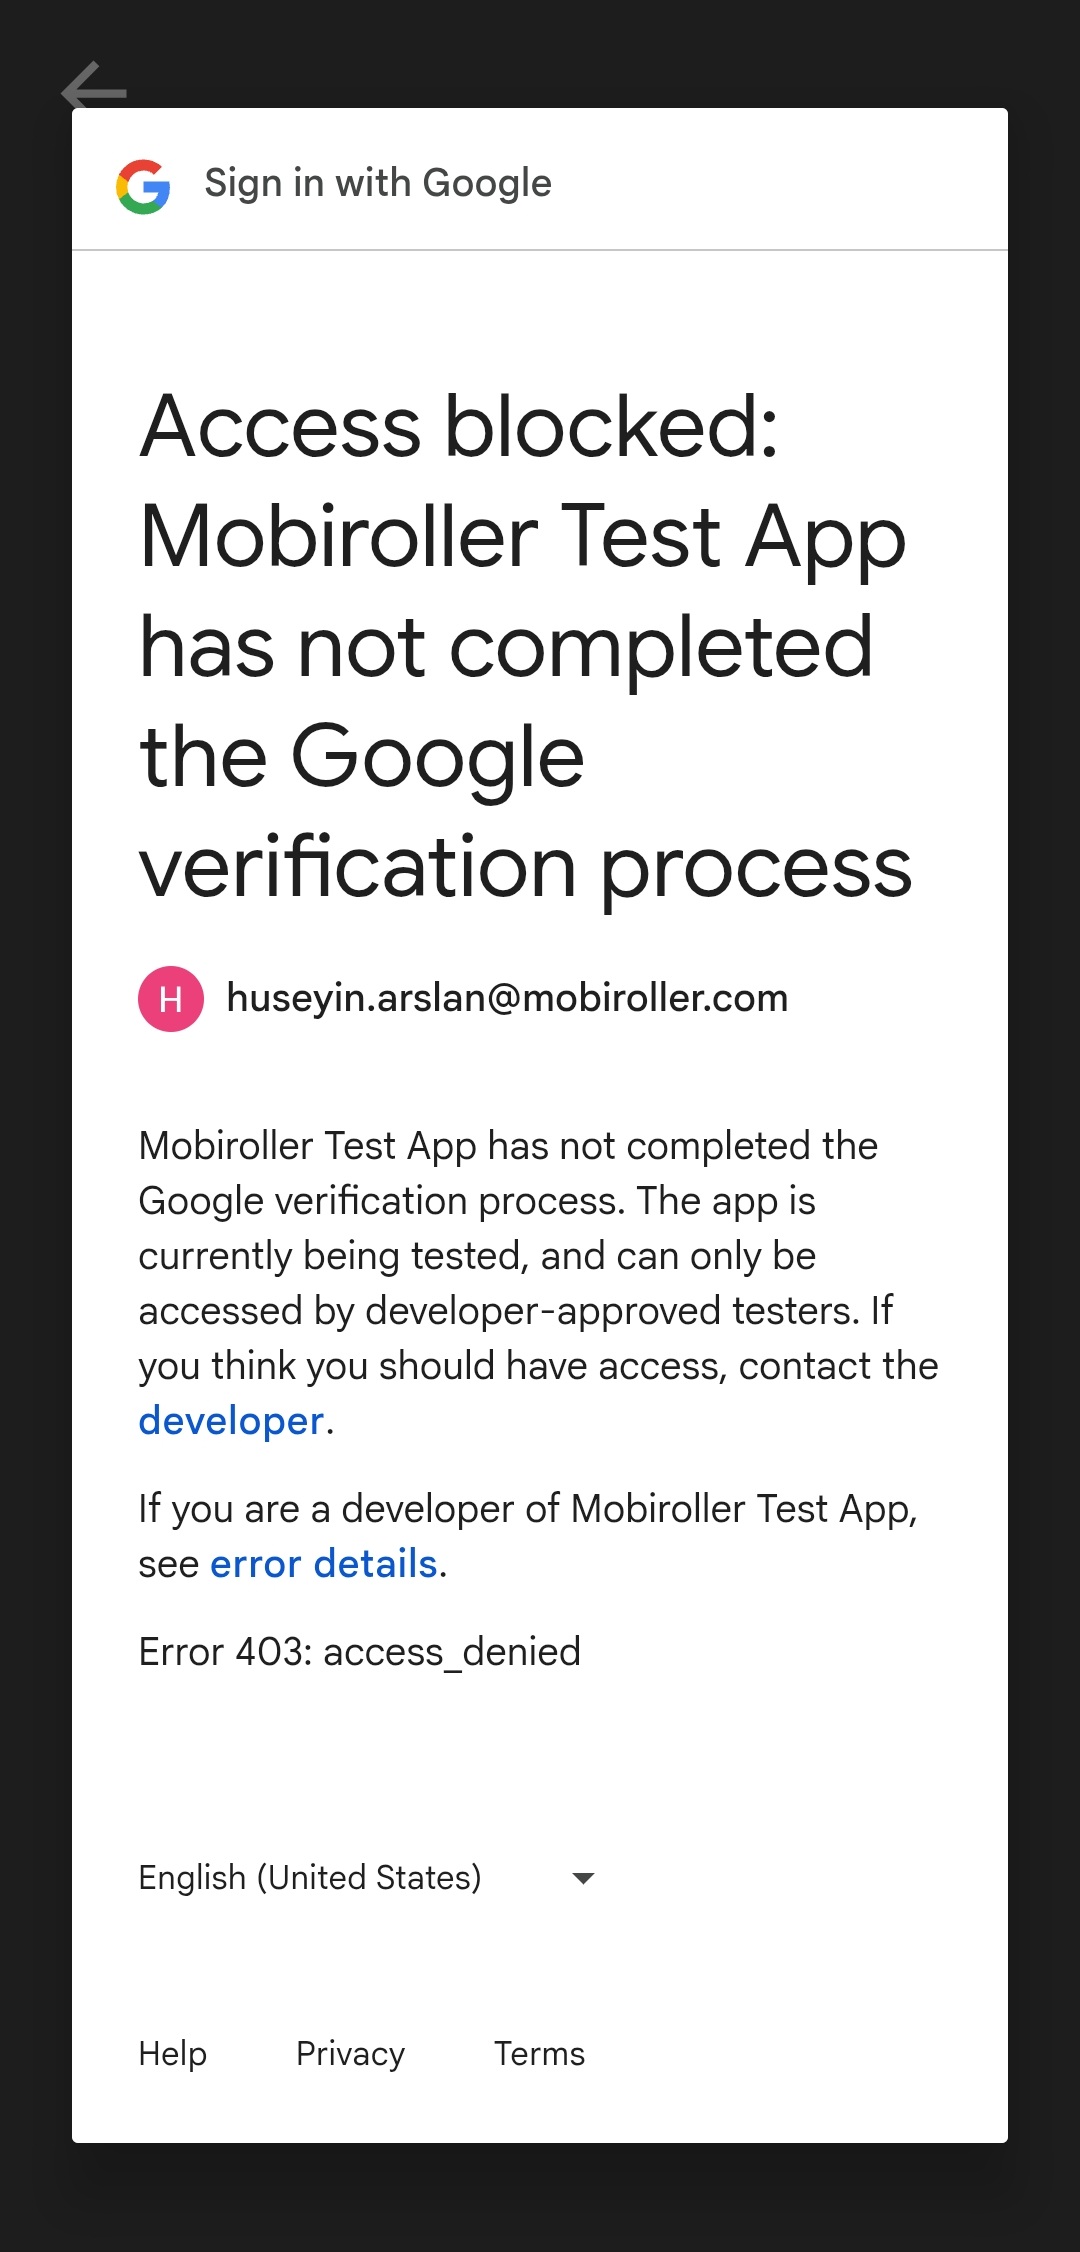
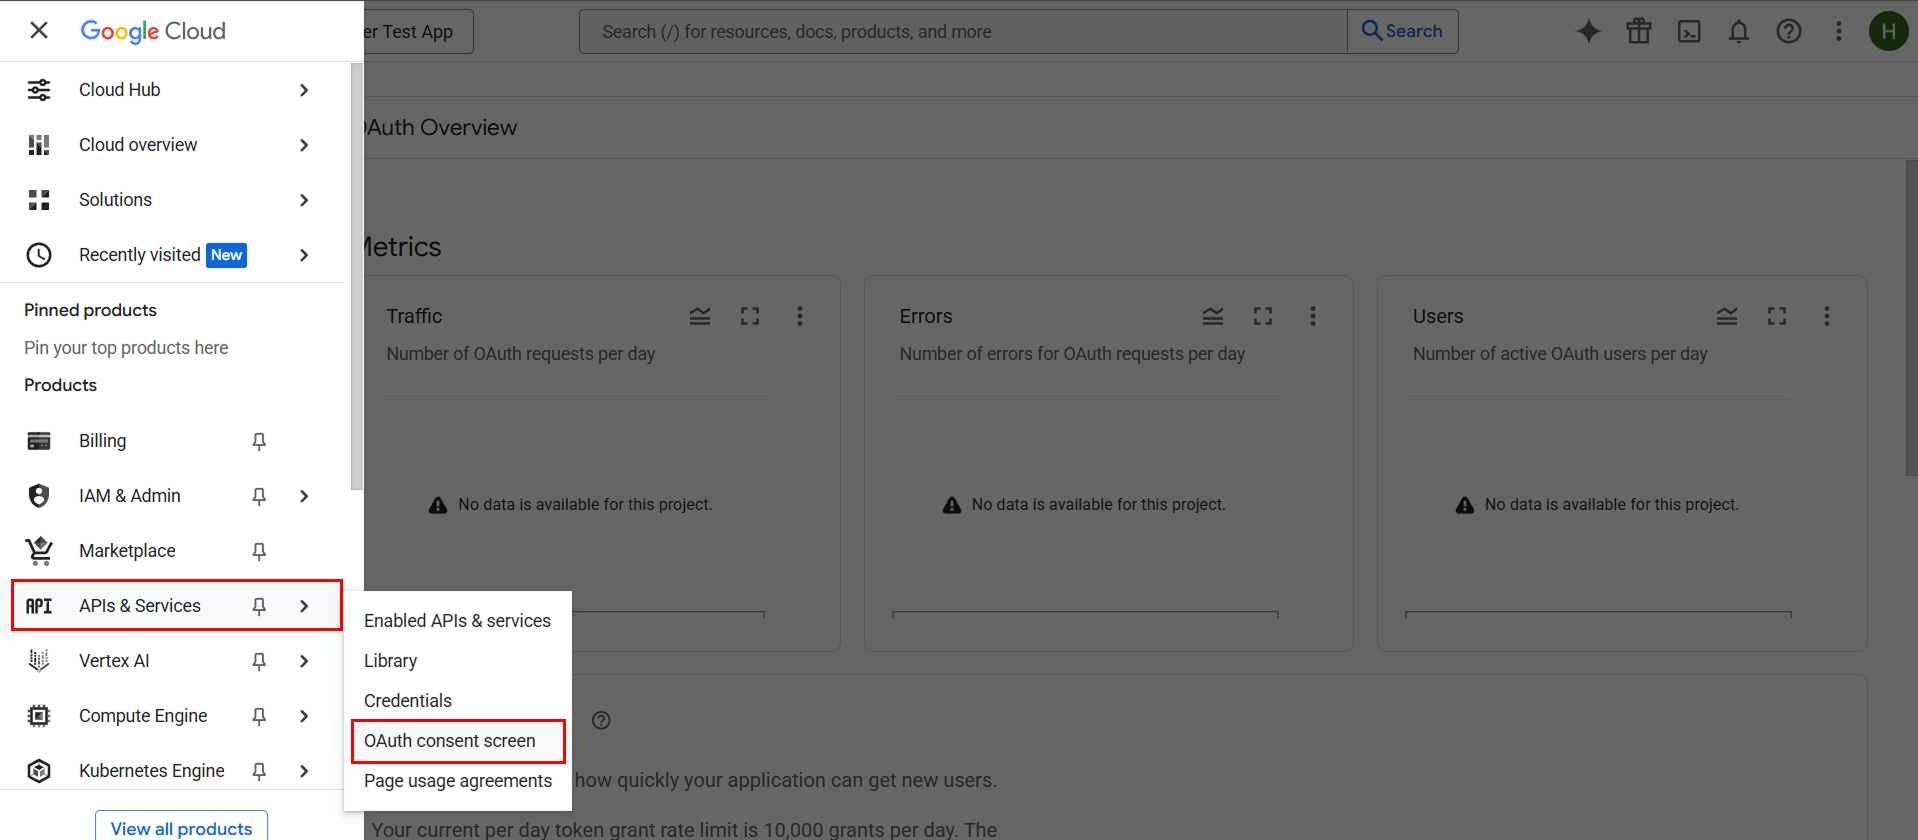
To resolve this error, go to the OAuth consent screen section under APIs & Services.
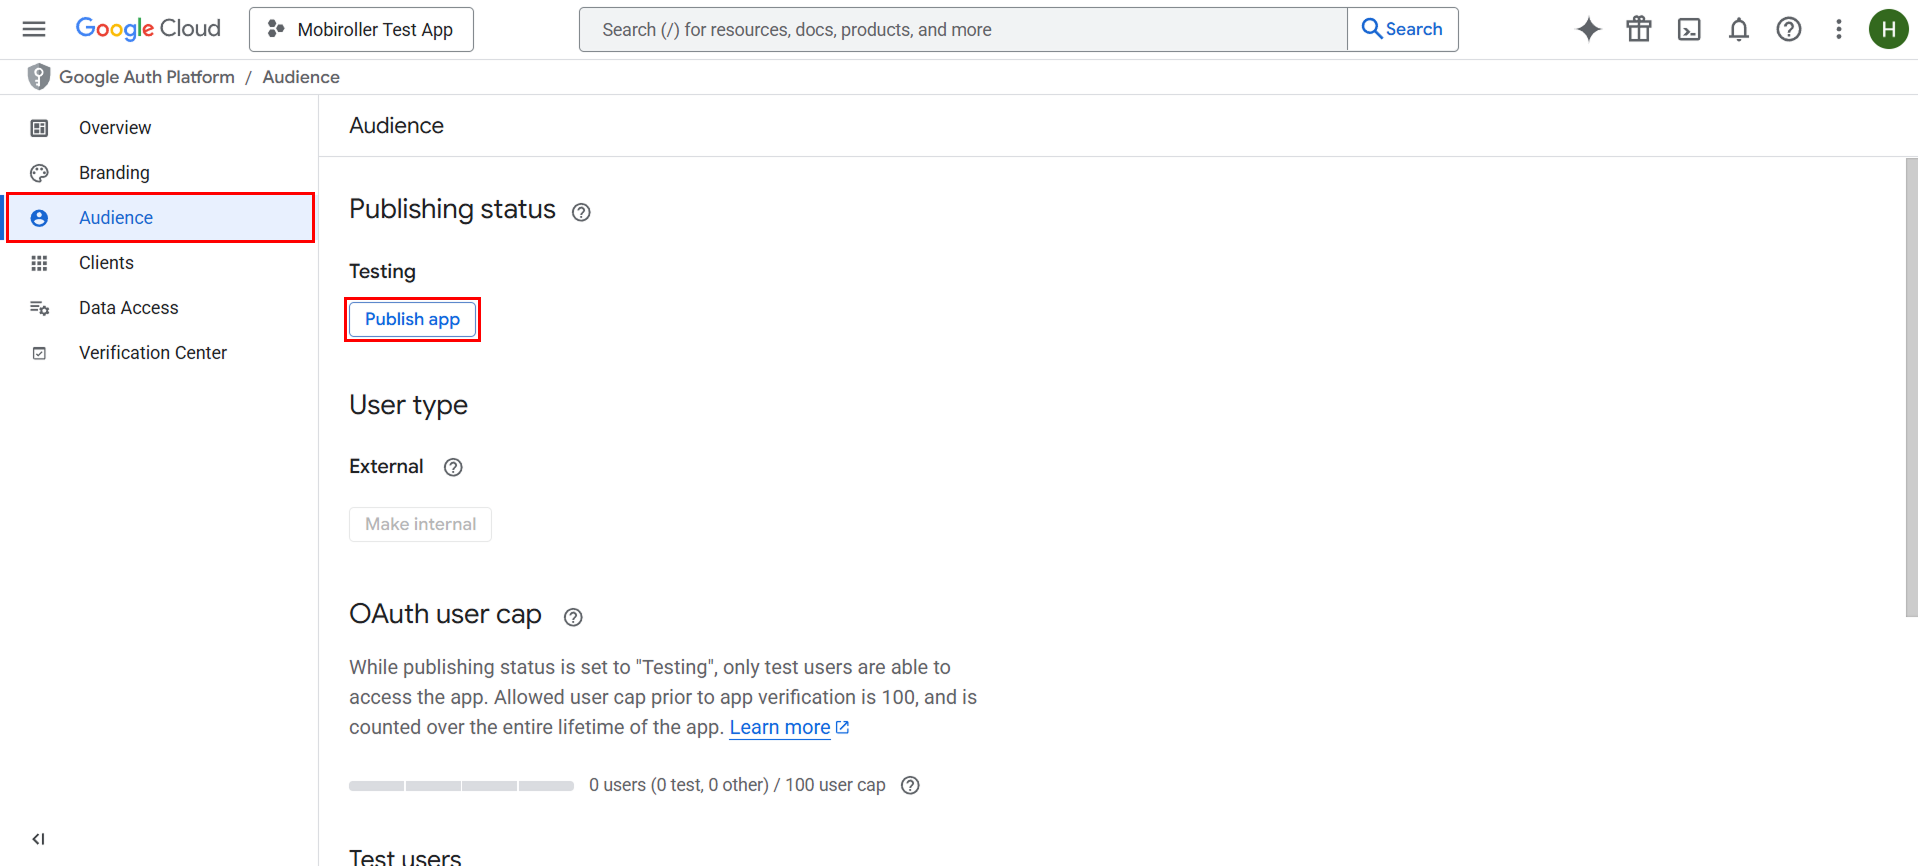
On the screen that opens, go to the Audience section and click the Publish app button.
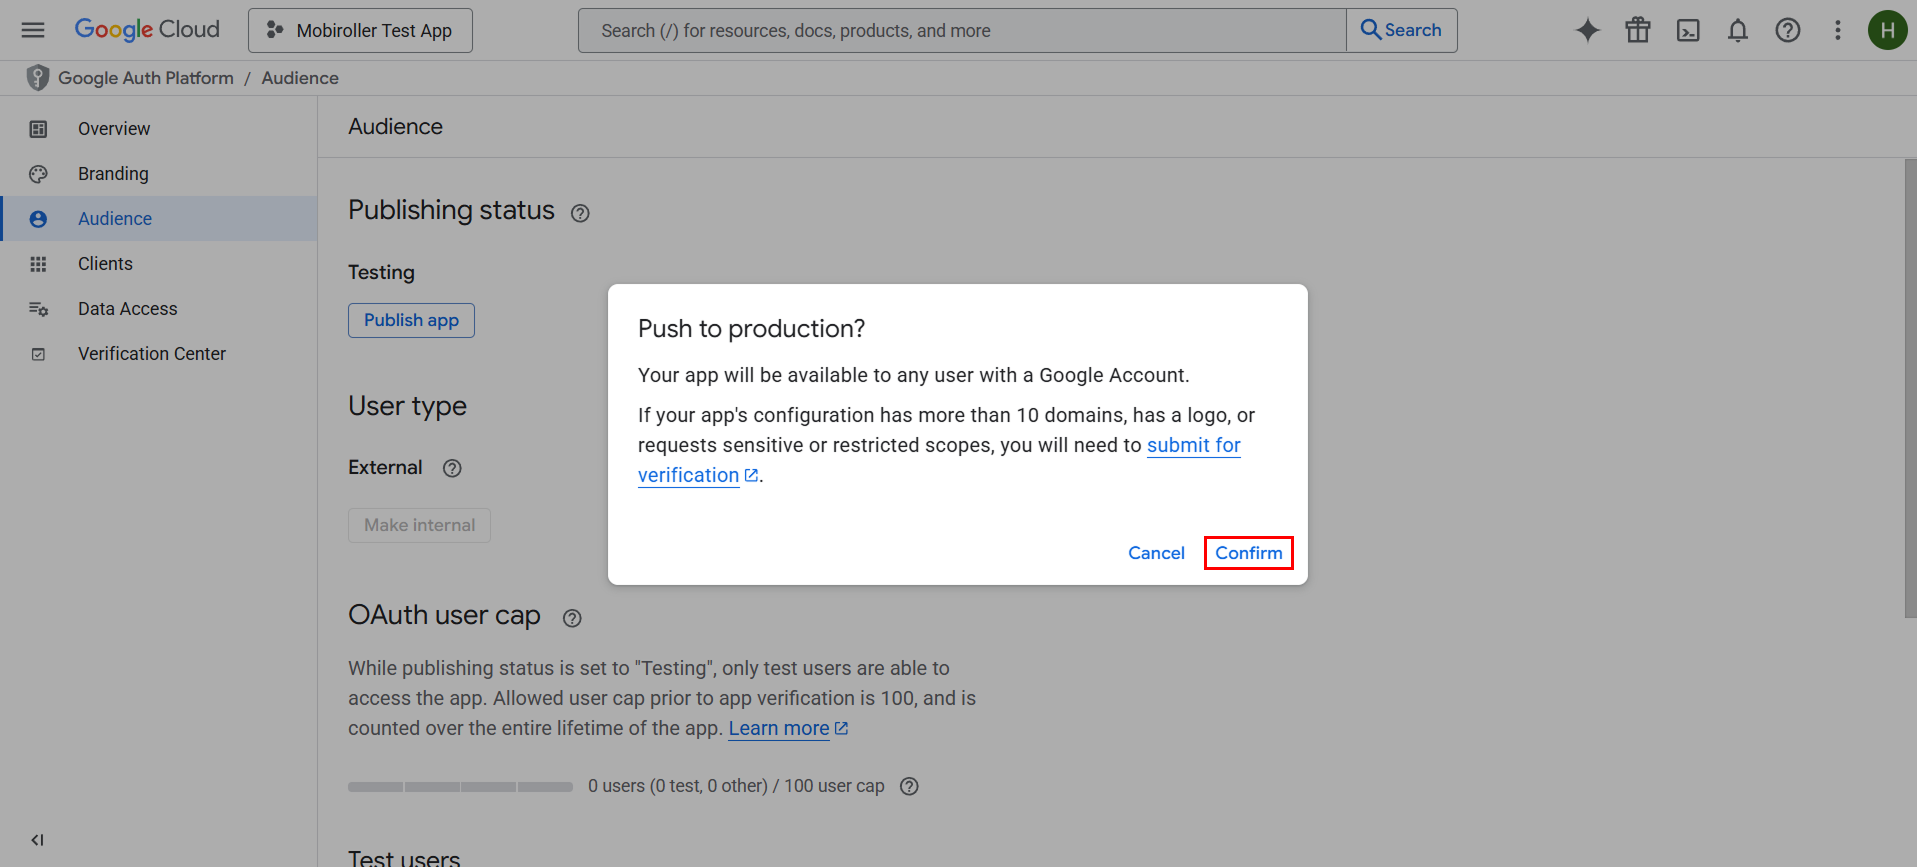
Then, on the next screen, click the Confirm button to proceed. This will resolve the issue you encountered.
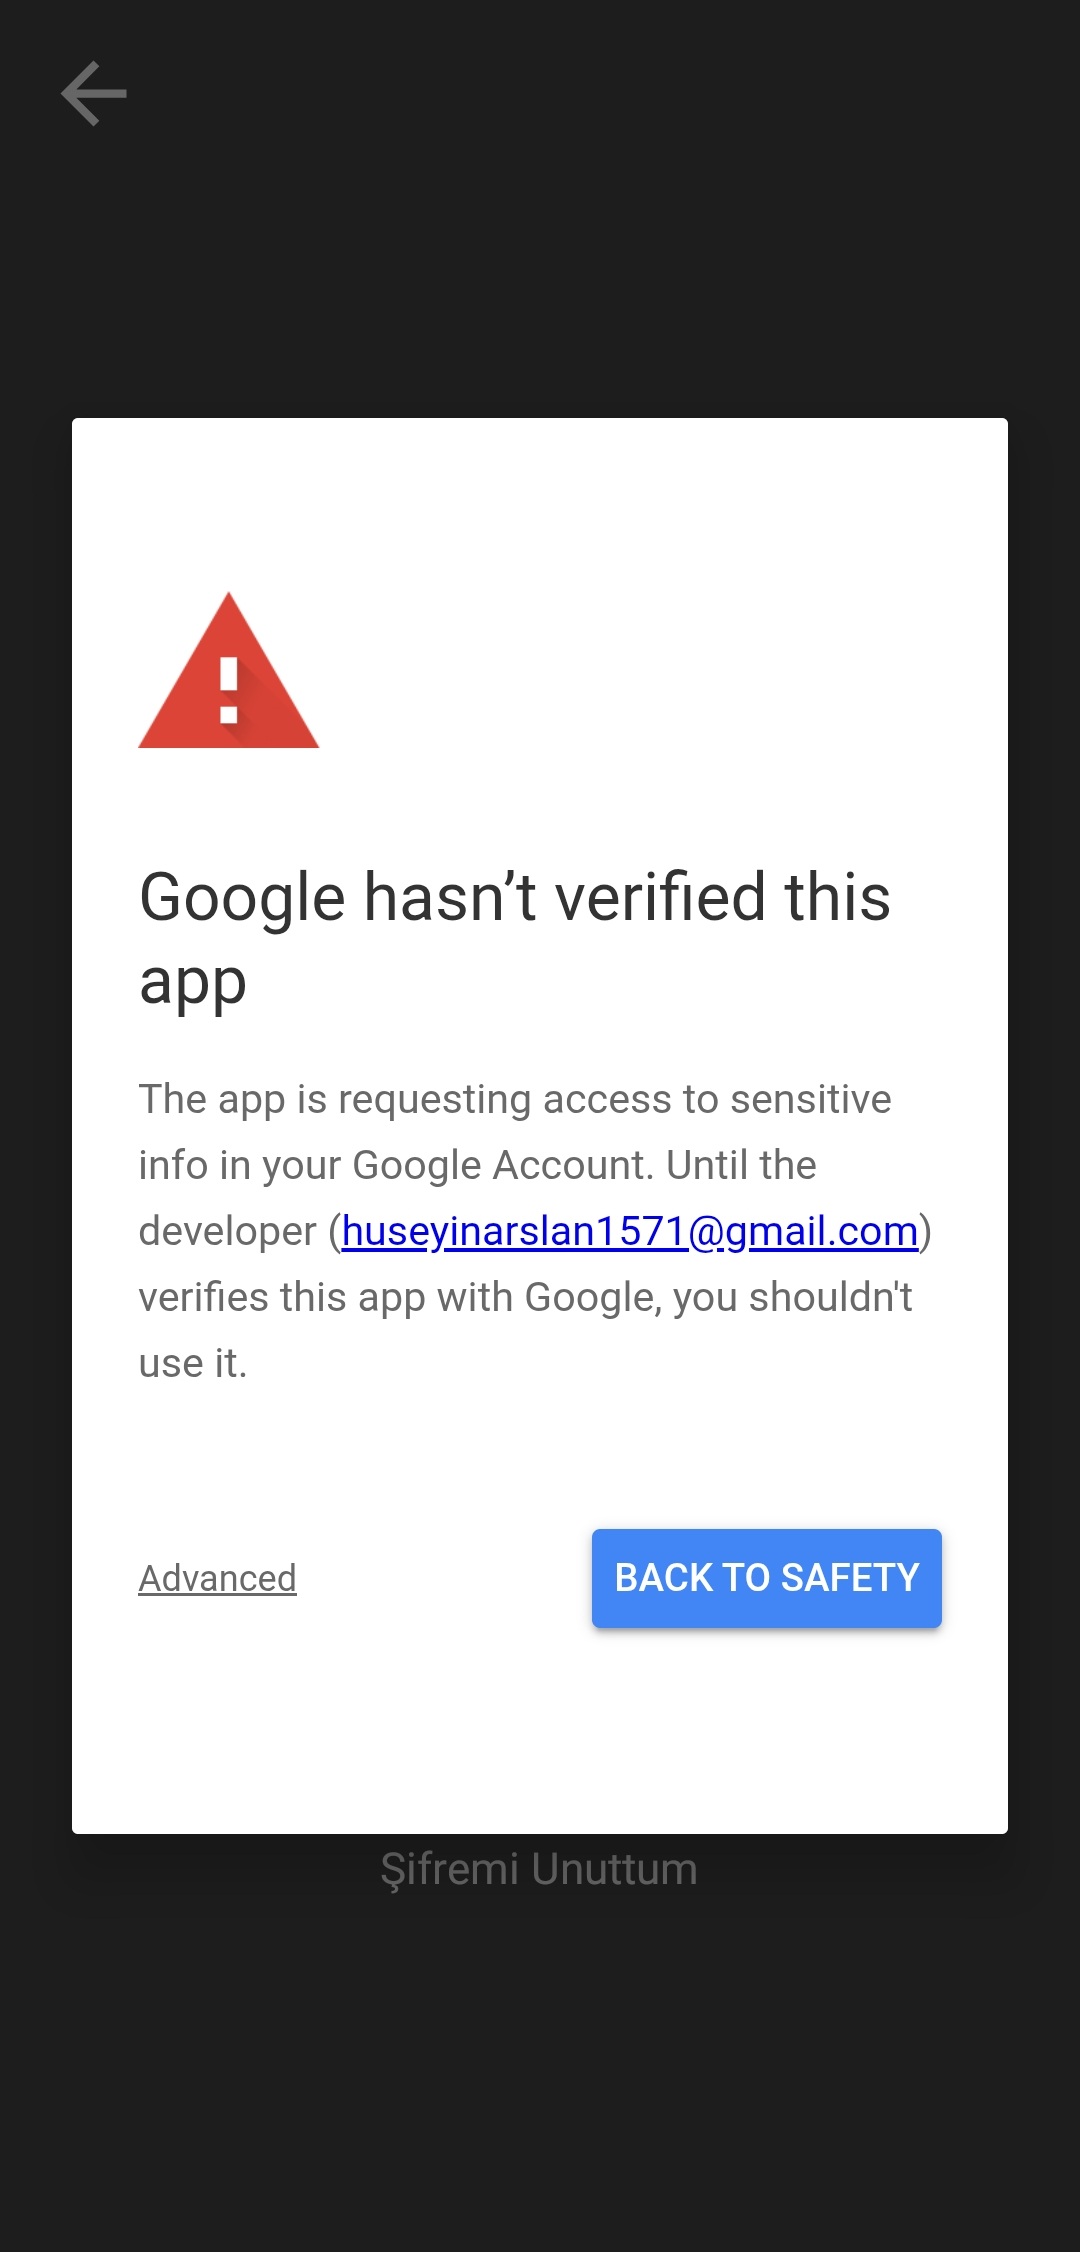
If you want to prevent this warning from appearing, you need to verify your app by completing the Branding section under the Google Auth Platform.
You can find detailed instructions on how to complete the verification process by using the link below.
https://developers.google.com/identity/protocols/oauth2/production-readiness/brand-verification
All Steps Completed!
Your Sign in with Google feature is now activated. The option to Sign in with Google will appear on your app’s login screen. You can update your app in the stores accordingly. If you encounter any errors despite completing all the steps correctly, please send an email to support@mobiroller.com with a screenshot of the error. We will review your issue as soon as possible and work on a solution.