Do your users or customers need to make an appointment or make a reservation? In this case, this module will help you.
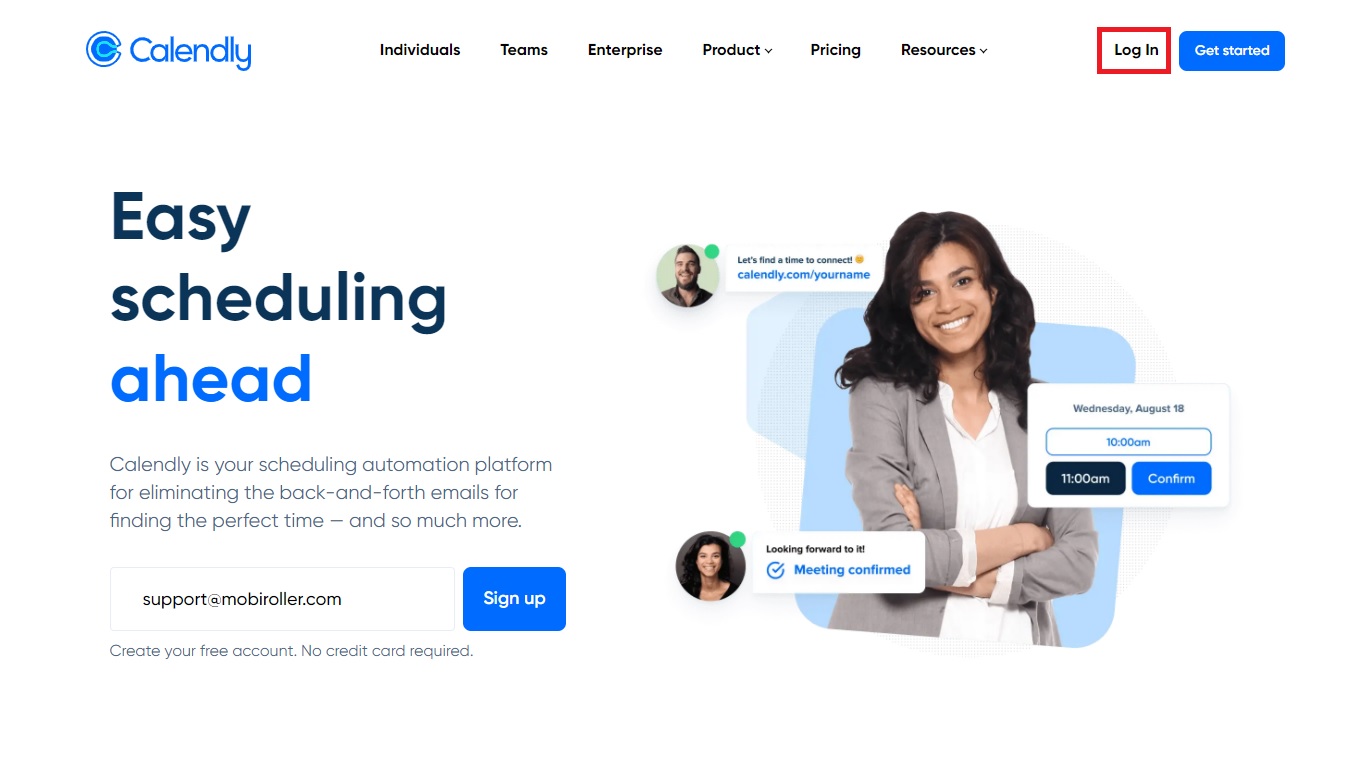
1) First of all, you need to go to the Calendly website and log in to your account. If you don’t have an account, you can sign up for free.
2) Click the Log In button on the top right of the screen and log in to your account.
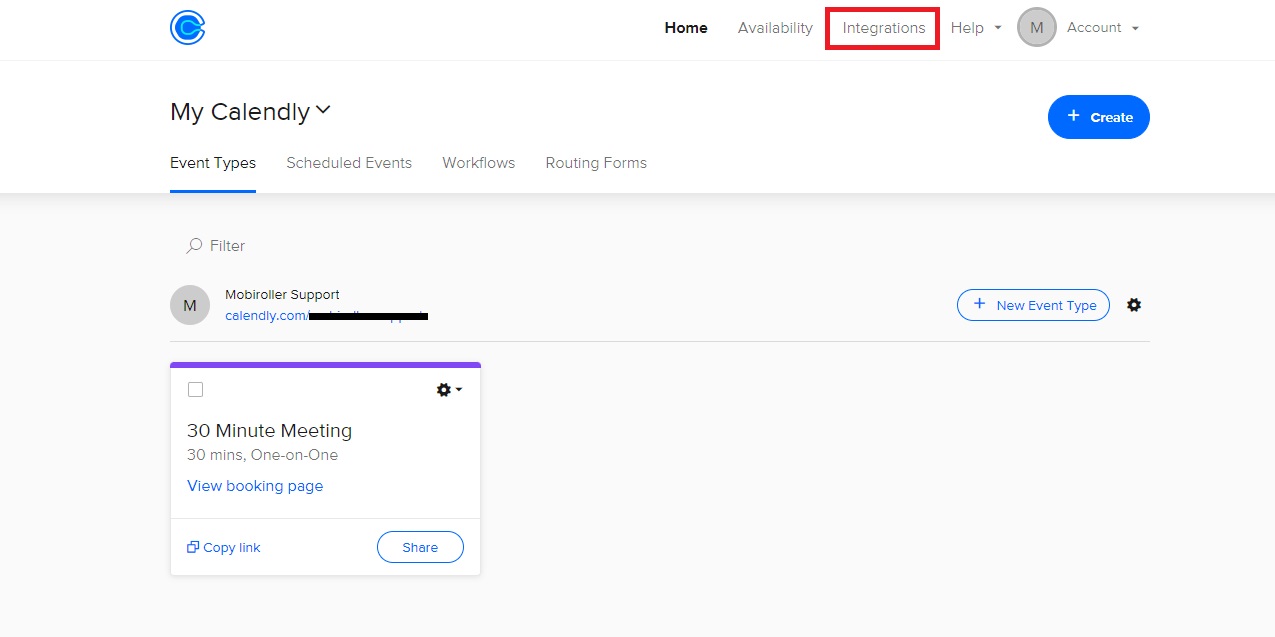
3) After logging into your account, click on Integrations at the top of the screen.
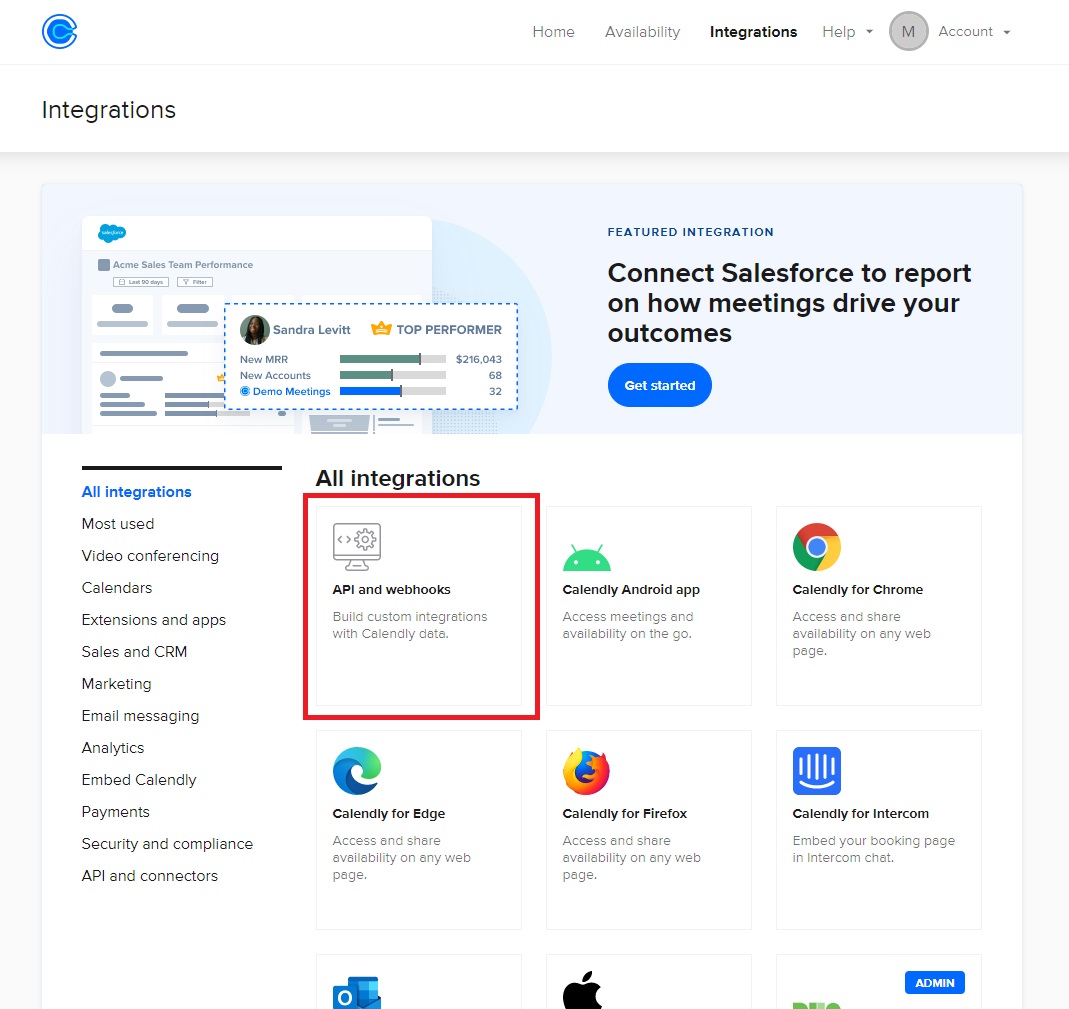
4) On the Integrations page, select API and webhooks.
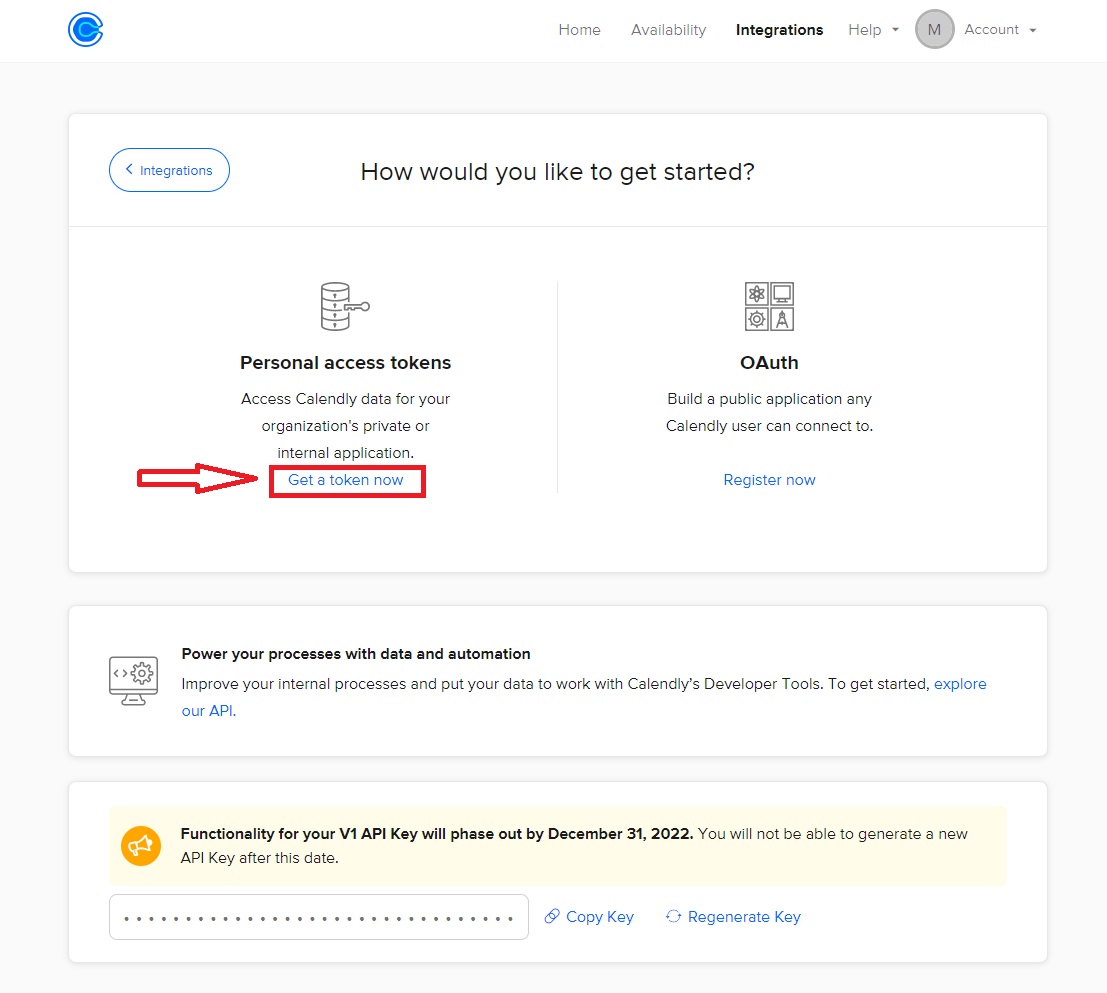
5) Click the Get a token now button on the screen that appears.
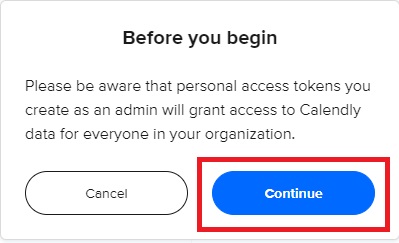
6) Click the Continue button.
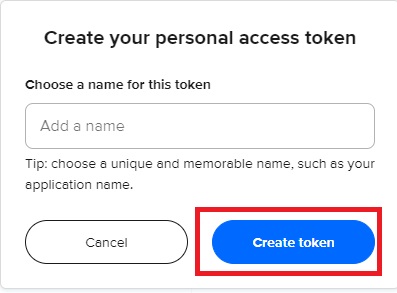
7) In order not to forget why you created the token, you can write the name of your application in this field. Next, click the Create Token button.
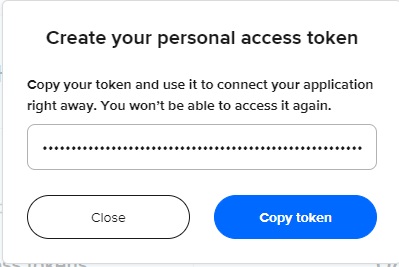
Click on the Copy Token button and make a note of the token information you have copied, because you will need it when adding this module to your application on the Mobiroller screen. If you lose this token information, you will need to create a new one.
9) Return to the Calendly homepage after noting the token information. Here you need to set the appointment details you want to use in your application. If you want, you can click on the “30 Minute Meeting” on the left that Calendly automatically creates and edits, or you can create a new one by clicking New Event Type button. In this article, we will continue by editing the one on the left.
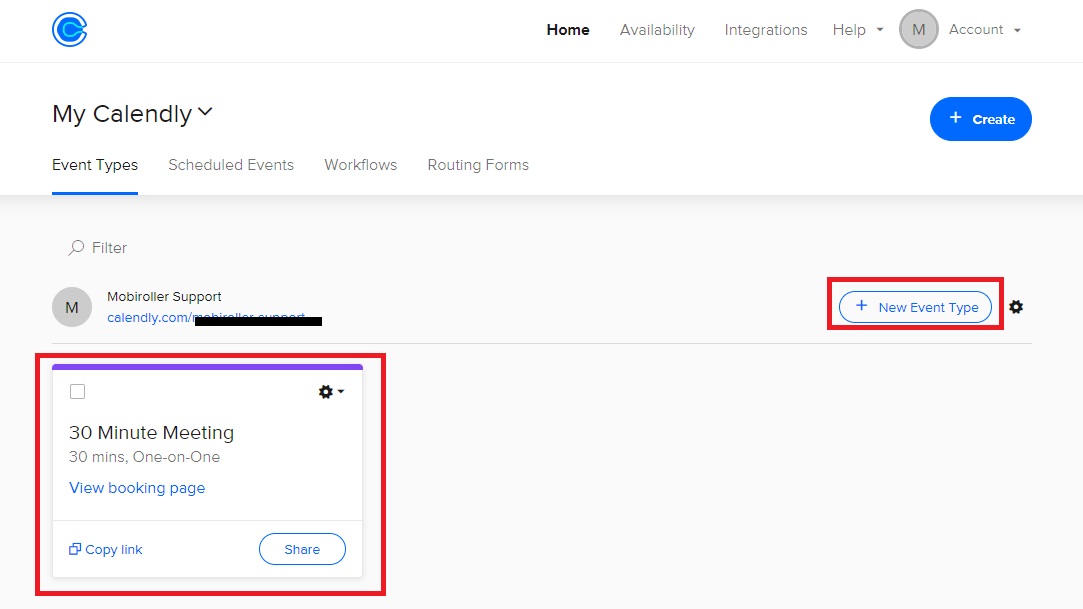
10) You will see an area like the one below. Here you can make the adjustments of your appointment.
Note: In the free version of Calendly, only 1 activity can be active at a time, so you need to deactivate the activities you do not use. You can activate or deactivate this event in the “Your event type is” section.
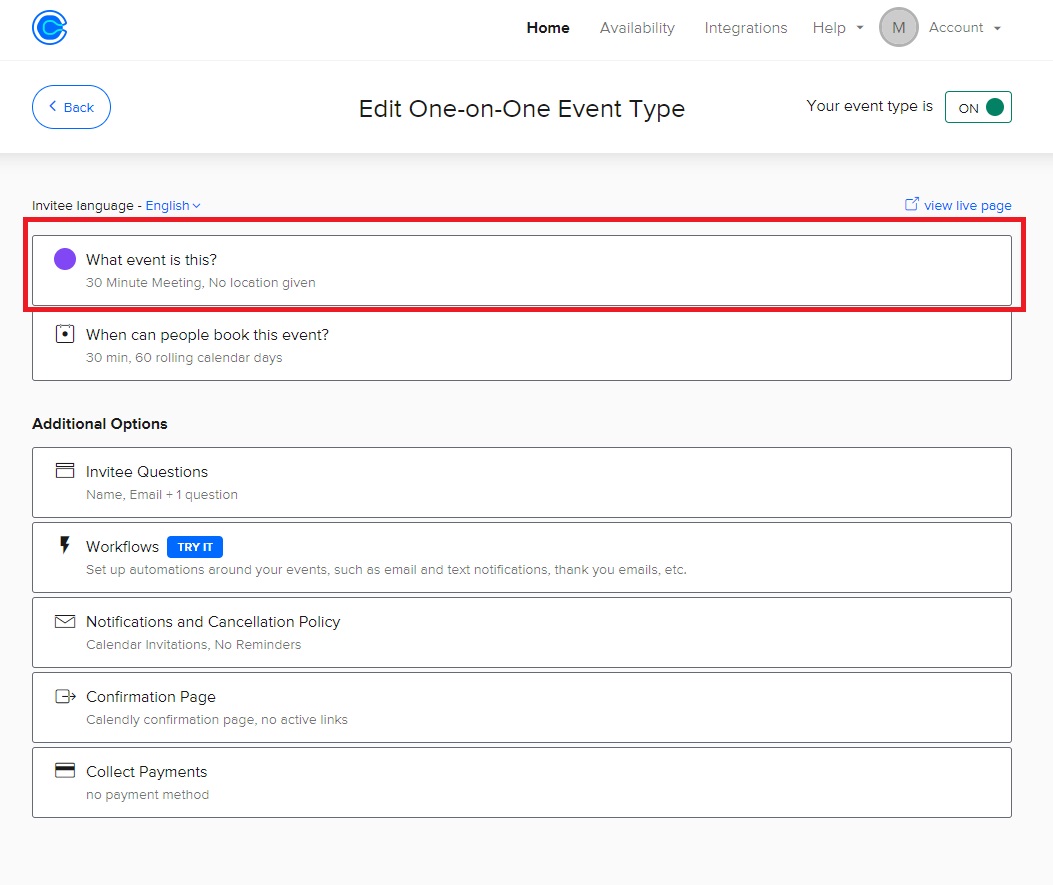
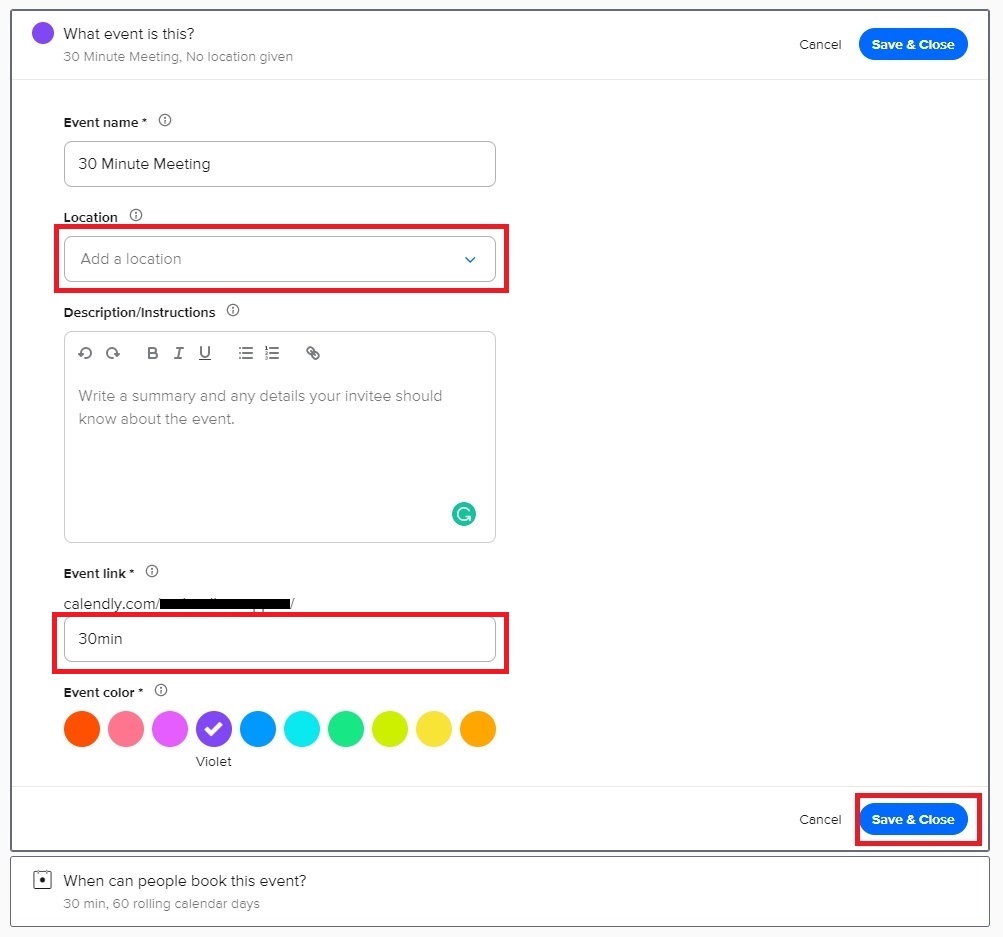
11) “What event is this?” from:
– Write the name of your event (appointment/reservation) in the Event Name field.
– You can choose where to make this appointment/reservation from the Location section (Zoom, Google Meet, etc.).
– In the Event link section, you need to write how this event will appear in your appointment link. For example Meeting, Appointments, etc.
– Do not forget to click the Save & Close button after entering your information.
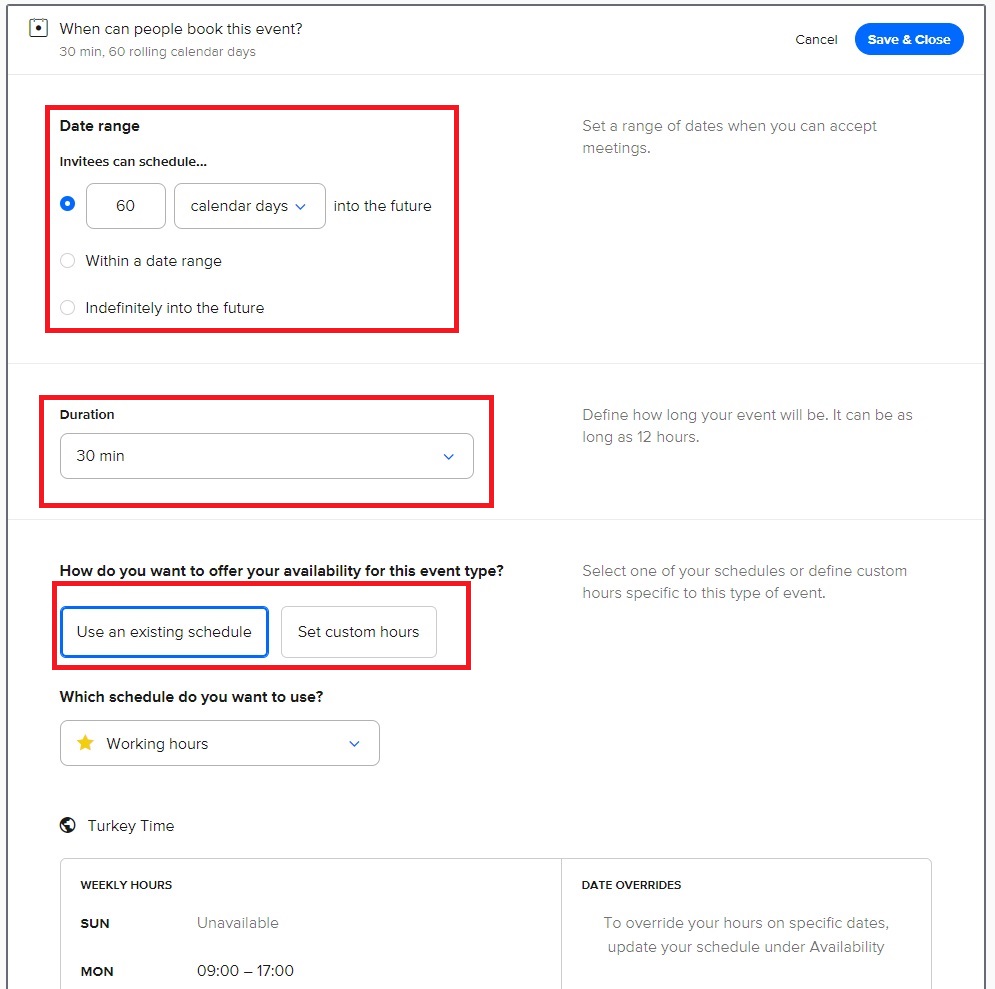
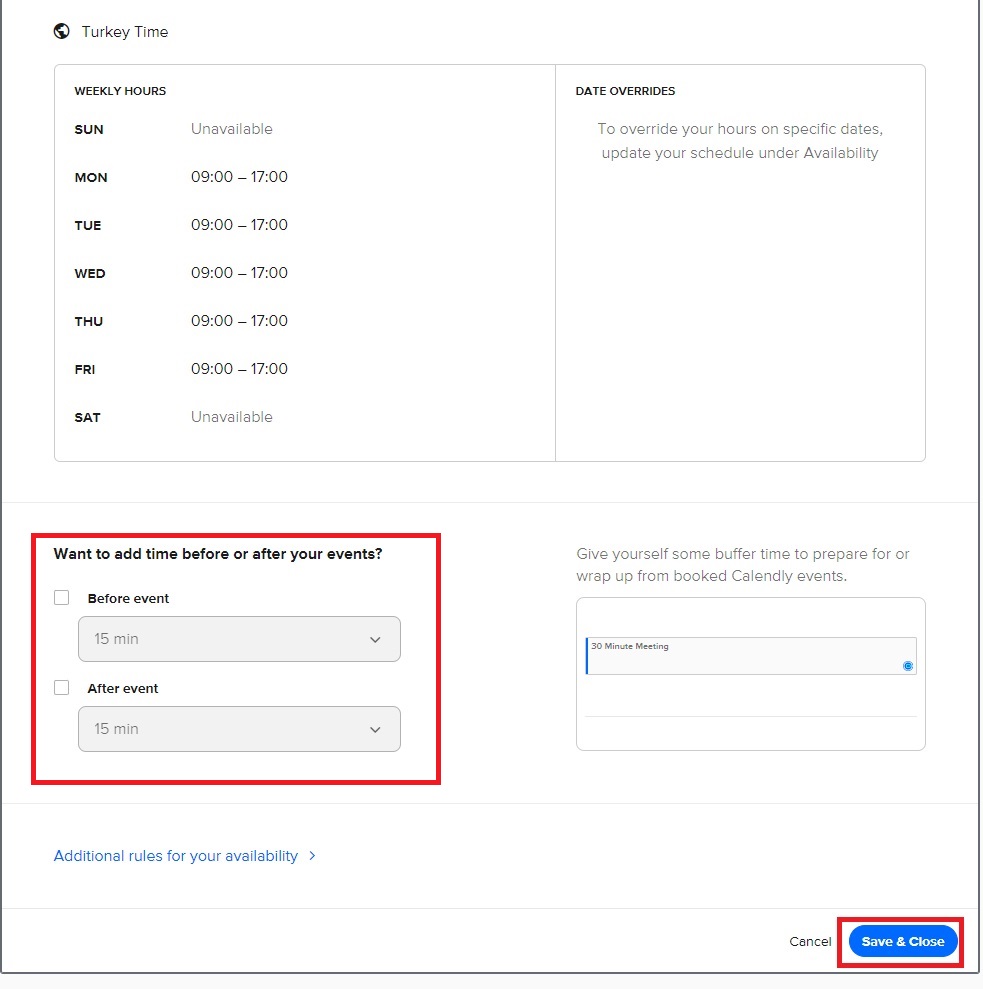
12) “When can people book this event?” from:
– Date Range: You can set how long an appointment can be made through the system.
– Duration: Here you can determine how long the event will last.
– How do you want to offer your availability for this event type? : You can determine between which hours you will serve.
– Want to add time before or after your events? : If you want to add any rest period after or before the events, you can specify it here.
– Do not forget to click the Save & Close button after entering your information.
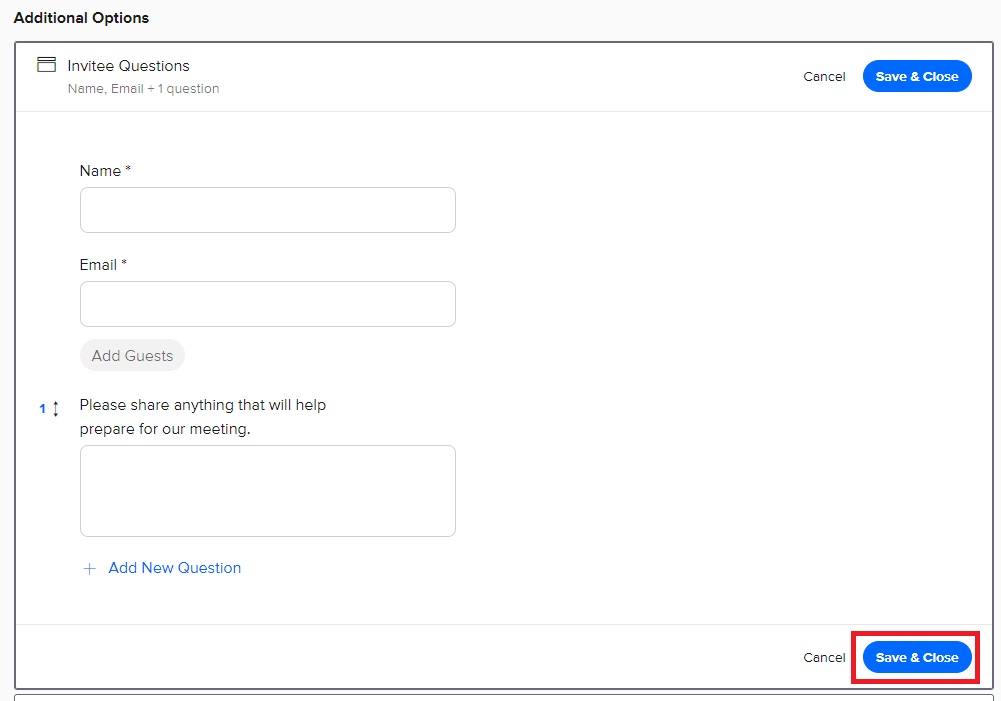
13) If there is any extra information you want from the people who will make an appointment in the “Additional Options” section, you can add that information to this field. In this way, they need to fill in this information when they make an appointment.
– Do not forget to click the Save & Close button after entering your information.
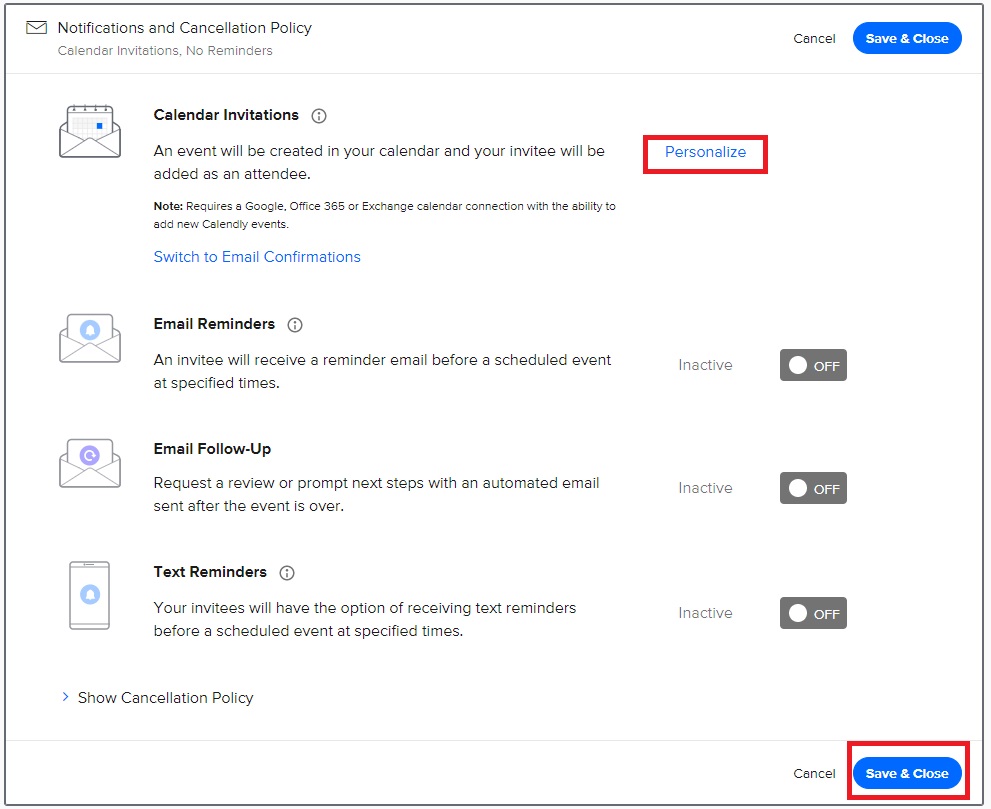
14) In the “Notifications and Cancellation Policy” section, you can set the formats and reminder times of the e-mails that will be sent to your customers after the appointment.
– Do not forget to click the Save & Close button after entering your information.
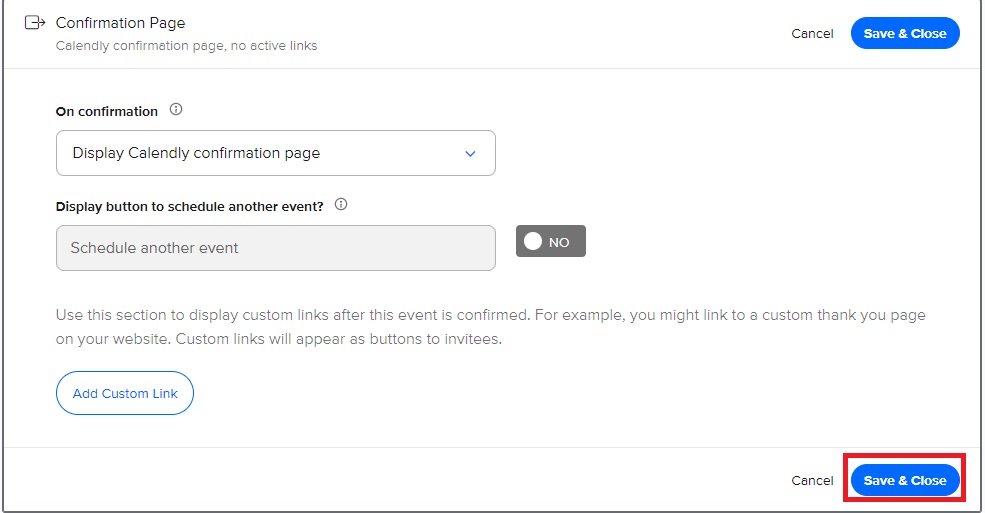
15) In the “Confirmation Page” section if there is another action you want to do in the appointment confirmation window, you set it.
– Do not forget to click the Save & Close button after entering your information.
16) After making all the adjustments for your event, you need to return to the Home page. Click on the Copy Link at the bottom of your event and make a note of it. You will need this event information in your Mobiroller panel.

17) Go to your Mobiroller panel and click on the Content area. Click the Add to App button under the Appointment / Reservation module.

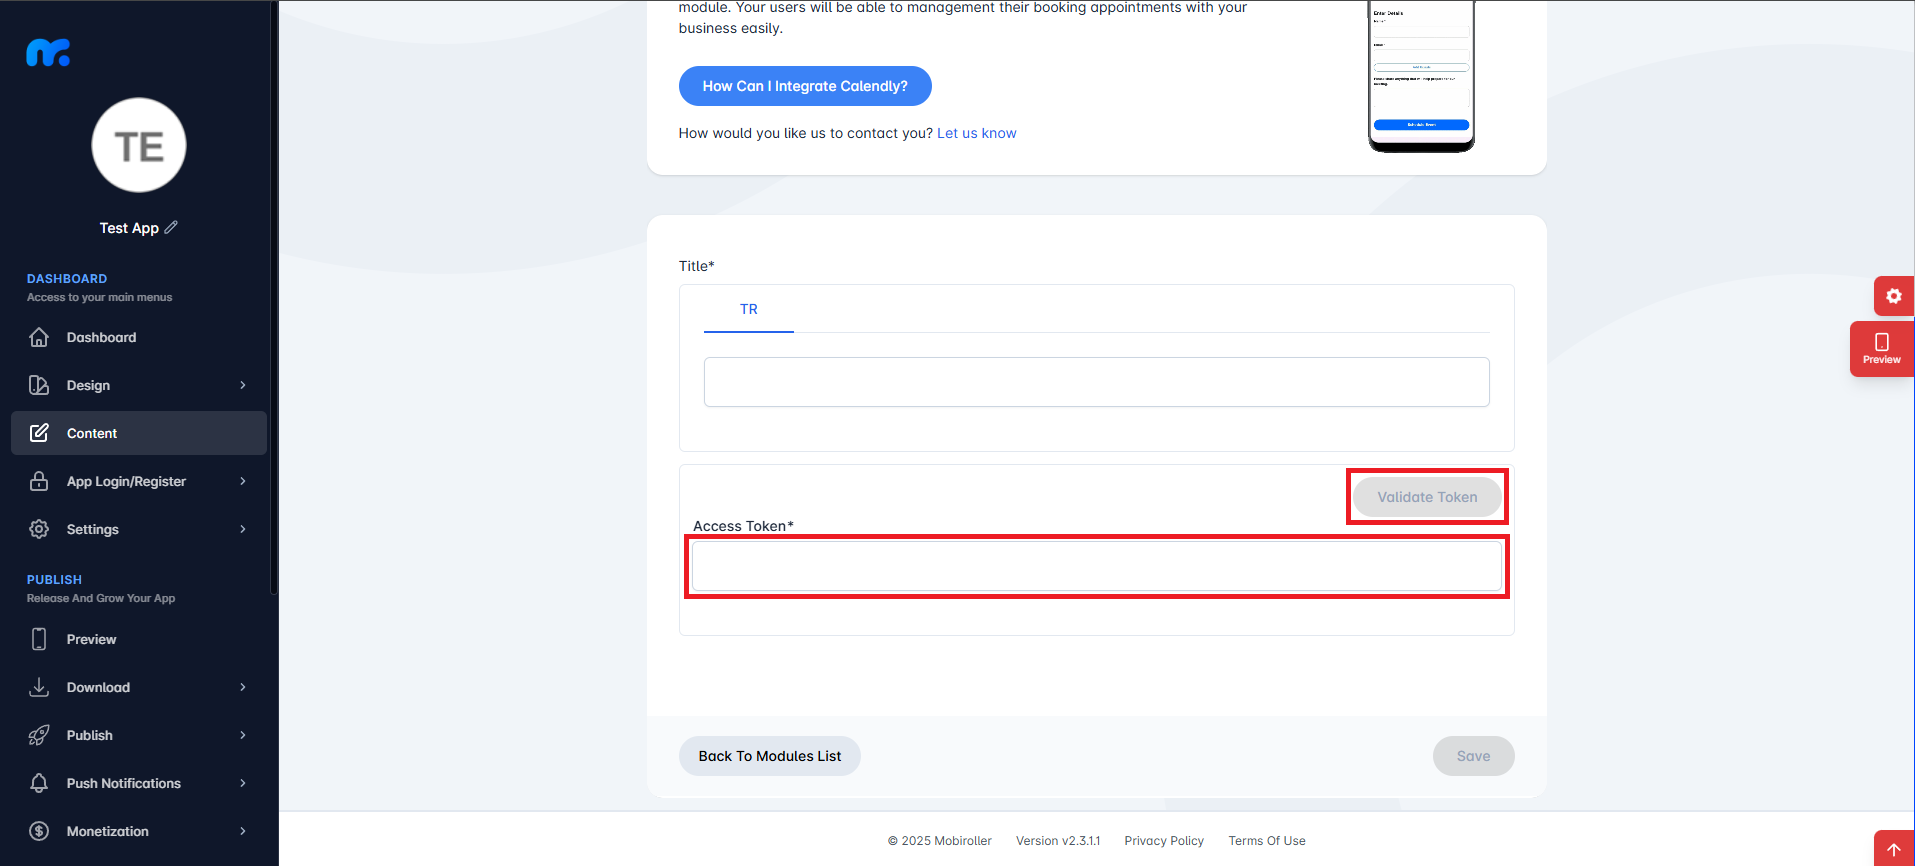
18) Enter the name you want to give to this module in the Title field.
Paste the Token you copied from the Integration section in Calendly into the Access Token section and click the Validate Token button.
19) If the Token information you entered is correct, the field where you can add your event link will appear. Enter the event link you copied from Calendly in the event link field and click the Validate Token button.

20) After your information is verified, you will add this module to your application by clicking the Save button at the bottom right.
If you change the event link via Calendly, you can edit your link by clicking on the three dots area to the right of the module you added and clicking on Edit from the options that open.
The appointment/reservation module has been successfully added to your application. Now your customers can create appointments through your application. Appointments made will be sent to you as a notification and you will be able to see your current appointments on Calendly.