- If you want notifications to be sent for the messages you send in Sendbird, you must first create a .p8 Key file from your Apple Developer account. You can find detailed information on how to create this file in the document below.https://support.mobiroller.com/en/knowledgebase/how-to-create-a-p8-file-for-ios-push-notifications/
- After preparing your .p8 file, log in to your Sendbird account to complete the required configurations. https://sendbird.com/
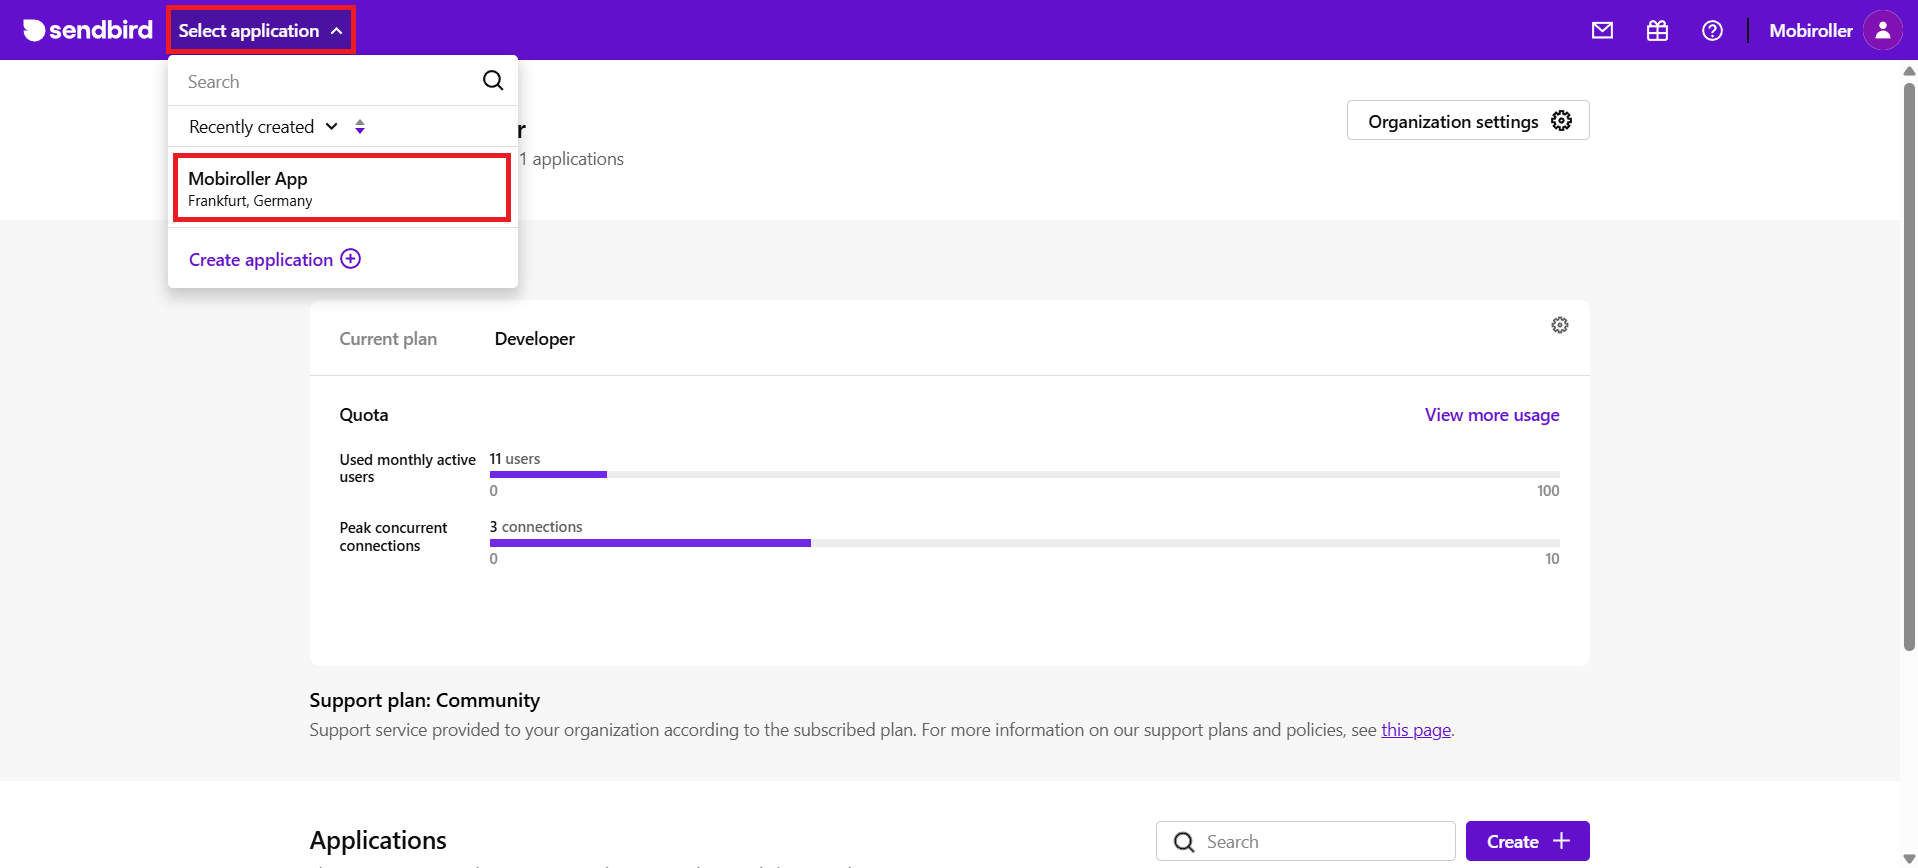
- Then, click the Select application section in the top-left corner and choose the relevant project.

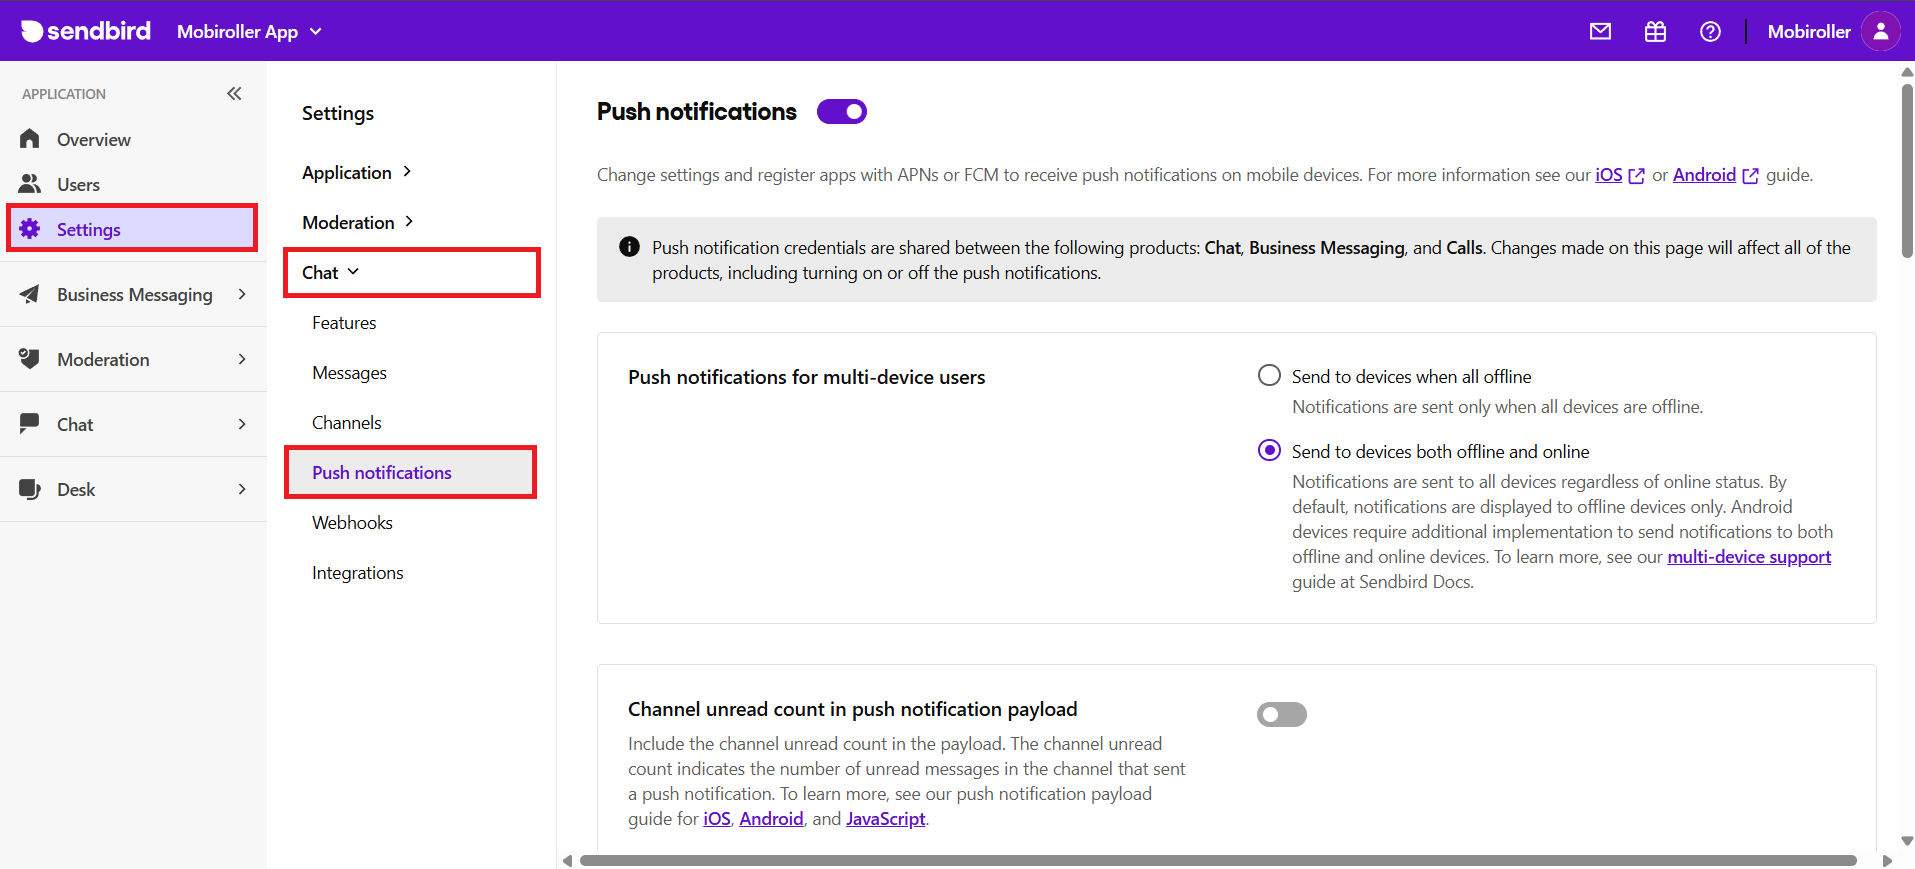
- Follow the steps Settings > Chat > Push notifications.

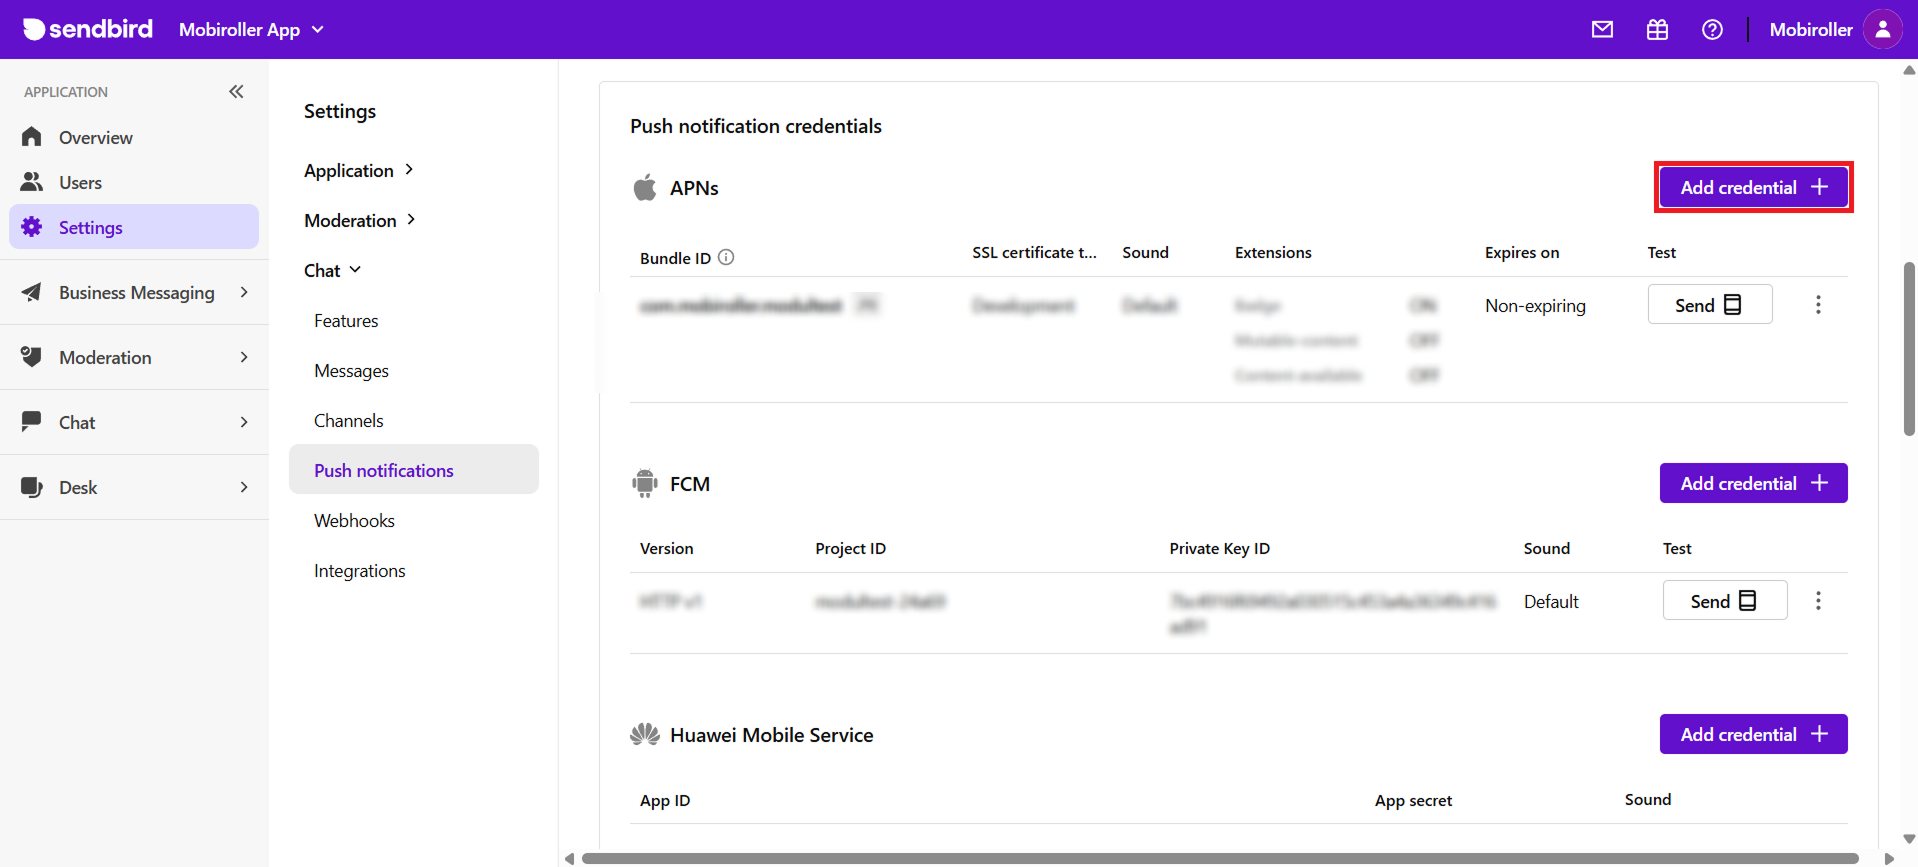
- On the screen that opens, click the Add credential button located in the APNs section.

- Fill in the required fields and click the Add button.

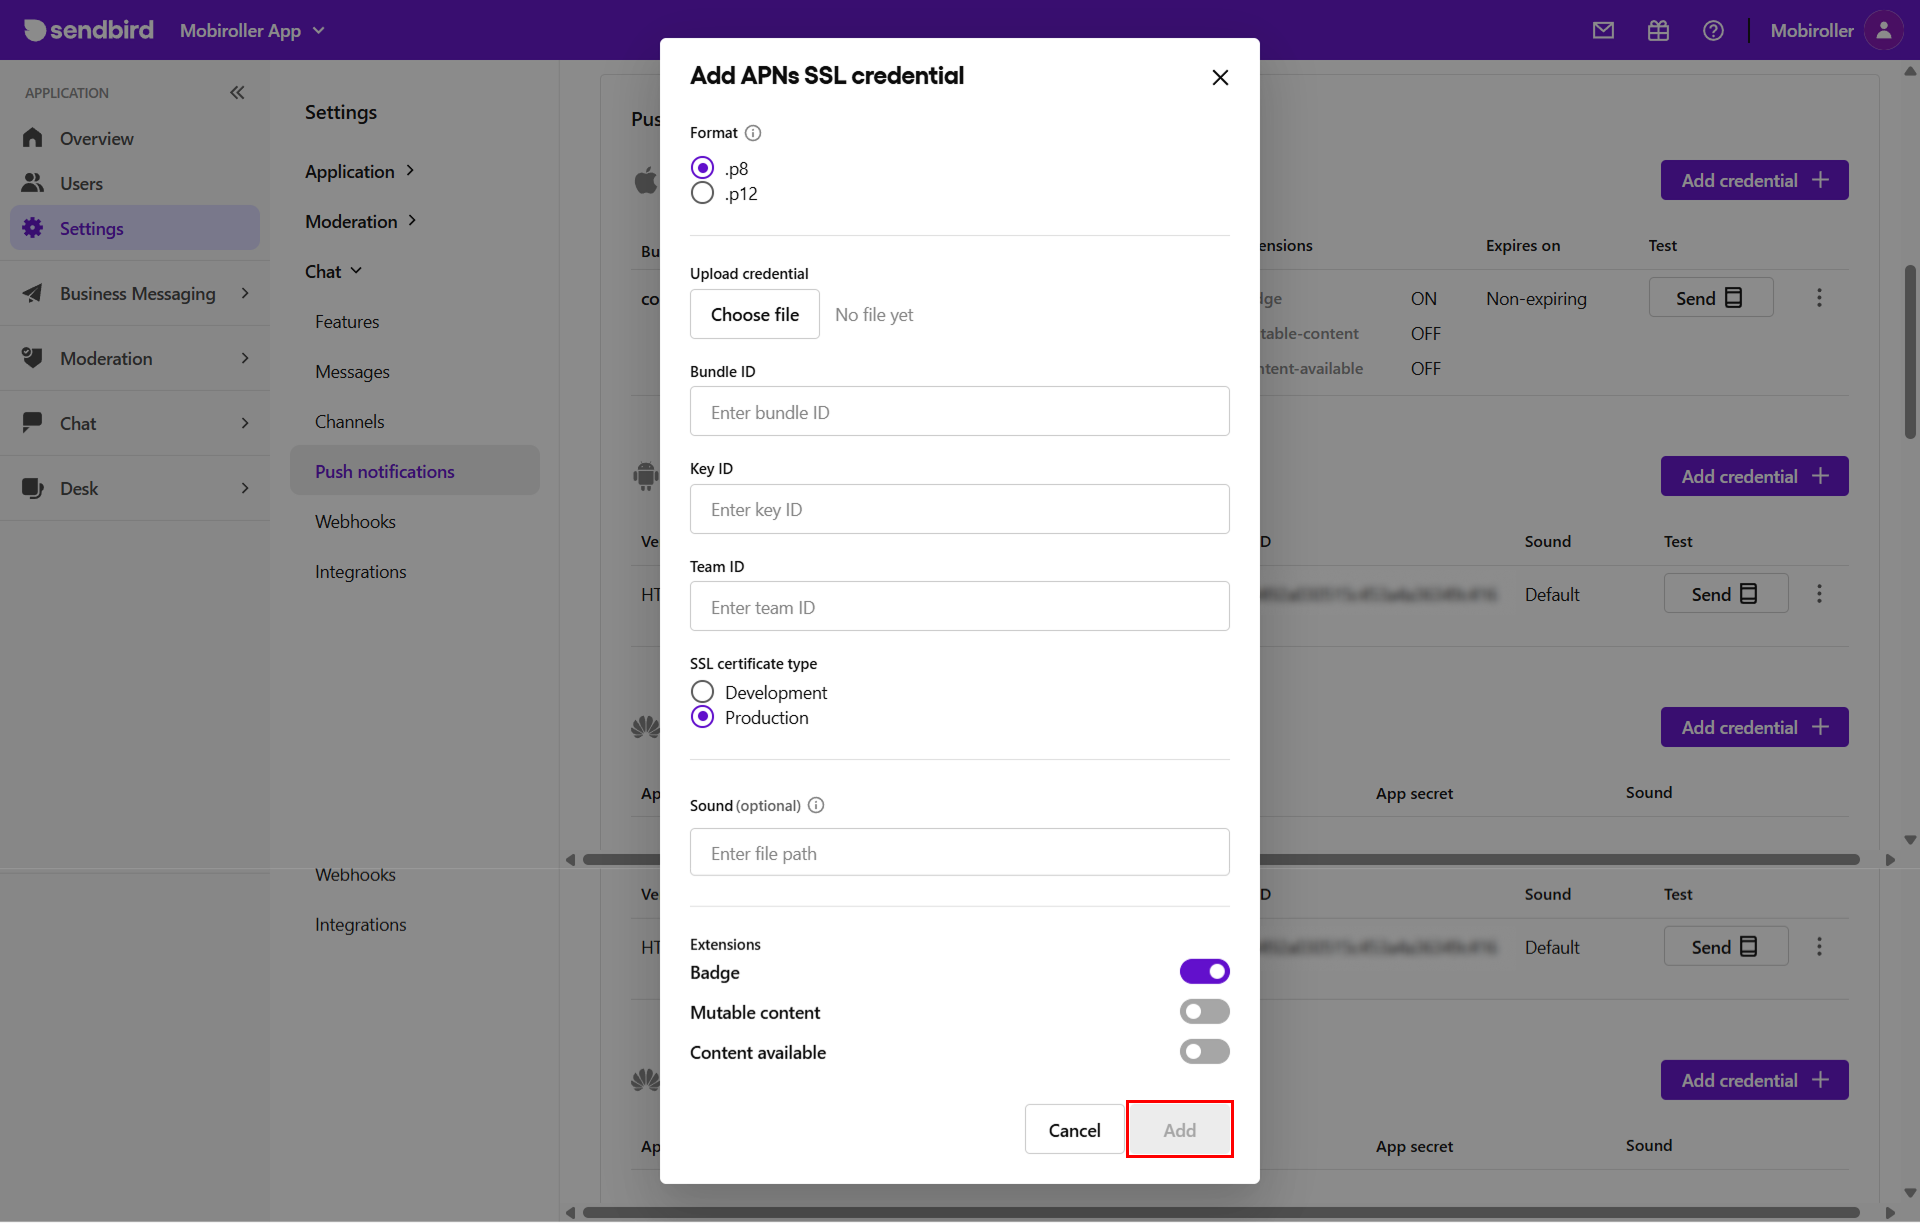
Here:
- In the Upload credential field, you need to upload the .p8 file you created in Step 1.
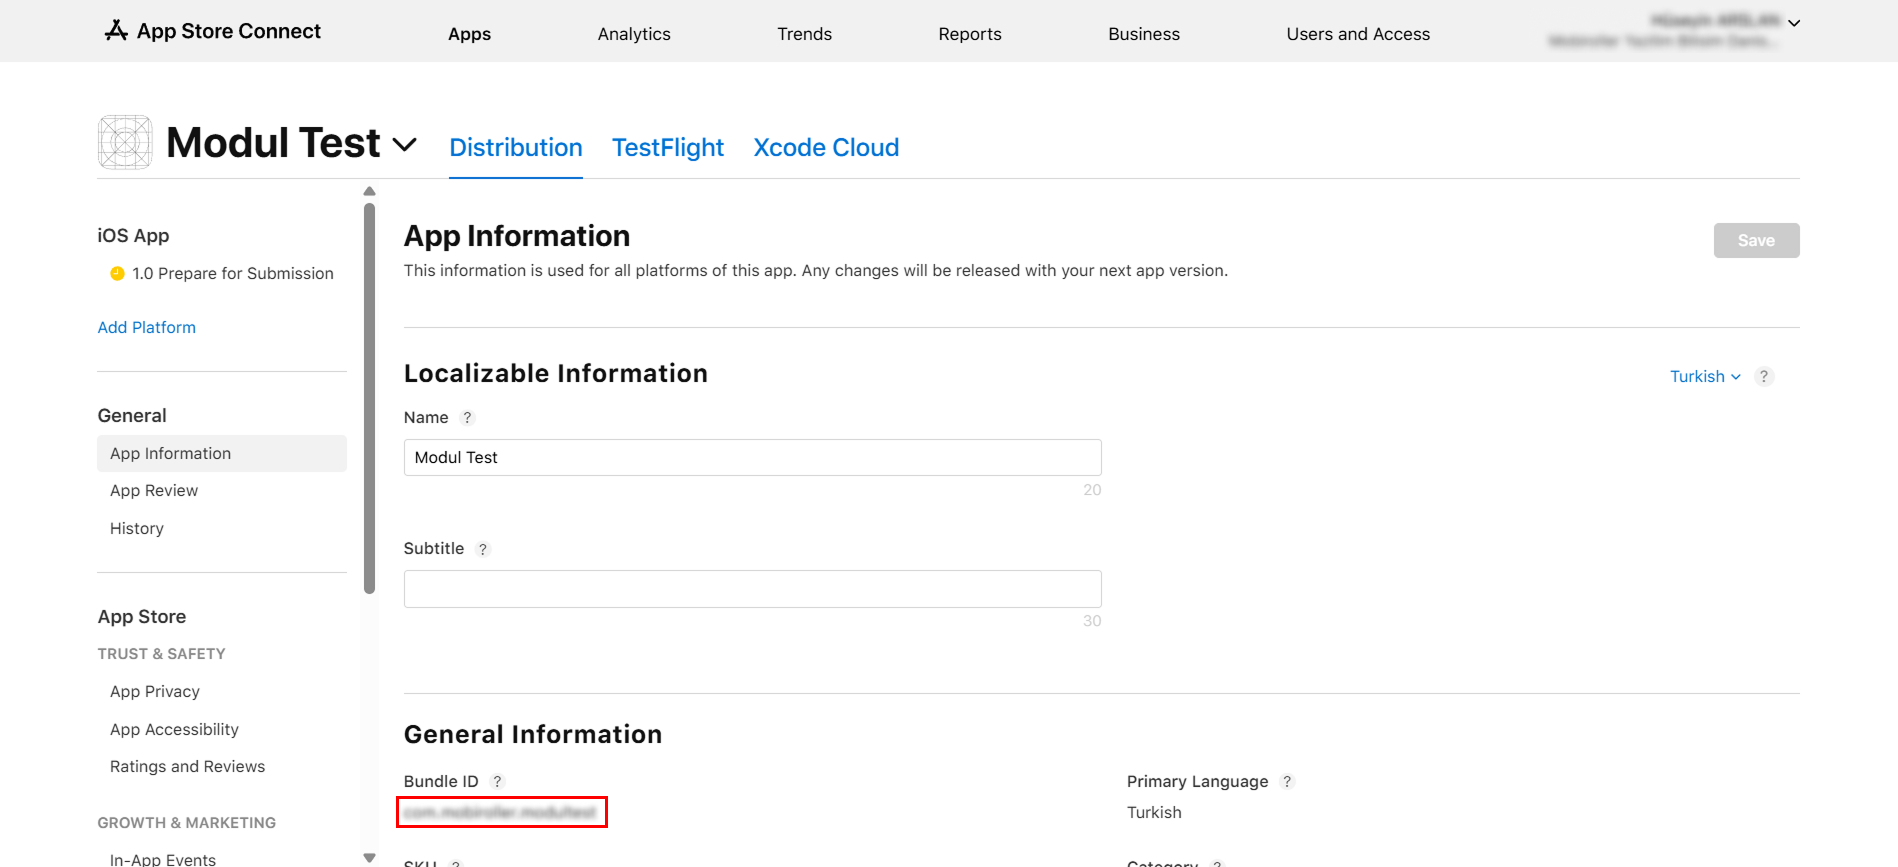
- In the Bundle ID field, you must enter the Bundle ID value of your app, which you can access through App Store Connect.
You can find this value under App Store Connect > App Information > General Information.

- You can find the Key ID value in the document referenced in Step 1.
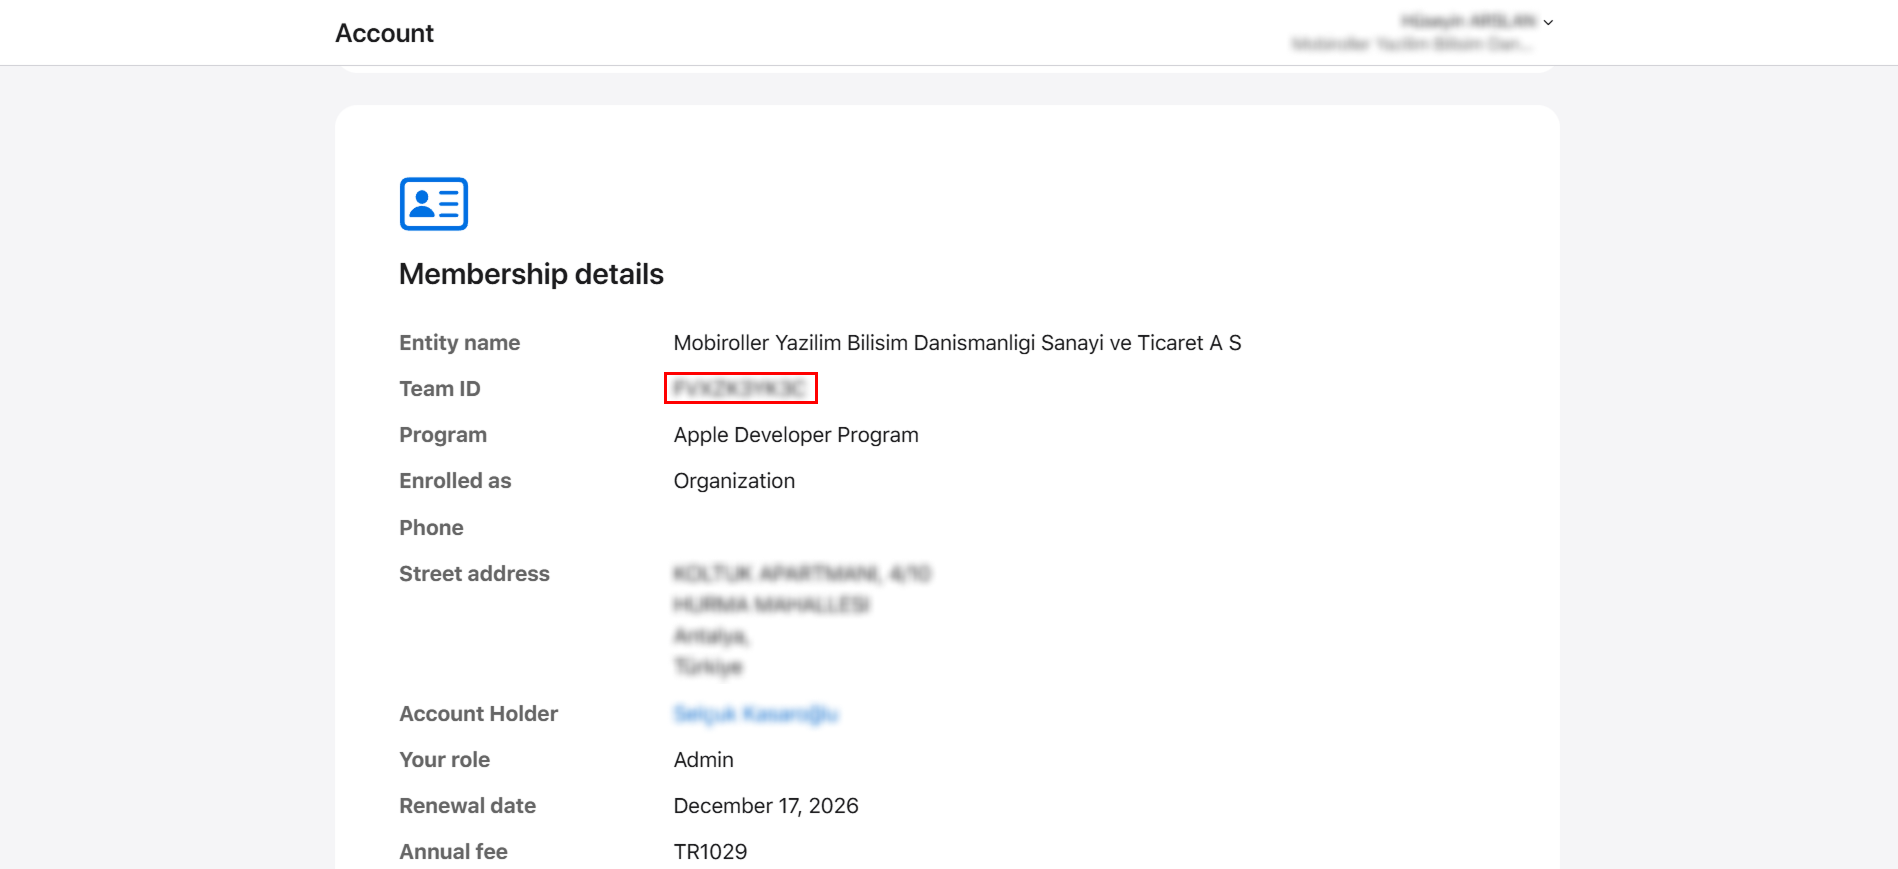
- You can access the Team ID value from Apple Developer > Account > Membership details.

- Select Production as the option in the SSL certificate type field.
- Continue by leaving the Sound field empty.
- No changes are required for the Extensions field; it should remain as shown in the screenshot.
- After clicking the Add button, the process will be completed. Push notifications will be delivered to devices for the messages you send via Sendbird.
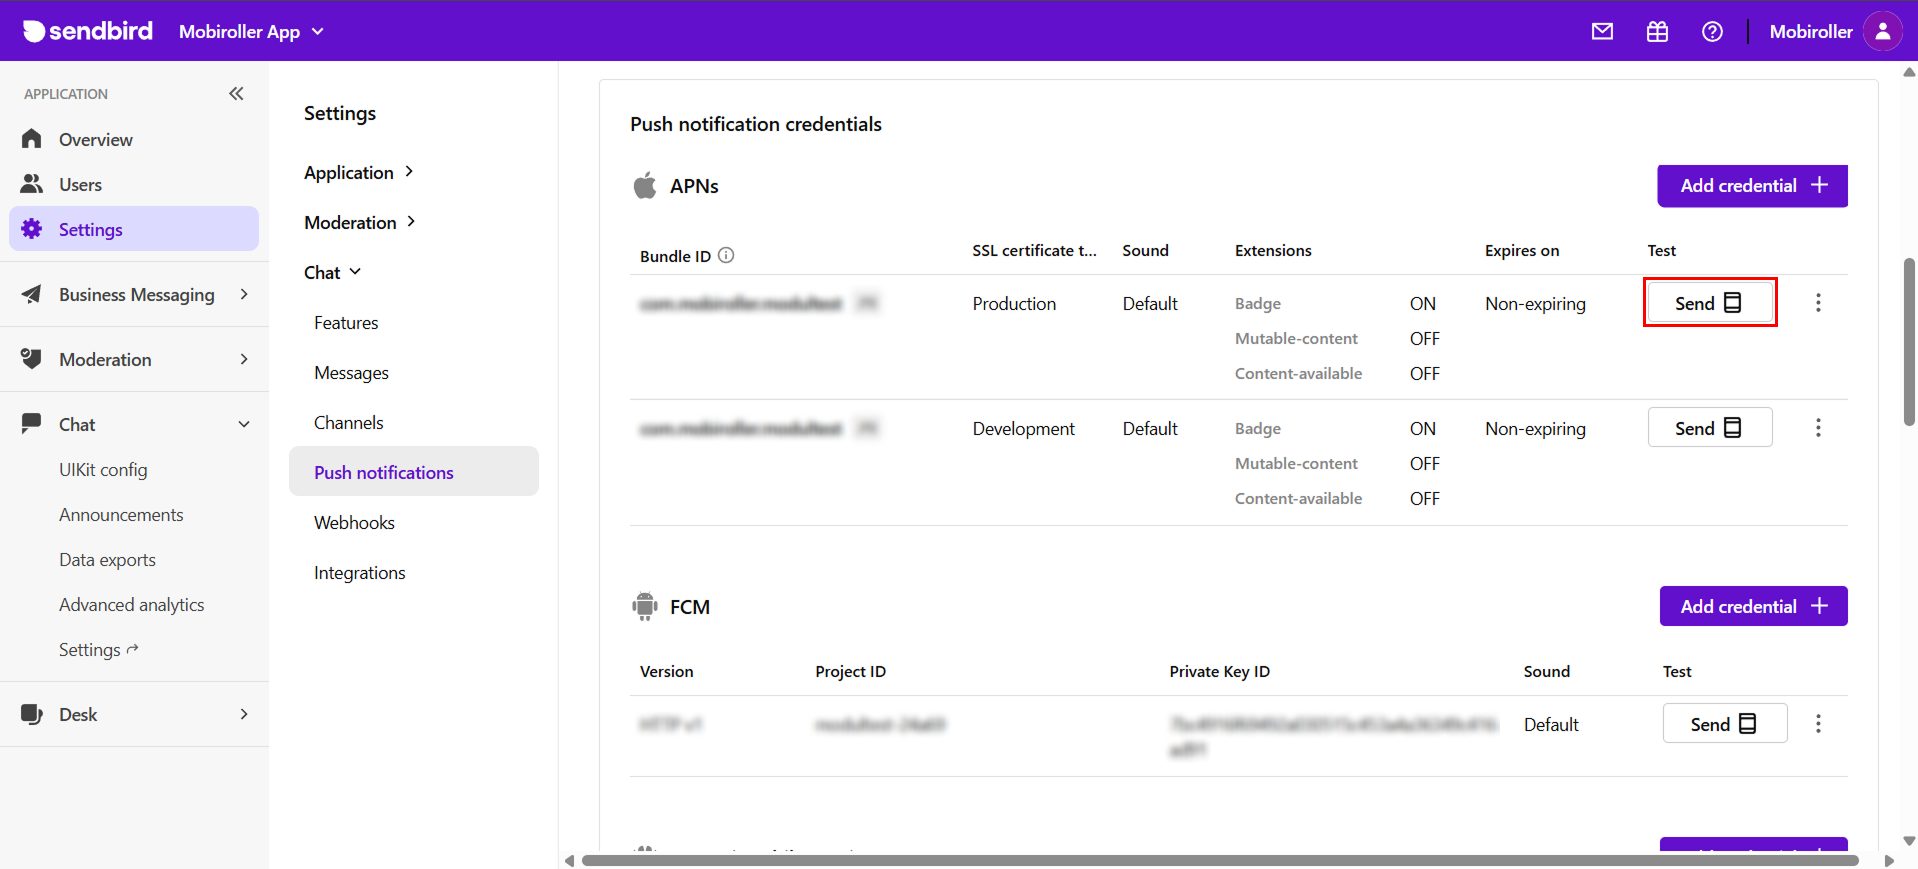
After completing the configuration, if you would like to send a test notification, you can do so by clicking the Send button.
The delivery of the first notification may take 1–2 minutes. Subsequent test notifications are delivered instantly.
In addition, you can manage your users’ notification settings by clicking the Users section on the left.