With the Photo Gallery module, you can easily share photos related to your company, product, event, or any topic and create galleries.
How Can I Add the Photo Gallery Module to My App?
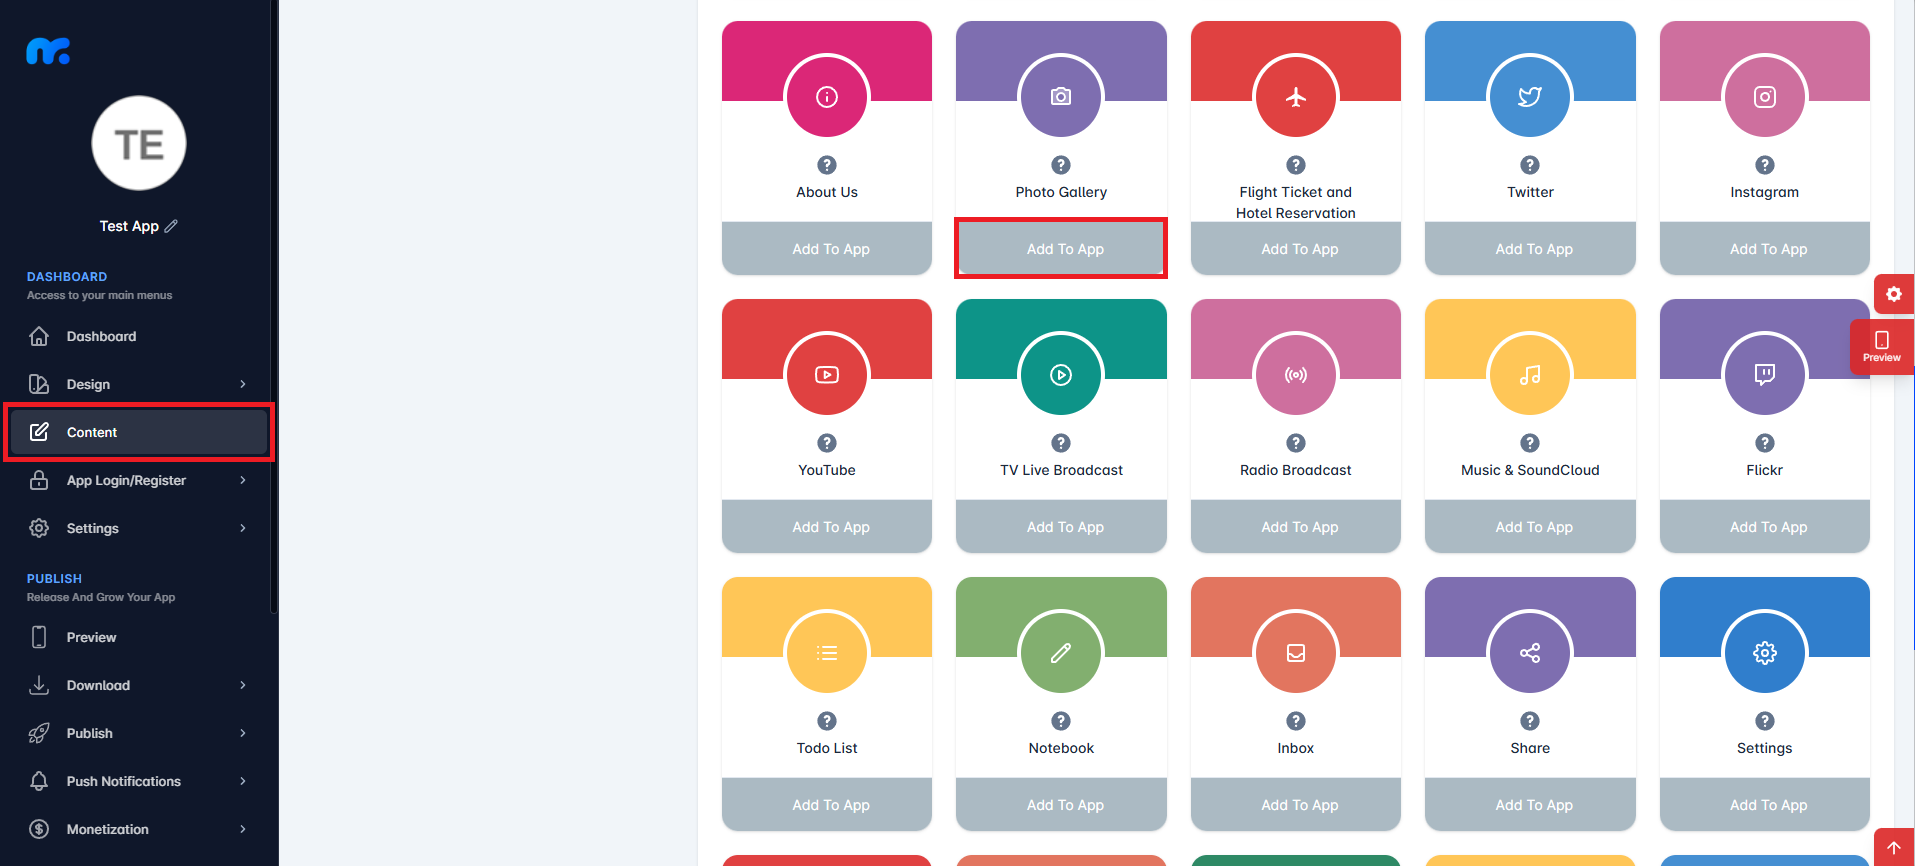
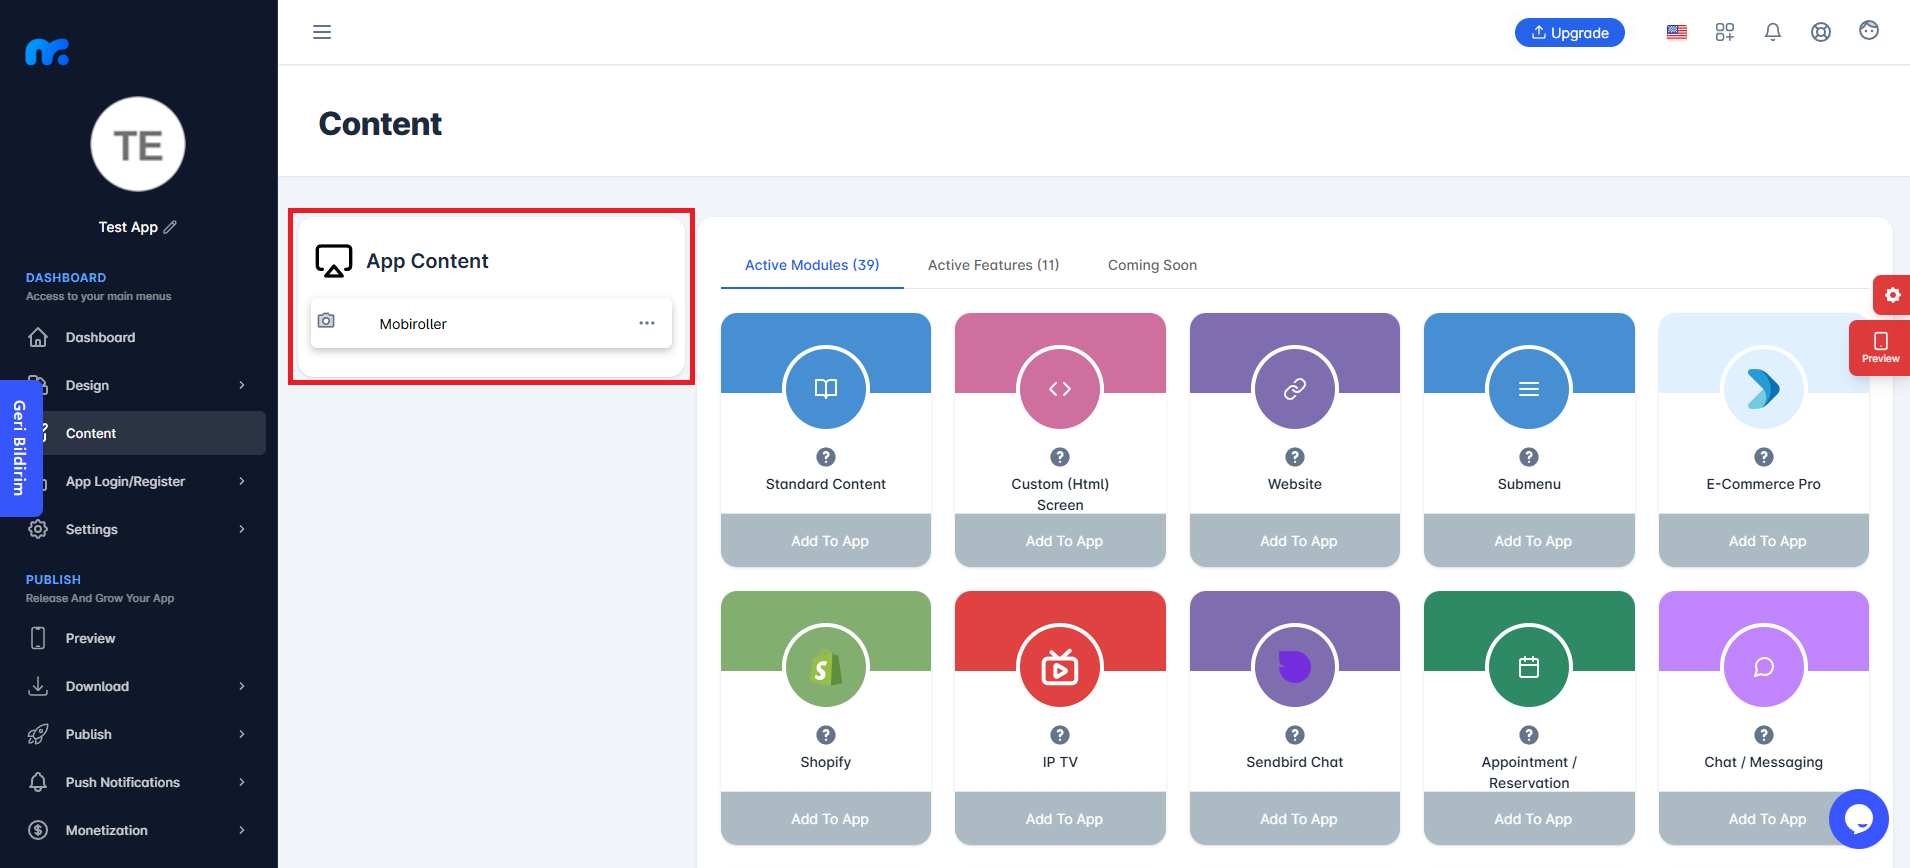
Click on the Content tab located on the left side of your control panel to view the Active Modules. You can add the Photo Gallery module to your mobile app by clicking the Add to App button located under the Photo Gallery module.

On the screen that appears,
Pick Menu Image: From this section, you can upload the icon that will be displayed for your module within the app. When you click this button, a new screen will appear. You can either choose Custom Image to upload any icon from your computer, or select the Library option to use one of the pre-designed icons provided by Mobiroller.
Publish Module/Draft: In this section, you can decide whether the module will be included in your app. Select Publish Module to make it active in your app. Alternatively, choose Draft to keep the module as a draft. If you select this option, the module will not be visible in your app.
Link Module To Main Menu / Custom Menu: From this section, you can choose where the module will be placed within your app. Select Link Module To Main Menu to display the module directly in the main menu. To use the Custom Menu option, you must have previously added a Submenu module to your app.
If you already have a Submenu module, clicking on the Custom Menu option will show a list of available sub menus. Select the desired sub menu to place your module under it.
Click here to learn more about how to use the Submenu module.
Title: You can enter the name that will appear for the Photo Gallery module in your app.
Photos Downloadable: Enable this option if you want users to download the photos to their mobile devices.
Ordering: Choose how you want the photos to be sorted in your app.
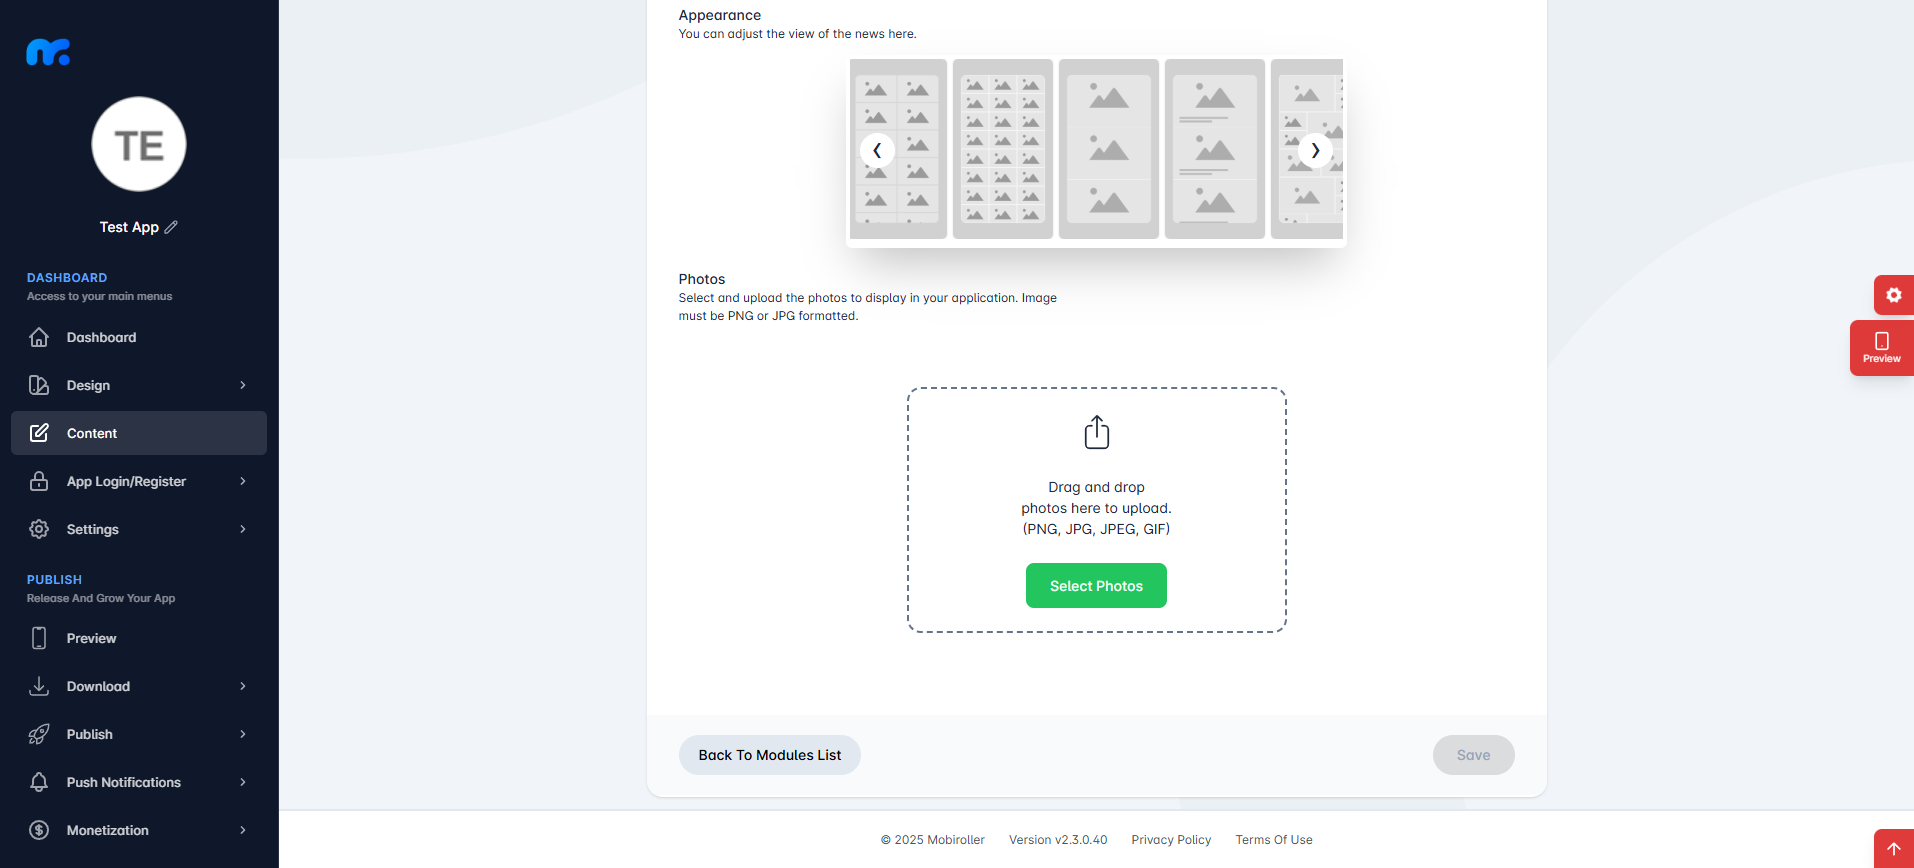
Appearance: Adjust how your photos will appear in the mobile app from this section.
Photos: Upload the photos you want to add to your app here. (Each photo can be up to 2 MB in size.)
Uploading Photos
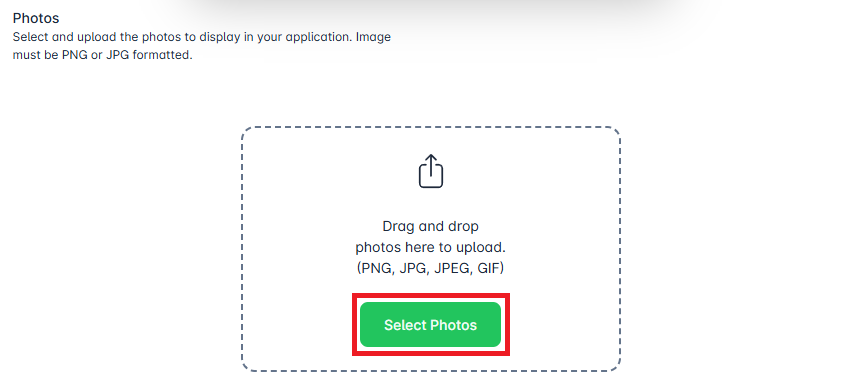
Click the Select Photos button to choose the photos you want to upload.
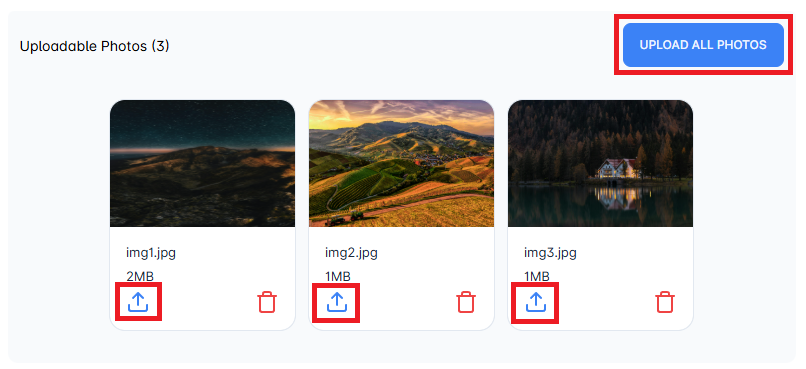
On the screen that appears, you can upload all selected photos at once by clicking the Upload All Photos button. Alternatively, you can upload them one by one using the upload buttons below each photo.
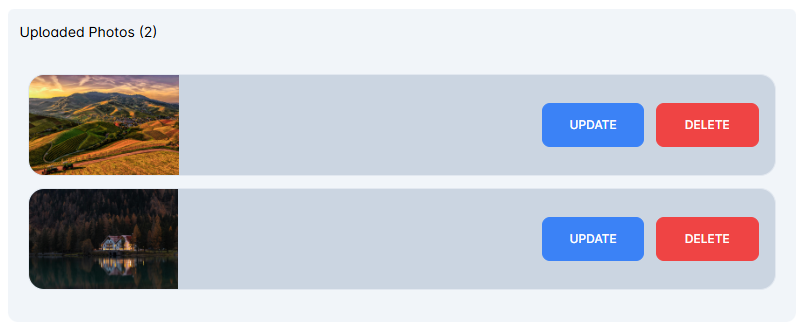
After uploading your photos, you can view them in the Uploaded Photos section. You can also update or delete the photos you’ve added from this area.

After completing the required fields, you can add the Photo Gallery module to your app by clicking the Save button at the bottom right.
You can view the Photo Gallery module you added in the App Content section.
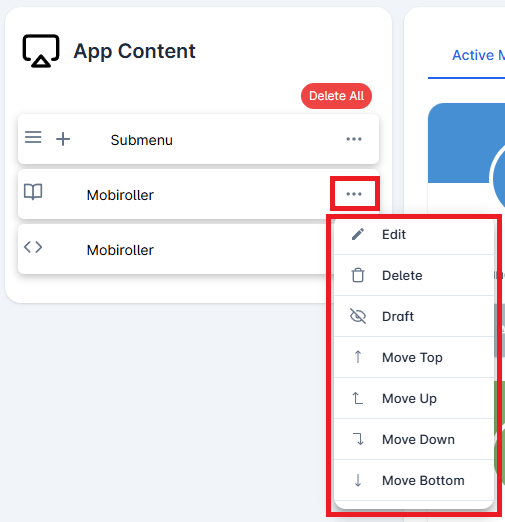
Click on the three-dot icon (…) located on the right side of your module to access options related to your module. In this area, you can perform actions such as editing, deleting, saving the module as a draft, and adjusting the module’s position.