Here’s what you need to do when creating your first mobile app;
1. Registration
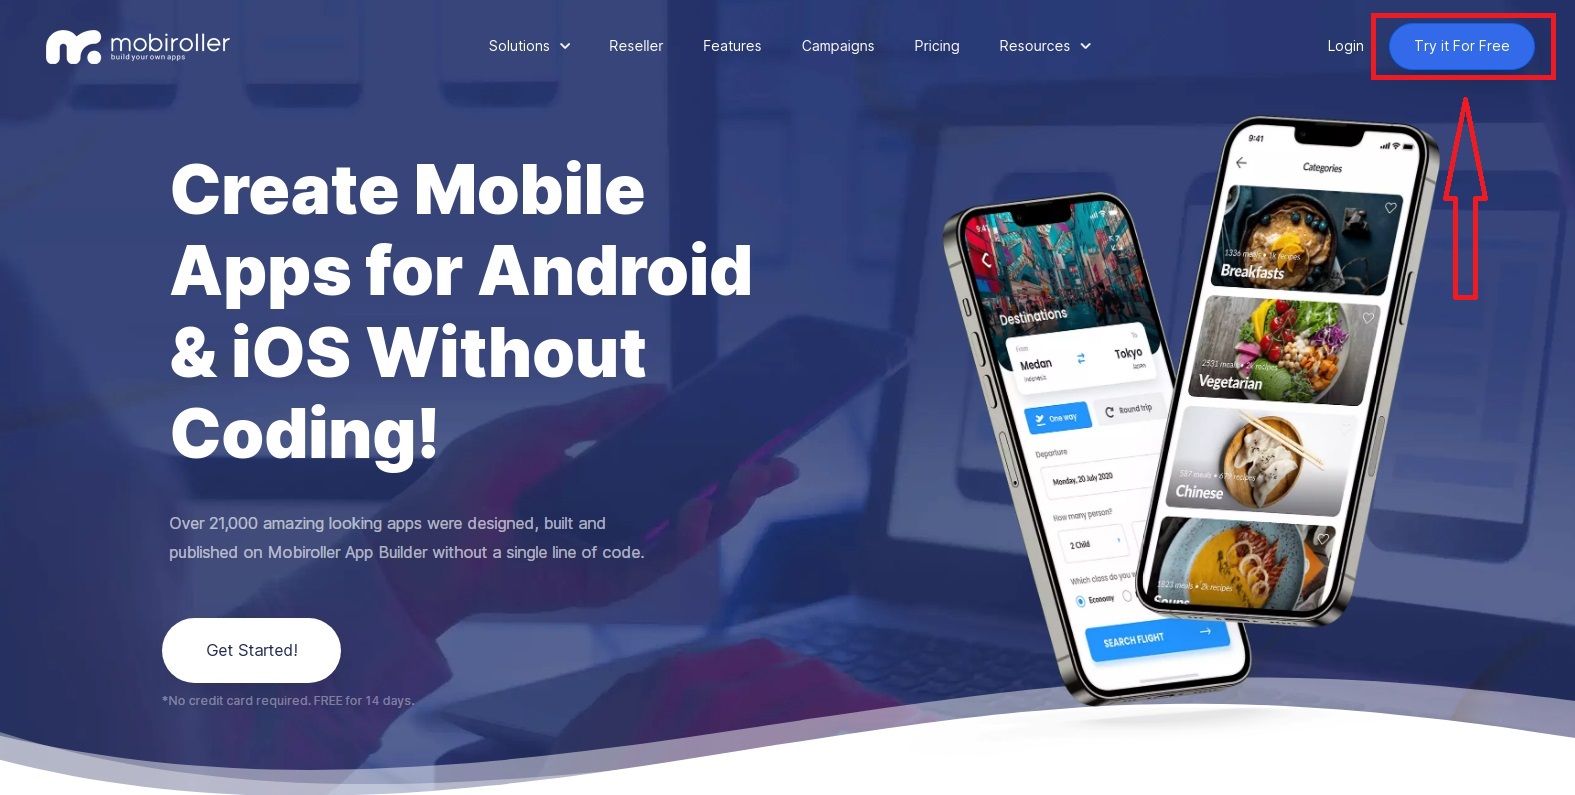
To start creating your app with MobiRoller, you first need to sign up. Click the “Try it For Free” button at mobiroller.com to create a new account.

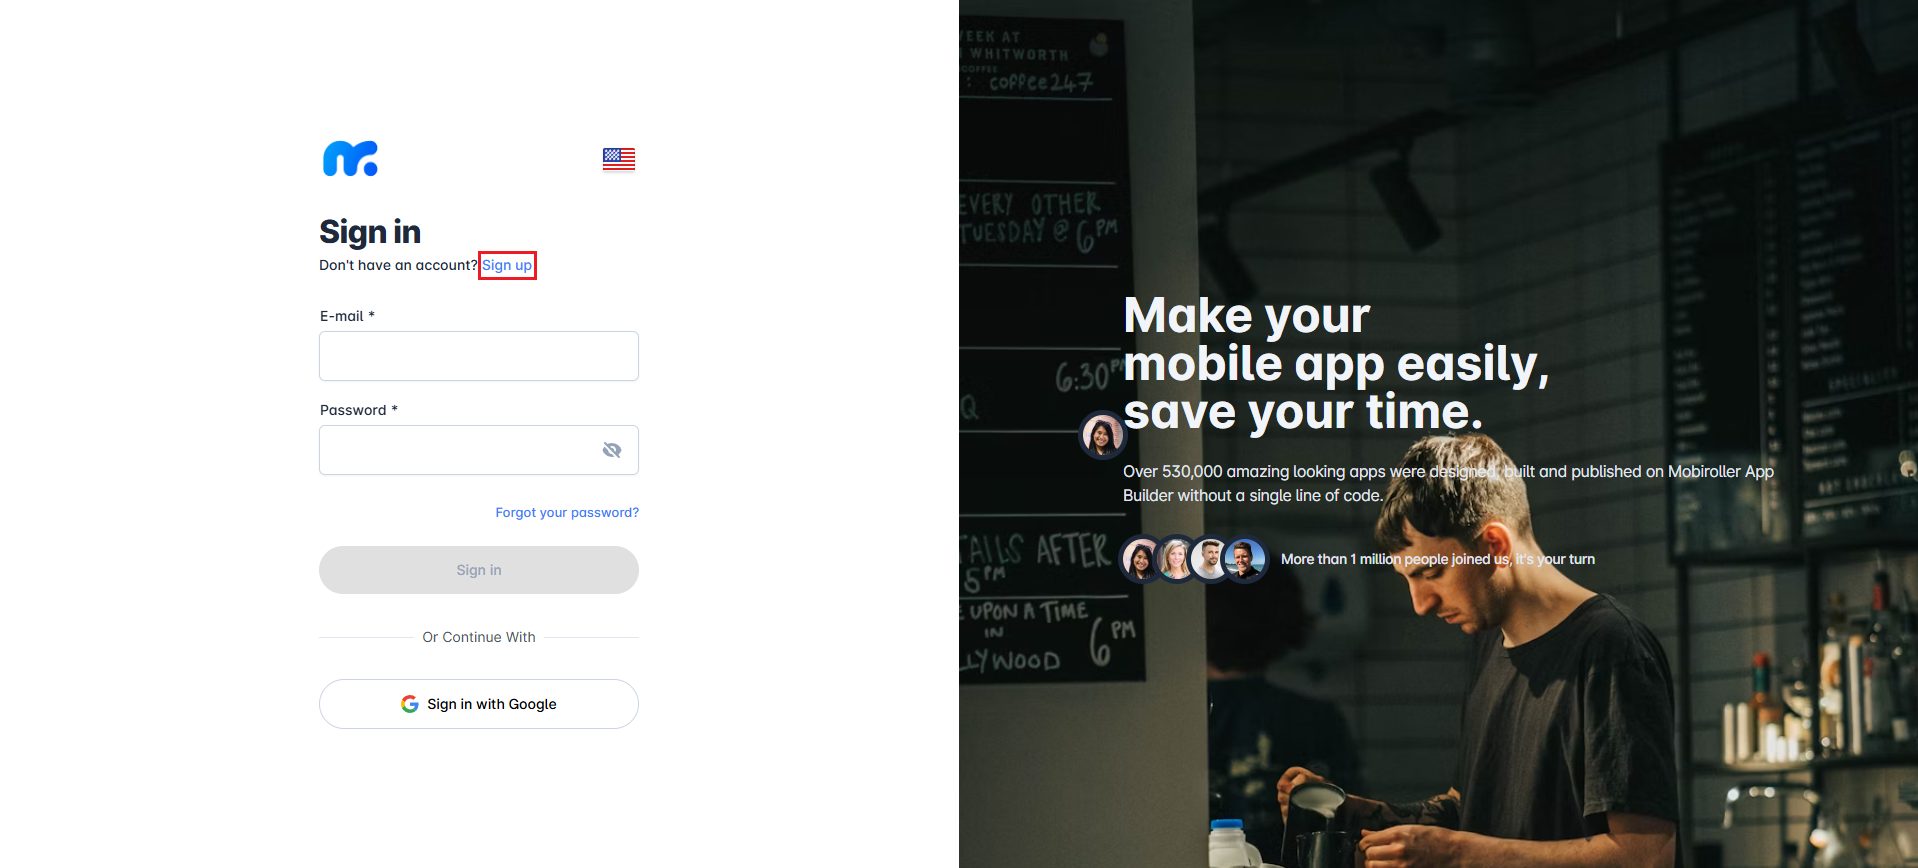
On the screen that appears, click the Sign Up button.

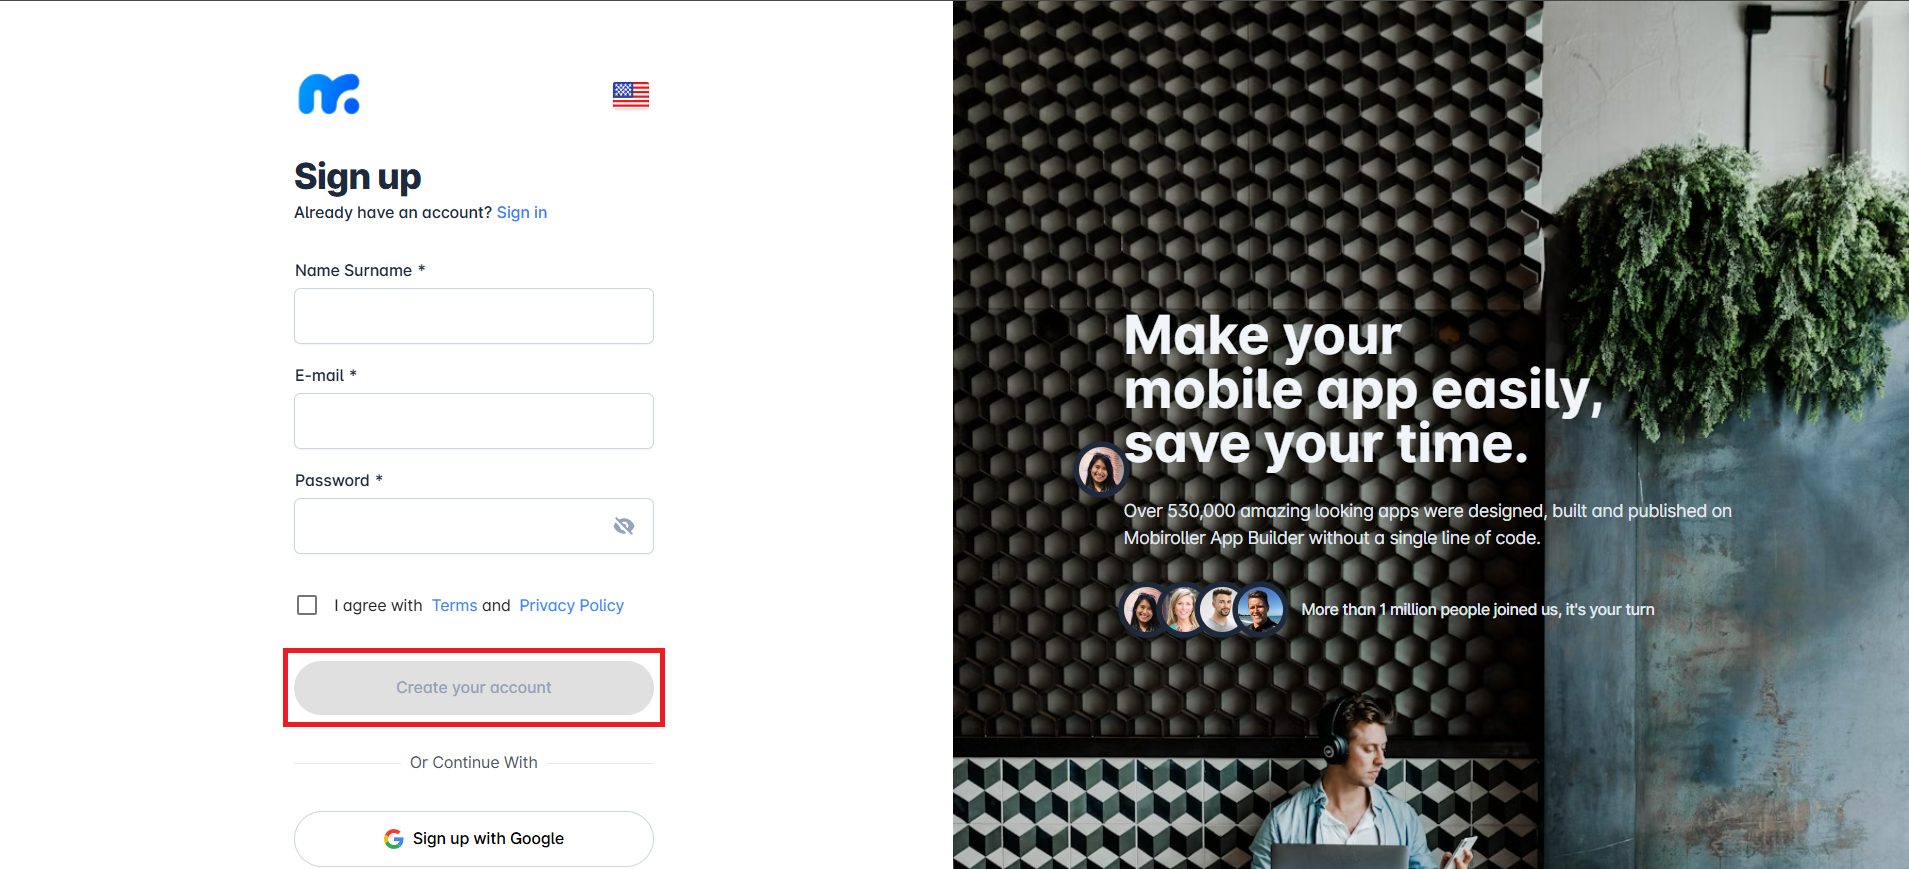
Fill in the required information on the Sign Up screen and click Create Your Account.
Once your account is created, you will be redirected to the Login screen. Enter your credentials to log in.

Note: If you click the Sign up with Google button, you’ll be connected without creating a password. However, if you ever need a password later, you can click the Forgot Password button and create one using the password reset email sent to you.

Please make sure the email address you enter is valid. This email will be used both for logging into the system and for us to contact you. If you use a fake email address, you won’t be able to transfer your app to another account later on.
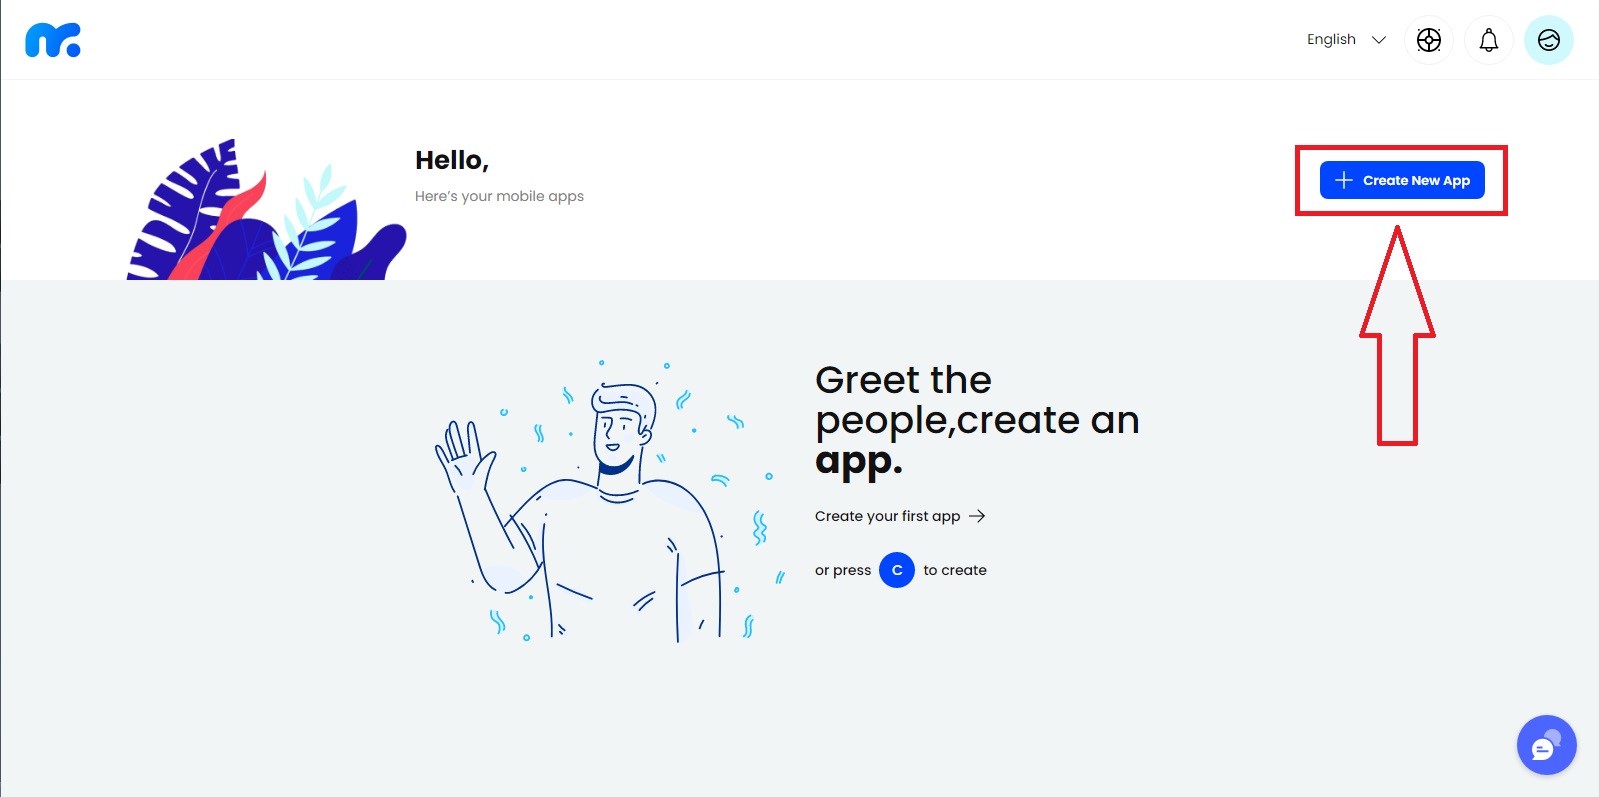
To create your first app, click the Create New App button on the screen that appears.

Enter your app name on the screen that appears. This name will be displayed on the phone screen as the title of your app. You can always change the app name later via the panel.
Once you’ve entered the app name, click the Next button to continue.

You can either choose one of the ready-made templates for your app design and click the Choose Template button, or click Continue Without a Template to proceed to the final step of app creation. In this case, you can select a template later.
The designs you see here do not impose any limitations. You can change all images, icons, and text within the templates. You will find detailed instructions on how to do this in the upcoming articles.

Click the okay button to begin your app creation journey.

Click on the app logo to access the panel where the app details are located.

You are now in the app panel where you will prepare your app. You will complete all the steps of app creation through this panel.
Additionally, by clicking on the Mobiroller logo in the left menu, you can return to the screen that shows all the apps you have created and switch to the panel of any app you wish.

You can refer to our article Step 2: Create Your App Content to learn how to add content to your app.
