Once you’ve added your mobile app content, finalized the design, and tested the final version using the preview device, you’re ready to generate your APK.
What Is an APK File?
An APK (Android Package File) is the installation file used for apps and games developed for Android devices. Apps are installed on your phone through this file. With APKs, you can install and use apps without needing the Google Play Store or other marketplaces.
How Do I Generate an APK File?
To generate the APK file, click on the Dashboard tab located in the left menu of your control panel.
In the Dashboard tab, you must complete the five steps listed under the Your App Status section on the left side in order to generate the APK.
To get started with the first step, you can check out our article titled Step 1: Sign-Up and Create Your First App
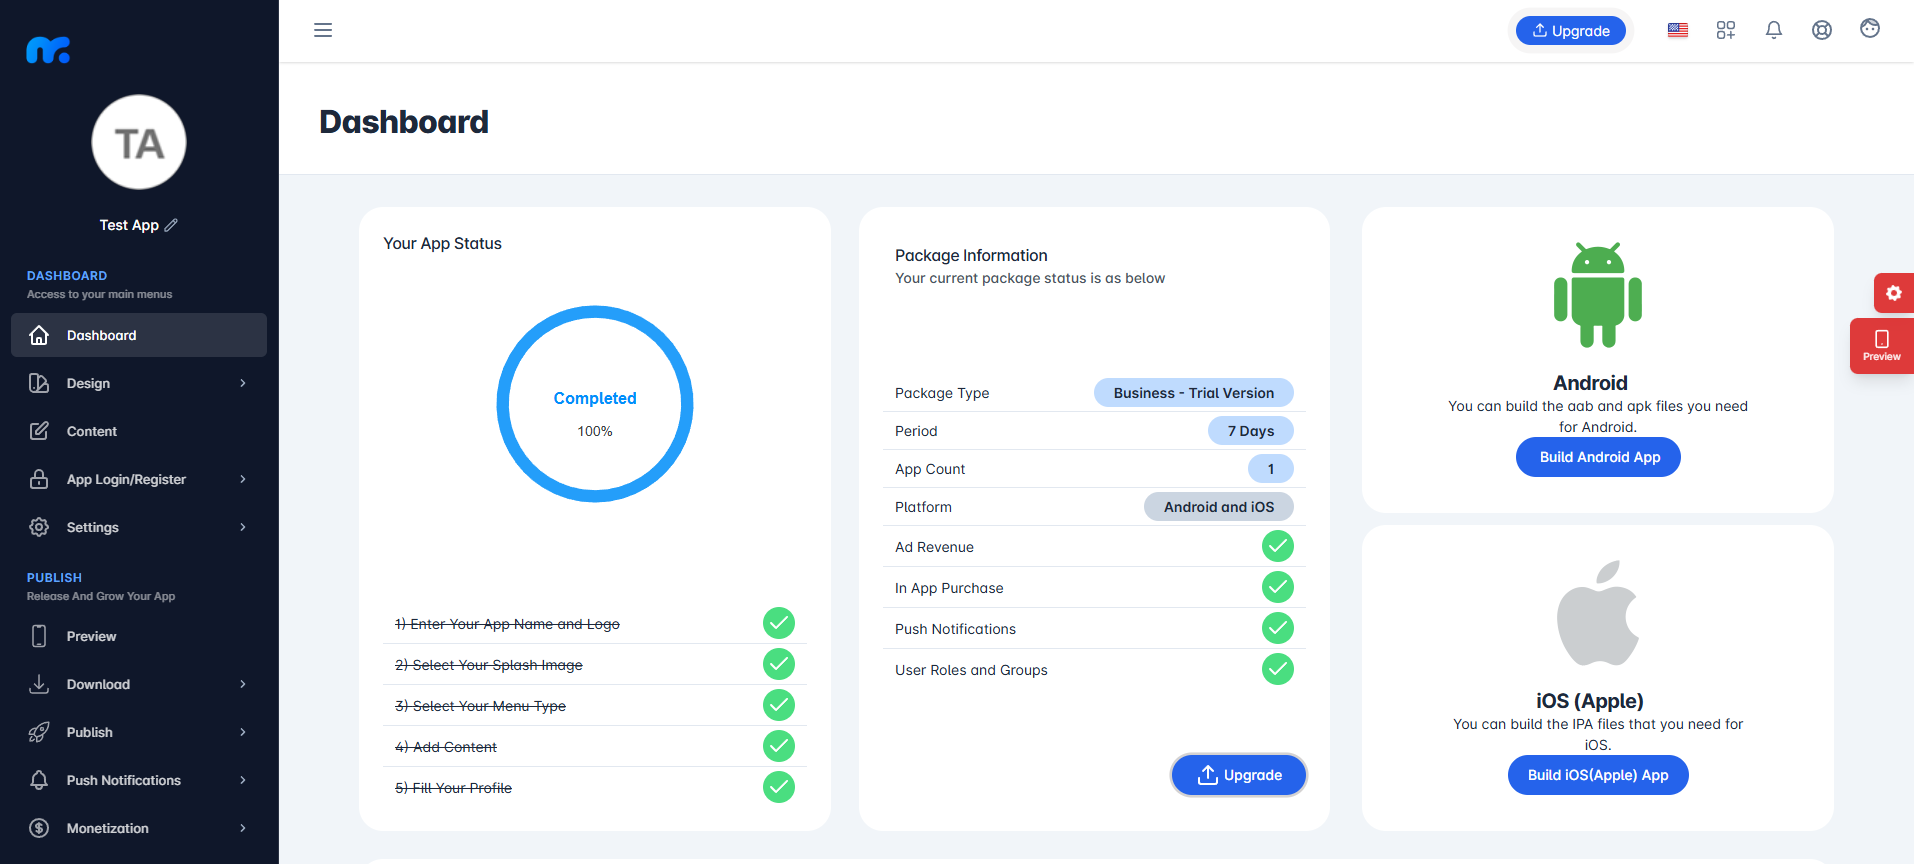
On the screen that appears, click the Build Android App button located on the right side.
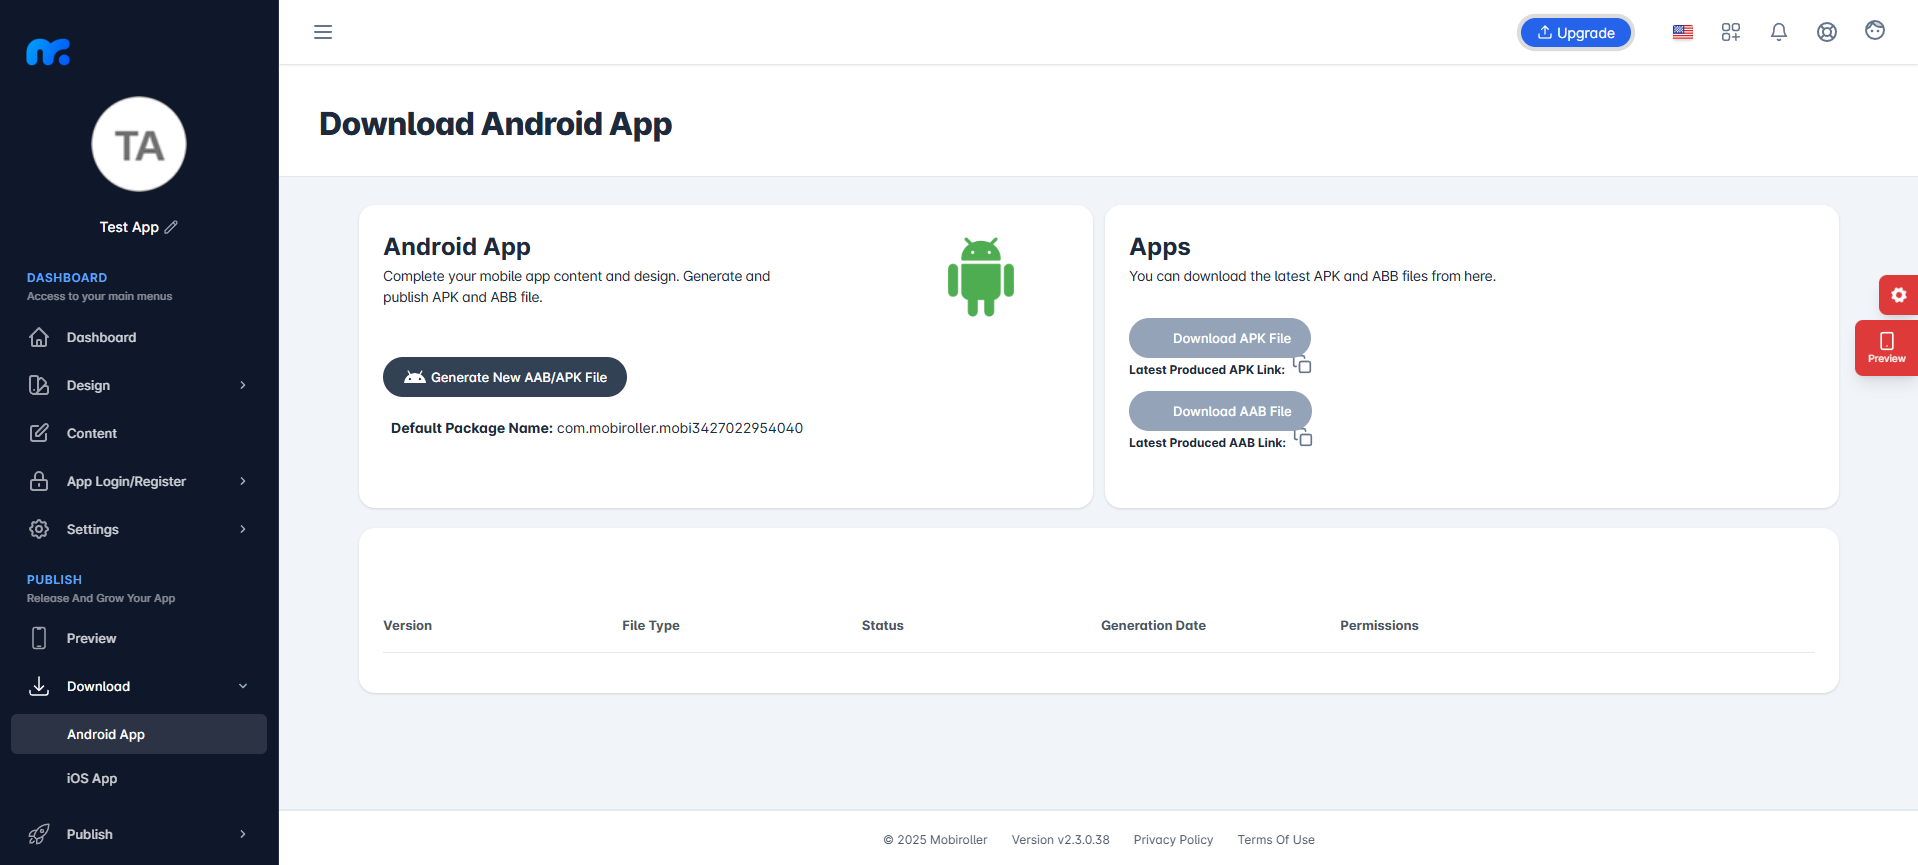
On the screen that appears, click the Generate a New AAB/APK File button located on the left side.
You will see a screen where you can choose between an Android Application Package (APK) and an Android Application Bundle (AAB) file.
APK and AAB Files
1- If you want to test your app and install it on your phone, you should generate an APK file. The APK file can be installed on an Android phone, allowing you to test your app. An AAB file cannot be installed on the phone.
2- If you are uploading your app to Google Play Store for the first time, you must generate an AAB file. As of August 1, 2021, Google Play Store no longer accepts APK files for first-time uploads and requires an AAB file instead.
To generate a package in AAB format, you need to have the Standard plan or a higher version.
To upgrade your plan, you can use the Upgrade button located in the top menu.
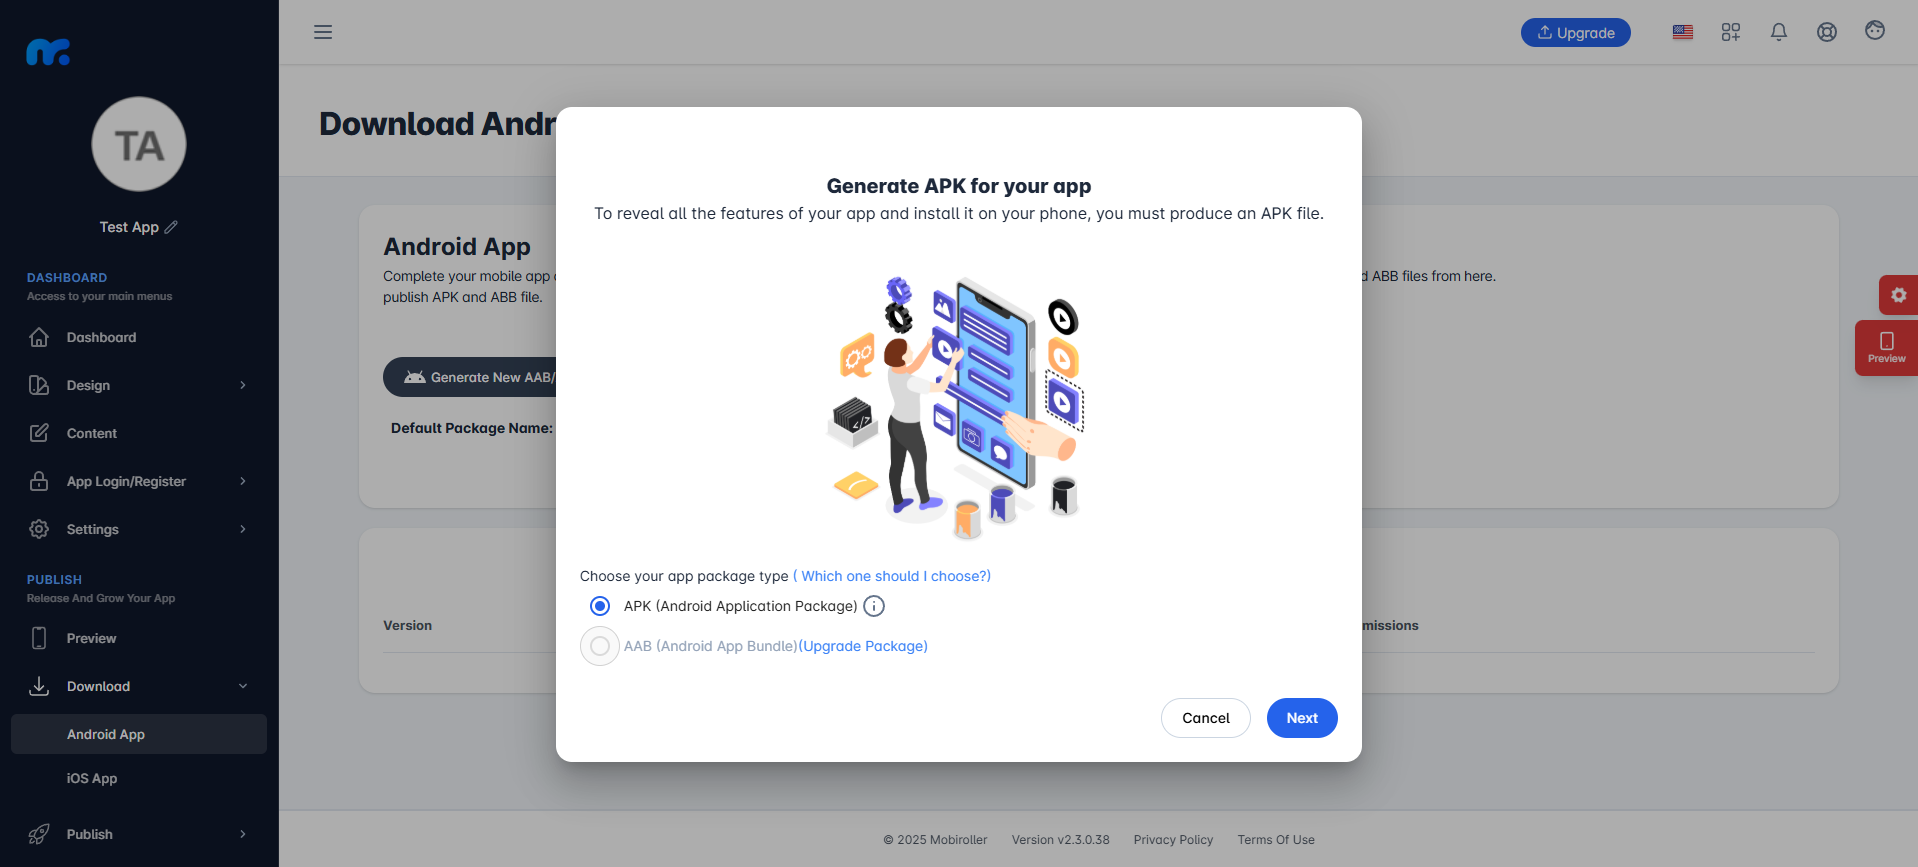
The APK creation screen will appear. It will provide guidance throughout the APK generation process.To proceed, select either the APK or AAB file based on your needs, then click the Next button on the screen.
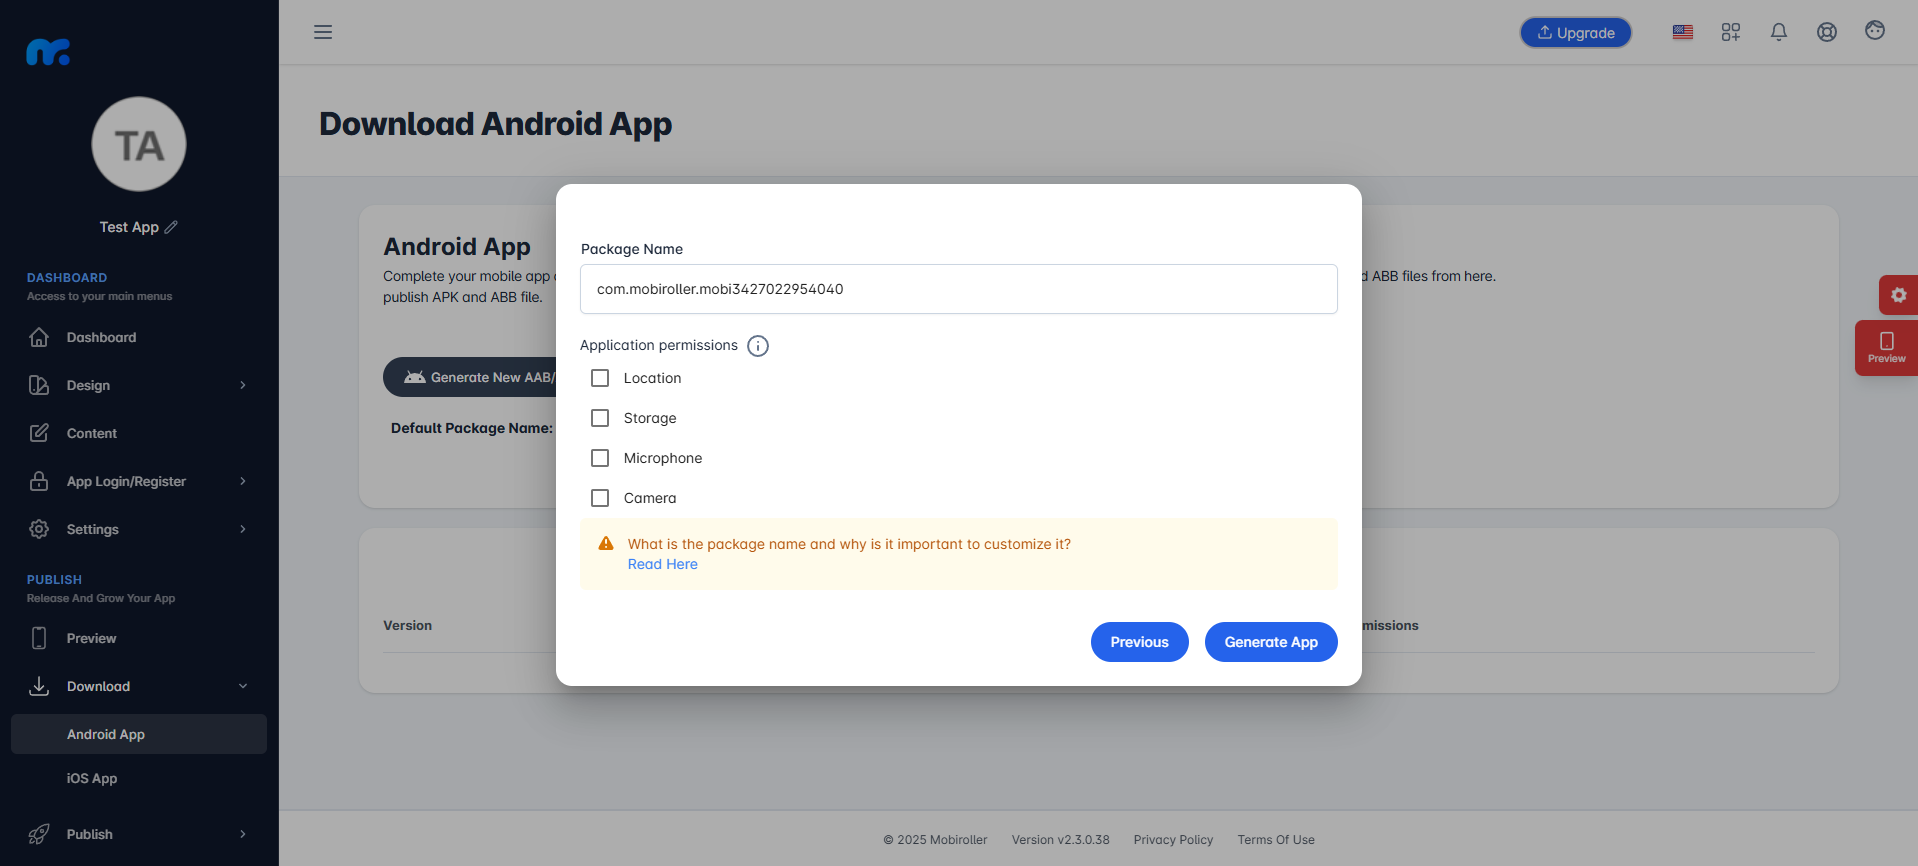
The next screen is where you define your APK package name. The APK Wizard automatically assigns a default package name.If you want to change it, you can enter your desired package name in the Package Name field. For more details about package names, you can refer to our article titled What Is a Package Name?
About App Permissions:
App permissions refer to location, storage, camera, and microphone permissions that may or may not need to be included in your APK file depending on your app’s content.
If you do not select the correct permissions for your app, it may be rejected by the Google Play Store. To make the right selection, please review the documentation provided [here ].
After setting your package name and selecting the necessary permissions, click the Generate App button to add your APK/AAB package to the production queue. The APK generation process typically takes around 30 minutes. Once it’s ready, a download link will be sent to your registered email address.
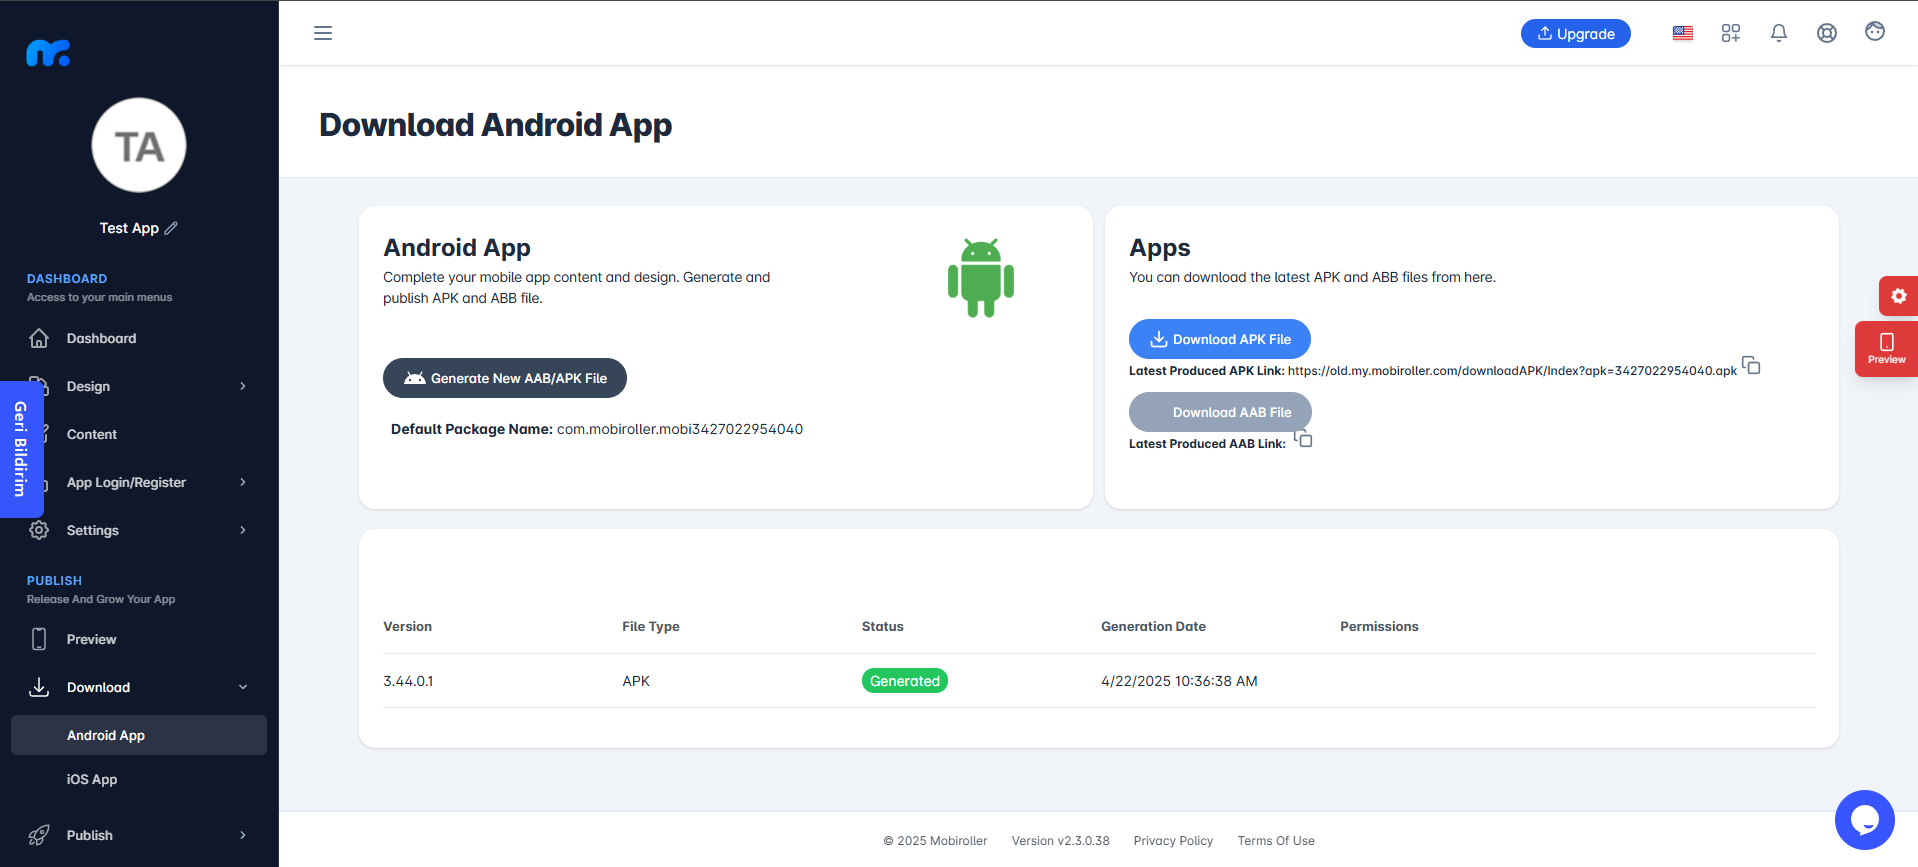
When you click on Android App under the Download tab in the left-hand menu, you’ll be taken to a screen where you can manage your APK files. If you’ve made changes to your app or need to update your APK version, you can click Generate New AAB/APK File to generate an updated APK or AAB file. You can then click Download APK File or Download AAB File to download the latest version to your computer. These buttons become active only after a file has been successfully generated. Below, you’ll also find a table displaying the version history and status of your generated APKs, including their creation dates and progress.
You can download your APK to your computer using the Download APK File button. Then, transfer it to your Android device via email, USB cable, wetransfer.com, or any other file transfer method. Alternatively, you can copy the Latest Produced APK/AAB Link and send it to your phone to download the APK/AAB directly from that link.
You can install the APK file on your Android phone by following the steps shown below and test it on your phone.
AAB files cannot be installed directly on your phone. They are intended for use when uploading your app to the Google Play Store.
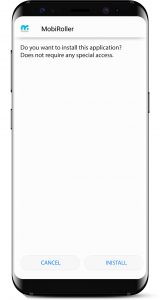
After transferring your APK to the device, click on it.
This screen will come up. You can start the installation by pressing the Install button on this screen.
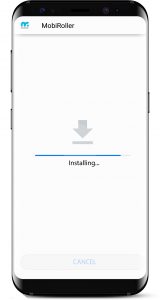
The installation screen will be displayed after pressing the Install button on your mobile application.

In this screen, your application is installed. You can open your application with the Open button. Your application also comes as an icon on your phone. You can start using it.
After completing the APK generation and device installation, you can now proceed to Step 6: Send Push Notification to start sending notifications.