In this article, we explained how to upload your app to App Gallery. You can install your application by following the steps here.
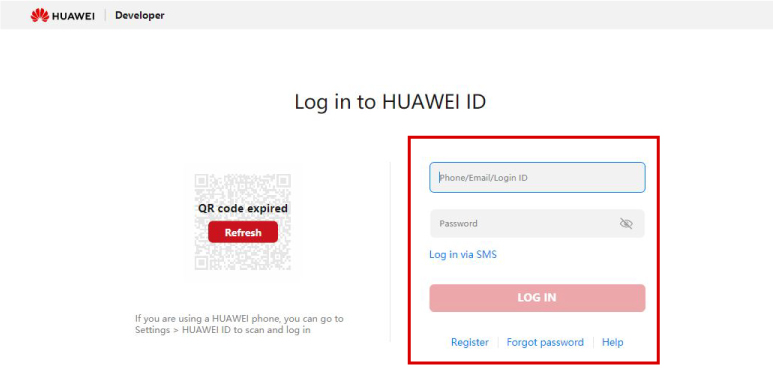
Step-1: To install your application, you must log in App Gallery Connect. Click here to login. You can log in with the e-mail and password you specified when opening a developer account.
Step-2: After logging in, click the My apps button on the screen that appears.
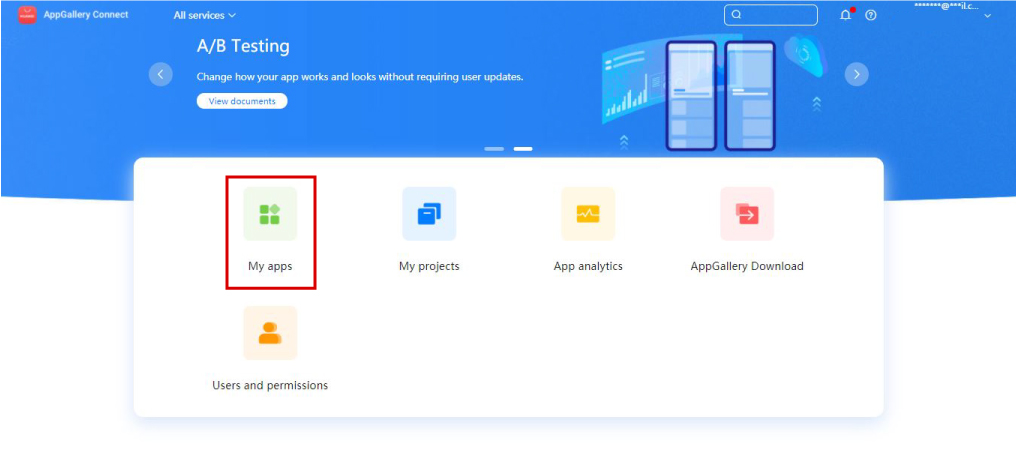
Step-3: Click on the New app button on the top right of the opened My apps page.

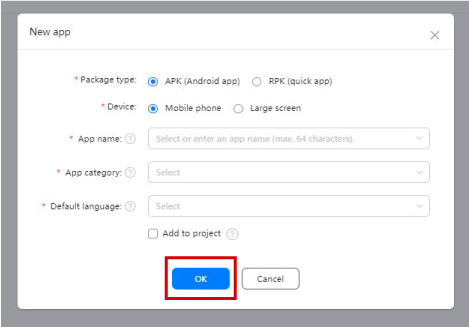
Step-4: You will see a screen where you can enter application information.
- Package type: This field should be selected as APK (Android app).
- Device: This place should be chosen as Mobile phone.
- App name: You must enter your application name.
- App category: Here you have to select your application type.
- Default language: You have to choose your language here.
Click the OK button after making the selections.
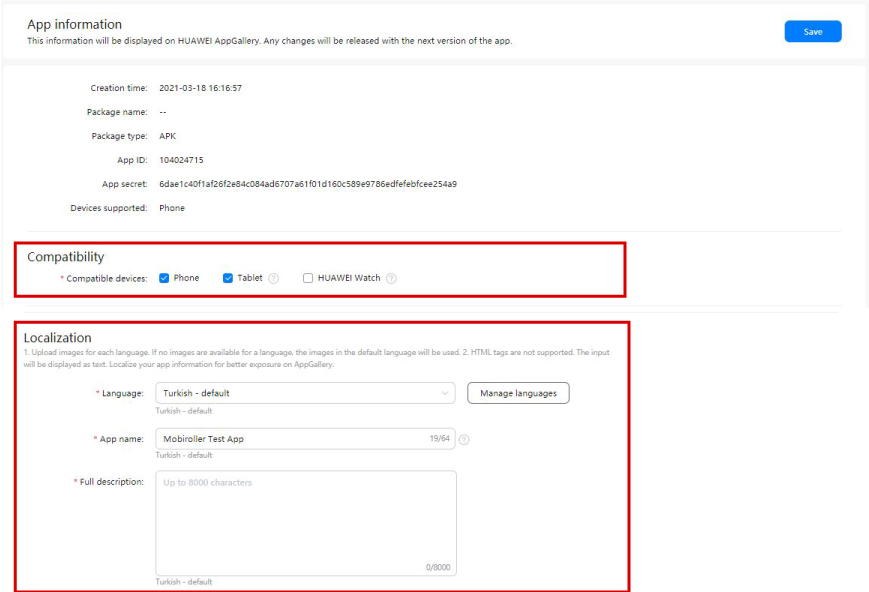
Step-5: We will give more detailed information about the application on this screen. No changes can be made in the app information section.
In the Compatibility section, you have to choose which devices you want your app to be used on. You can choose one or all of the phone (phone), tablet (tablet) and HUAWEI Watch (Huawei smart watch) options.
In the Localization section, you need to provide detailed information about the application for users to review.
- Language: Since you have made your language selection, this part will come with your choice.
- App name: Since you entered the application name in the previous step, the name will appear as written.
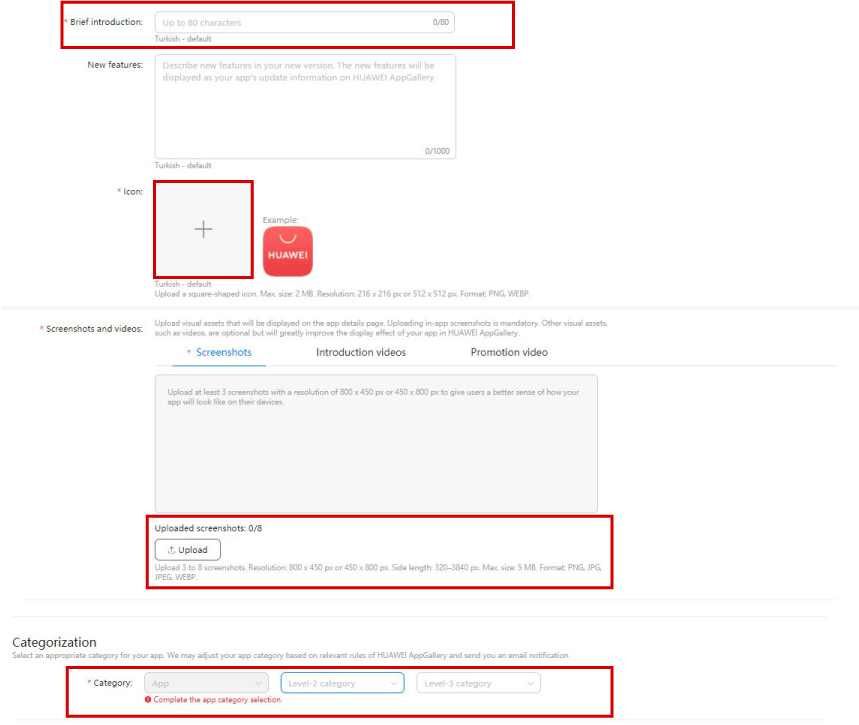
- Full description: In this section, you need to give detailed information about your application. You must use a maximum of 8000 characters. In this area, you can give information about the purpose, content and advantages of your application.
- Brief introduction: You should write a short description of your application, maximum 80 characters.
- New features: In this field, which is not mandatory, you can provide information about the new features of your application.
- Icon: You must upload your application logo from here. Your application logo must be at most 2 MB and must be in PGN or WEBP format. Application logo dimensions should be 216 x 216 px or 512 x 512 px.
- Screenshots and videos: It is the area where you can upload application screenshots, application promotional video and advertisement video for the promotion of your application. You can upload a minimum of 3 and a maximum of 8 screenshots. The screenshots you upload should be at most 5 MB and in PNG, JPEG, JPG and WEBP format.
- Categoration: This is the section where you need to choose a detailed category for your application. Check the Level-2 and Level-3 options respectively.
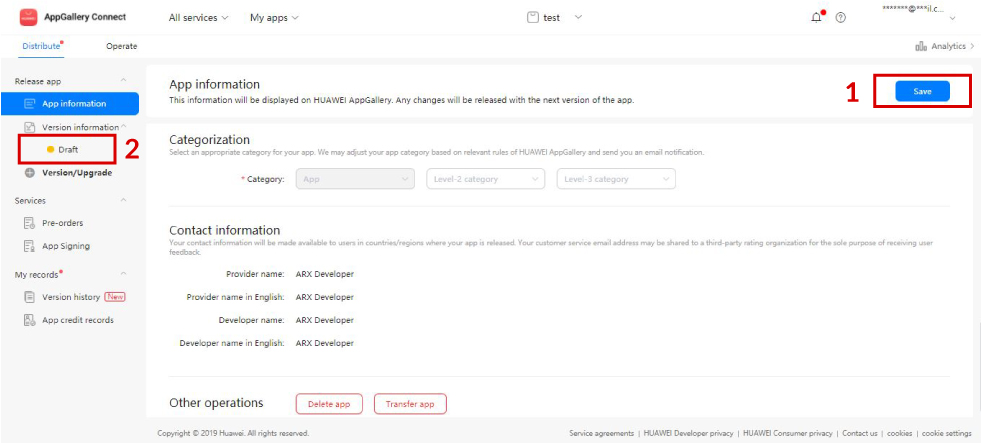
Step-6: After filling the category information, click the Save button on the top right of the screen to save it. Then click on the Draft button under the Version information heading in the left menu.
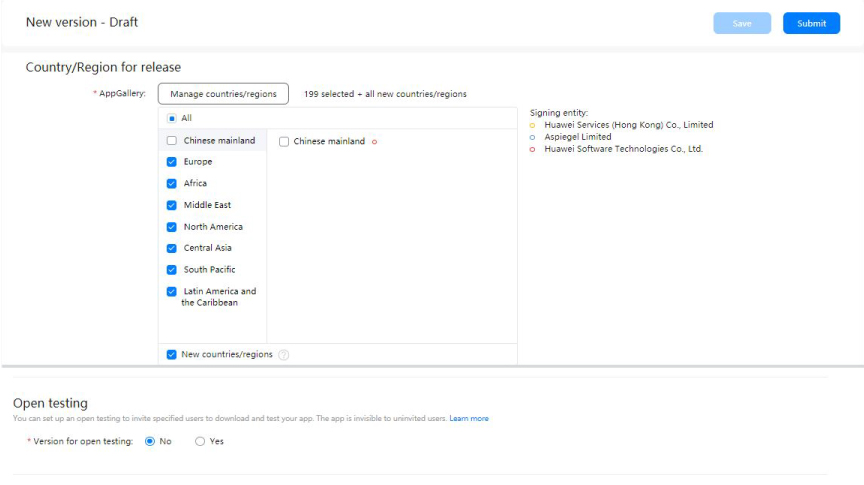
Step-7: In the Country / Region for release section, you need to select the locations where your application can be downloaded. You can choose a few or all of them.
Open testing field should be marked as No.
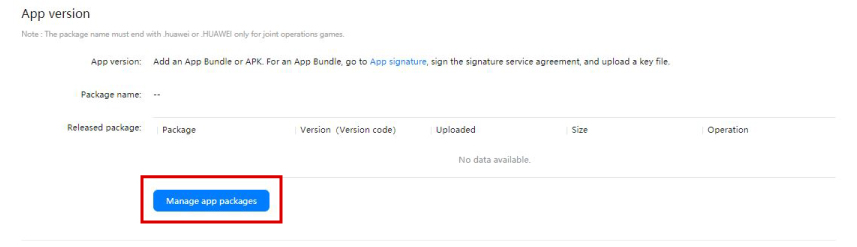
Step-8: The section where you will install the APK file of the application is the App version section. Click the Manage app packages button to upload your APK file.
You can find here detailed information about how to generate APK and how to produce APK.
Step-9: In the window that opens, click the Upload button to upload the APK. Click the + button on the screen that opens, select the APK file you have produced and downloaded to your computer and upload it.

Step-10: In the area after APK installation, you need to specify whether the application is paid or not.
If you mark the payment information as free, your application will be published free of charge.
In the In-app purchases section, you have been asked to mark the type of in-app purchases available for your app.

Step-11: You need to specify the age limit of your application in the Content rating section. Click the SET button.
 In the window that opens, select the age limit that suits you and click the OK button.

Step-12: You need to enter the privacy statement for your application. You must enter the link to the privacy statement in this field.

Step-13: Copyright information and Review information sections are not mandatory fields. If you have done the procedures mentioned until this step, click on the Submit button on the upper right of the screen.
![]()
Congratulations 🙂
After this step, you have submitted your application to Huawei App Gallery for approval. After the necessary examinations are made by Huawei App Gallery, the evaluation result is sent to you via e-mail.
